Available in editions: CE, BE, SE, SE+, EE
The module lifecycle stage: General Availability
The module is configured automatically based on the chosen placement strategy (the AWSClusterConfiguration custom resource). In most cases, you do not have to configure the module manually.
You can configure the number and parameters of provisioning machines in the cloud via the NodeGroup custom resource of the node-manager module. Also, in this custom resource, you can specify the instance class’s name for the above group of nodes (the cloudInstances.ClassReference NodeGroup parameter). In the case of the AWS cloud provider, the instance class is the AWSInstanceClass custom resource that stores specific parameters of the machines.
The module automatically creates StorageClasses that are available in AWS: gp3, gp2, sc1, and st1. It lets you configure disks with the required IOPS. Also, it can filter out the unnecessary StorageClasses (you can do this via the exclude parameter).
How to explicitly enable the module…
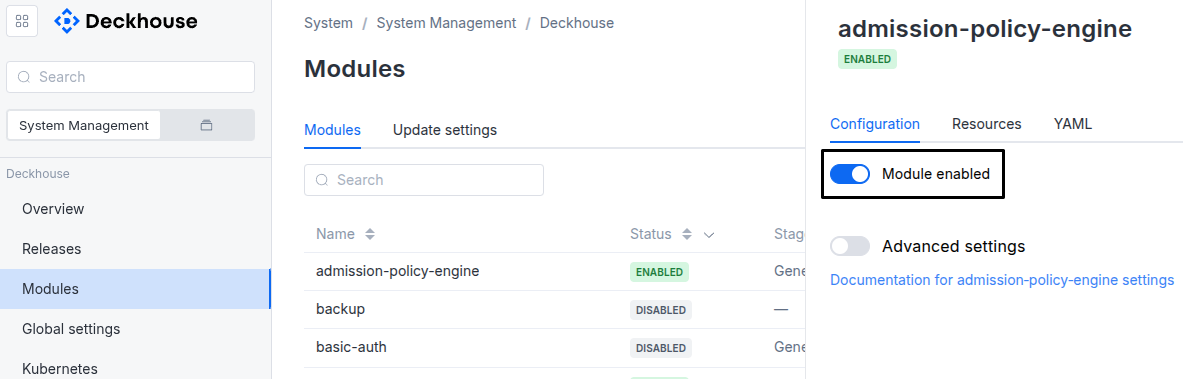
You may explicitly enable or disable the module in one of the following ways:
-
Via Deckhouse web UI. In the “System” → “System Management” → “Deckhouse” → “Modules” section, open the
cloud-provider-awsmodule and enable (or disable) the “Module enabled” toggle. Save changes.Example:
-
Via Deckhouse CLI (d8).
Use the d8 system module enable command for enabling, or d8 system module disable command for disabling the module (you need Deckhouse CLI (d8), configured to work with the cluster).
Example of enabling the module:
d8 system module enable cloud-provider-aws -
Using ModuleConfig
cloud-provider-aws.Set
spec.enabledtotrueorfalsein ModuleConfigcloud-provider-aws(create it if necessary);Example of a manifest to enable module
cloud-provider-aws:apiVersion: deckhouse.io/v1alpha1 kind: ModuleConfig metadata: name: cloud-provider-aws spec: enabled: true
You can configure the module in one of the following ways:
-
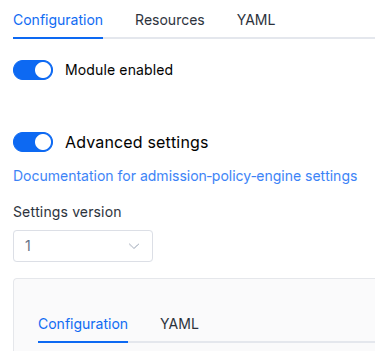
Via Deckhouse web UI.
In the “System” → “System Management” → “Deckhouse” → “Modules” section, open the
cloud-provider-awsmodule and enable the “Advanced Settings” switch. Fill in the required fields in the “Configuration” tab or specify the module settings in YAML format on the “YAML” tab, excluding the settings section. Save the changes.Example:
You can also edit the ModuleConfig object
cloud-provider-awson the “YAML” tab in the module settings window (“System” → “System Management” → “Deckhouse” → “Modules”, open the modulecloud-provider-aws) by specifying the schema version in thespec.versionparameter and the necessary module parameters in thespec.settingssection. -
Via Deckhouse CLI (d8) (requires Deckhouse CLI (d8) configured to work with the cluster).
Edit the existing ModuleConfig
cloud-provider-aws(for more details on configuring Deckhouse, see the documentation) by executing the following command:d8 k edit mc cloud-provider-awsMake the necessary changes in the
spec.settingssection. If necessary, specify the schema version in thespec.versionparameter. Save the changes.You can also create a file with manifest for ModuleConfig
cloud-provider-awsusing the example below. Fill in thespec.settingssection with the required module parameters. If necessary, specify the schema version in thespec.versionparameter.Apply the manifest using the following command (indicate the manifest file name):
d8 k apply -f <FILENAME>Example of a manifest for ModuleConfig
cloud-provider-aws:apiVersion: deckhouse.io/v1alpha1 kind: ModuleConfig metadata: name: cloud-provider-aws spec: version: 1 enabled: true settings: # Module parameters from the "Parameters" section below.
Parameters
Schema version: 1
- objectsettings
- objectsettings.storageClass
- stringsettings.storageClass.defaultDeprecated
The name of StorageClass that will be used in the cluster by default.
If the parameter is omitted, the default StorageClass is either:
- an arbitrary StorageClass present in the cluster that has the default annotation;
- the first (in lexicographic order) StorageClass created by the module.
Parameter is deprecated. Instead, use the global parameter global.defaultClusterStorageClass.
Example:
default: gp3 - array of stringssettings.storageClass.exclude
A list of StorageClass names (or regex expressions for names) to exclude from the creation in the cluster.
Example:
exclude: - sc.* - st1 - array of objectssettings.storageClass.provision
Defines additional StorageClasses or override the parameters of created by default.
- stringsettings.storageClass.provision.iops
I/O operations per second for
gp3volume type:- Allowed values: from
3000to16000. - If empty, it will set to 3000 as documented here.
- Changing doesn’t apply to existing volumes. You can modify them manually through AWS Console.
- Allowed values: from
- stringsettings.storageClass.provision.iopsPerGB
The number of I/O operations per second per GB for
io1andio2volume types (this parameter is3forgp2volumes):- Caution! If the iopsPerGB value multiplied by the target volume’s size is less than 100 or more than 64000, the creation of such a volume will fail.
- You can find a detailed description of the volume types and their IOPS in the official documentation.
- stringsettings.storageClass.provision.name
Required value
The name of the class to create.
- stringsettings.storageClass.provision.throughput
Throughput in MiB/s for
gp3volume type:- Allowed values: from
125to1000. - If empty, it will set to 125 as documented here.
- Changing doesn’t apply to existing volumes. You can modify them manually through AWS Console.
- Allowed values: from
- stringsettings.storageClass.provision.type
Required value
The volume type.
Allowed values:
gp3,gp2,sc1,st1,io1,io2