Available in editions: CE, BE, SE, SE+, EE
The module lifecycle stage: General Availability
The module has 2 alerts.
The module is enabled by default in the Default bundle.
The module is disabled by default in the following bundles: Managed, Minimal.
How to explicitly enable the module…
You may explicitly enable or disable the module in one of the following ways:
-
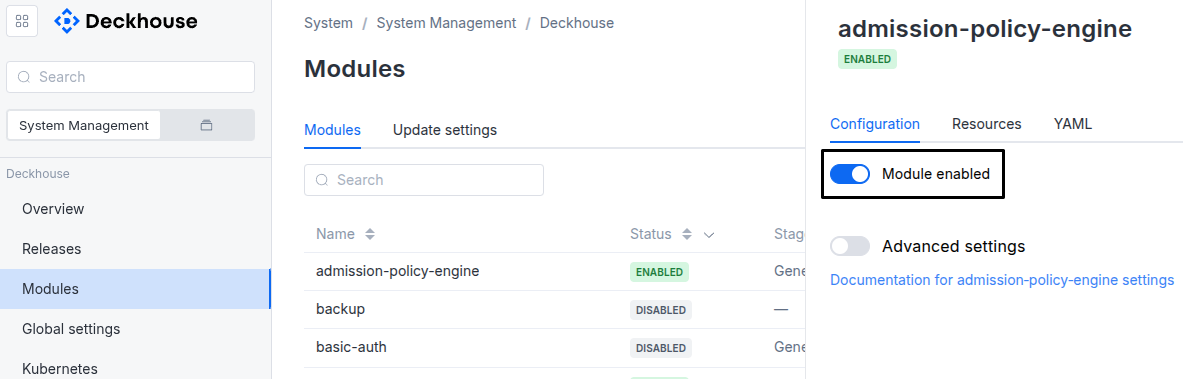
Via Deckhouse web UI. In the “System” → “System Management” → “Deckhouse” → “Modules” section, open the
chronymodule and enable (or disable) the “Module enabled” toggle. Save changes.Example:
-
Via Deckhouse CLI (d8).
Use the d8 system module enable command for enabling, or d8 system module disable command for disabling the module (you need Deckhouse CLI (d8), configured to work with the cluster).
Example of enabling the module:
d8 system module enable chrony -
Using ModuleConfig
chrony.Set
spec.enabledtotrueorfalsein ModuleConfigchrony(create it if necessary);Example of a manifest to enable module
chrony:apiVersion: deckhouse.io/v1alpha1 kind: ModuleConfig metadata: name: chrony spec: enabled: true
You can configure the module in one of the following ways:
-
Via Deckhouse web UI.
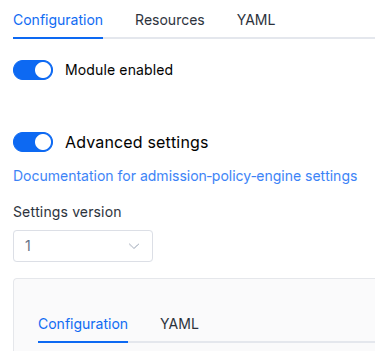
In the “System” → “System Management” → “Deckhouse” → “Modules” section, open the
chronymodule and enable the “Advanced Settings” switch. Fill in the required fields in the “Configuration” tab or specify the module settings in YAML format on the “YAML” tab, excluding the settings section. Save the changes.Example:
You can also edit the ModuleConfig object
chronyon the “YAML” tab in the module settings window (“System” → “System Management” → “Deckhouse” → “Modules”, open the modulechrony) by specifying the schema version in thespec.versionparameter and the necessary module parameters in thespec.settingssection. -
Via Deckhouse CLI (d8) (requires Deckhouse CLI (d8) configured to work with the cluster).
Edit the existing ModuleConfig
chrony(for more details on configuring Deckhouse, see the documentation) by executing the following command:d8 k edit mc chronyMake the necessary changes in the
spec.settingssection. If necessary, specify the schema version in thespec.versionparameter. Save the changes.You can also create a file with manifest for ModuleConfig
chronyusing the example below. Fill in thespec.settingssection with the required module parameters. If necessary, specify the schema version in thespec.versionparameter.Apply the manifest using the following command (indicate the manifest file name):
d8 k apply -f <FILENAME>Example of a manifest for ModuleConfig
chrony:apiVersion: deckhouse.io/v1alpha1 kind: ModuleConfig metadata: name: chrony spec: version: 1 enabled: true settings: # Module parameters from the "Parameters" section below.
Parameters
Schema version: 1
- objectsettings
- array of stringssettings.ntpServers
NTP servers to sync.
Default:
["pool.ntp.org"]Examples:
ntpServers: - pool.ntp.orgntpServers: - pool.ntp.org - ntp.ubuntu.com - time.google.com
An example of the configuration
apiVersion: deckhouse.io/v1alpha1
kind: ModuleConfig
metadata:
  name: chrony
spec:
  enabled: true
settings:
ntpServers:
- pool.ntp.org
- ntp.ubuntu.com
- time.google.com
version: 1