Available in editions: BE, SE, SE+, EE
The module lifecycle stage: General Availability
- The module works with all
CNIs, but in order to work correctly withcni-cilium, a number of conditions must be met. - By default, when used together with the
cni-simple-bridgeorcni-flannelmodules, thenode-local-dnsmodule does not work for requests fromhostNetwork. In this case, all requests go to thekube-dnsmodule. You can specify the address169.254.20.10in the pod configuration, but ifnode-local-dnsmodule crashes, there will be no fallback to thekube-dnsmodule.
The module has 5 alerts.
The module is enabled by default in the Default bundle.
The module is disabled by default in the following bundles: Managed, Minimal.
How to explicitly enable the module…
You may explicitly enable or disable the module in one of the following ways:
-
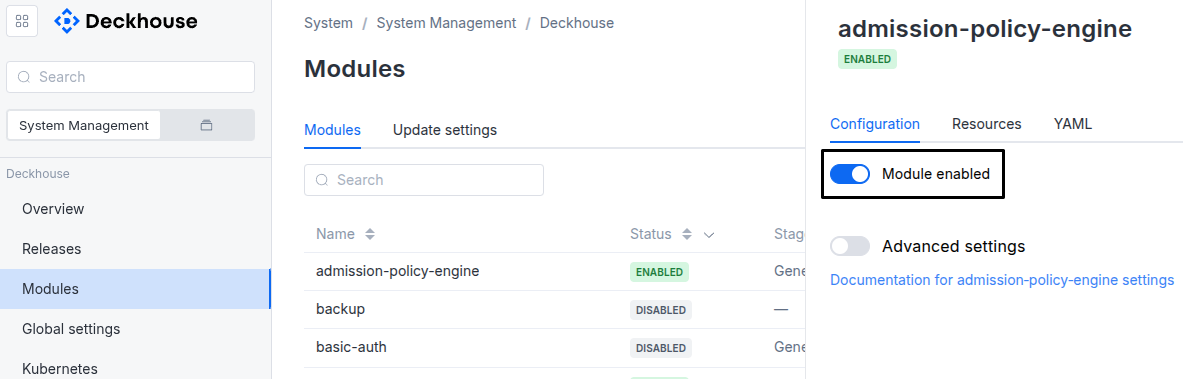
Via Deckhouse web UI. In the “System” → “System Management” → “Deckhouse” → “Modules” section, open the
node-local-dnsmodule and enable (or disable) the “Module enabled” toggle. Save changes.Example:
-
Via Deckhouse CLI (d8).
Use the d8 system module enable command for enabling, or d8 system module disable command for disabling the module (you need Deckhouse CLI (d8), configured to work with the cluster).
Example of enabling the module:
d8 system module enable node-local-dns -
Using ModuleConfig
node-local-dns.Set
spec.enabledtotrueorfalsein ModuleConfignode-local-dns(create it if necessary);Example of a manifest to enable module
node-local-dns:apiVersion: deckhouse.io/v1alpha1 kind: ModuleConfig metadata: name: node-local-dns spec: enabled: true
You can configure the module in one of the following ways:
-
Via Deckhouse web UI.
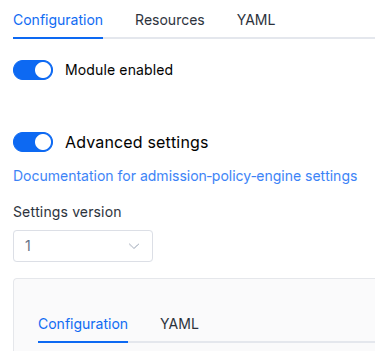
In the “System” → “System Management” → “Deckhouse” → “Modules” section, open the
node-local-dnsmodule and enable the “Advanced Settings” switch. Fill in the required fields in the “Configuration” tab or specify the module settings in YAML format on the “YAML” tab, excluding the settings section. Save the changes.Example:
You can also edit the ModuleConfig object
node-local-dnson the “YAML” tab in the module settings window (“System” → “System Management” → “Deckhouse” → “Modules”, open the modulenode-local-dns) by specifying the schema version in thespec.versionparameter and the necessary module parameters in thespec.settingssection. -
Via Deckhouse CLI (d8) (requires Deckhouse CLI (d8) configured to work with the cluster).
Edit the existing ModuleConfig
node-local-dns(for more details on configuring Deckhouse, see the documentation) by executing the following command:d8 k edit mc node-local-dnsMake the necessary changes in the
spec.settingssection. If necessary, specify the schema version in thespec.versionparameter. Save the changes.You can also create a file with manifest for ModuleConfig
node-local-dnsusing the example below. Fill in thespec.settingssection with the required module parameters. If necessary, specify the schema version in thespec.versionparameter.Apply the manifest using the following command (indicate the manifest file name):
d8 k apply -f <FILENAME>Example of a manifest for ModuleConfig
node-local-dns:apiVersion: deckhouse.io/v1alpha1 kind: ModuleConfig metadata: name: node-local-dns spec: version: 1 enabled: true settings: # Module parameters from the "Parameters" section below.
Requirements
To the versions of other modules:
-
kube-dns: any version.
Parameters
Schema version: 1
- objectsettings
- booleansettings.enableLogs
Enables query logging for node-local-dns instances.
Default:
false - booleansettings.highAvailability
Manual failover mode management. Within this module, the option affects the DNS records caching mechanism on nodes:
true: upon the expiration of the TTL for an individual DNS record, node-local-dns will continue to return the “stale” value immediately while simultaneously requesting a fresh value from the upstream kube-dns. Thus, in the event of issues with the nodes where kube-dns is running, applications will continue to receive responses to DNS queries with expired TTL, but without delay.false: upon the expiration of the TTL for an individual DNS record, node-local-dns will continue to return the “stale” value, but only after querying the upstream kube-dns. Thus, in the event of issues with the nodes where kube-dns is running, applications will continue to receive DNS responses with expired TTL, but with potentially significant delay. This approach is suitable in highly dynamic environments where Services and Namespaces are frequently recreated.
By default, Deckhouse automatically decides whether to enable the HA mode. Click here to learn more about the HA mode for modules.
Example:
highAvailability: true