The module lifecycle stage: Experimental
List of required VCD resources
- Organization
- VirtualDataCenter
- vApp
- StoragePolicy
- SizingPolicy
- Network
- EdgeRouter
- Catalog
The Organization, VirtualDataCenter, StoragePolicy, SizingPolicy, EdgeRouter, and Catalog resources must be provided by your VMware Cloud Director service provider.
Each VDC (Virtual Data Center) must have an Edge Gateway configured, and the cluster network must be connected to it.
Network (internal network) can be configured either by your VMware Cloud Director service provider or manually by you. If you choose the WithNAT placement scheme, the network will be created automatically. The following section describes how to configure the internal network manually.
User permissions
The user accessing the VMware Cloud Director API must have the following permissions:
- The role of
Organization Administratorwith the additional permissionPreserve All ExtraConfig Elements During OVF Import and Export. - The permission
Preserve All ExtraConfig Elements During OVF Import and Exportmust be duplicated in the user’sRight Bundle.
Adding a network
This instruction is applicable only for the Standard layout.
-
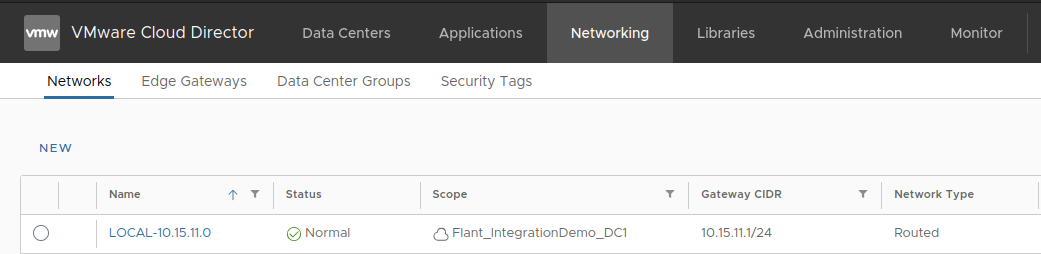
Go to the “Networking” tab and click “NEW”:
-
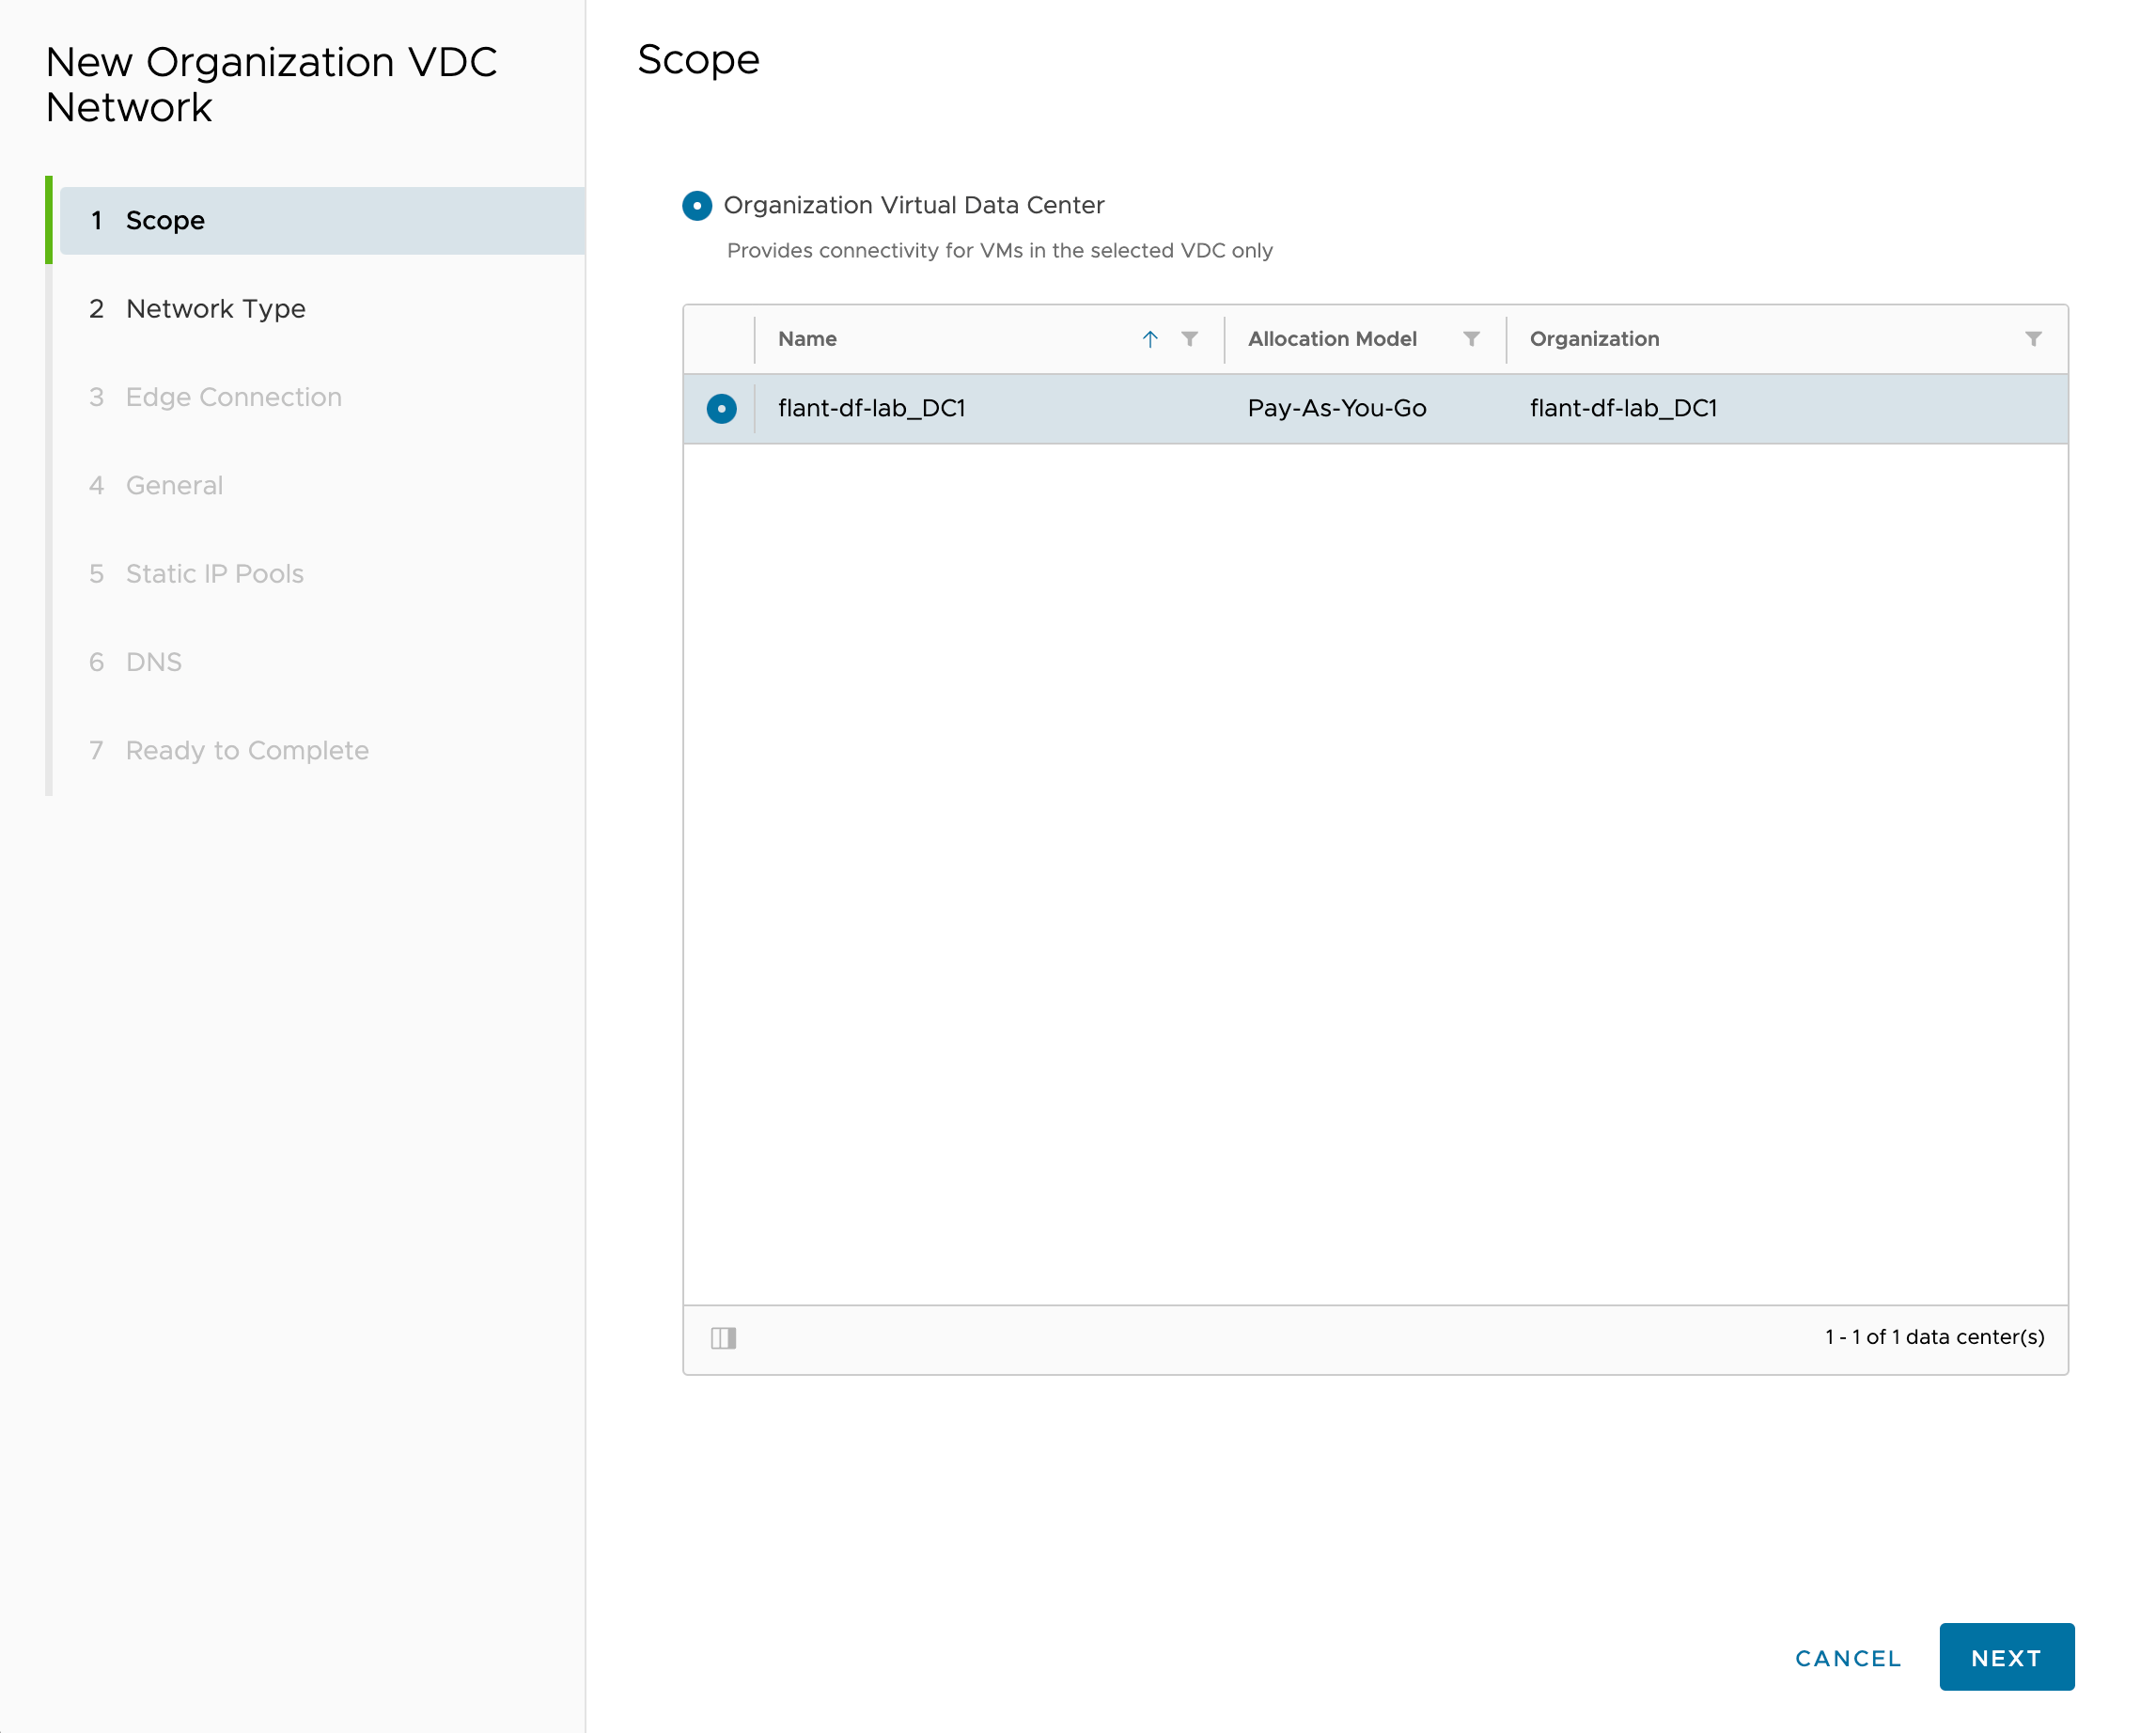
Select the Data Center:
-
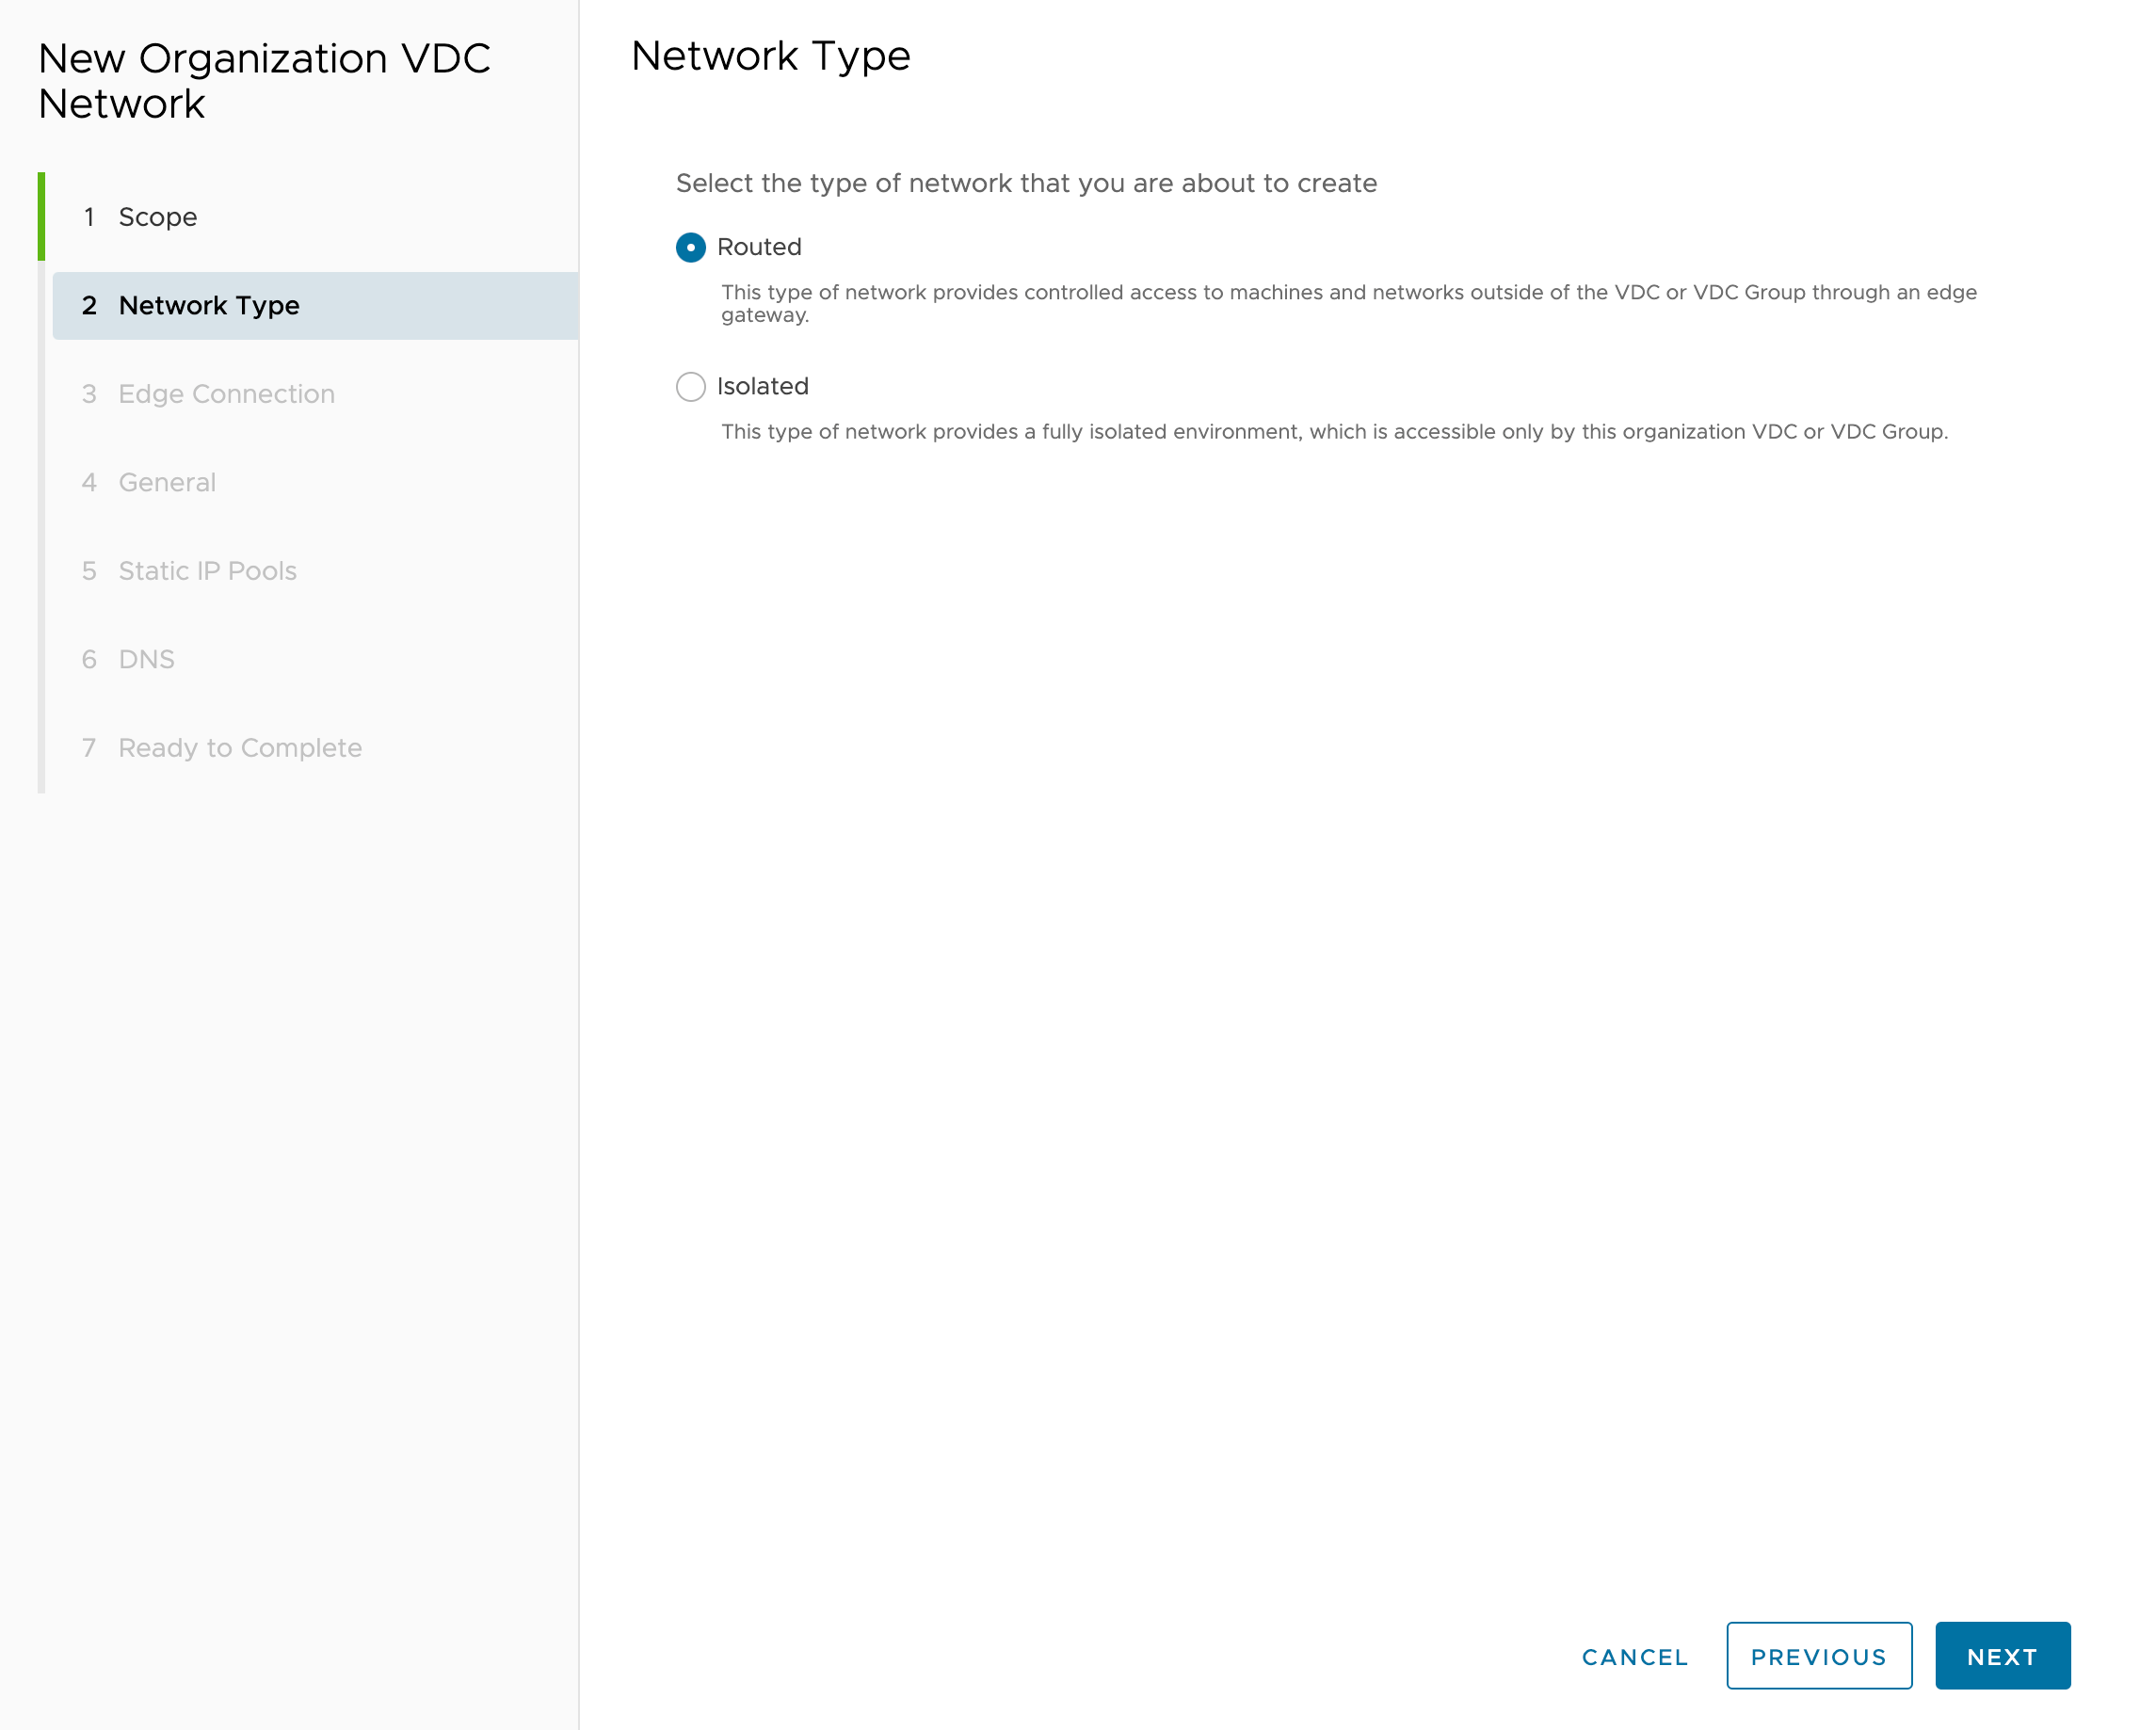
At the “Network type” step, select “Routed”:
-
Connect
EdgeRouterto the network: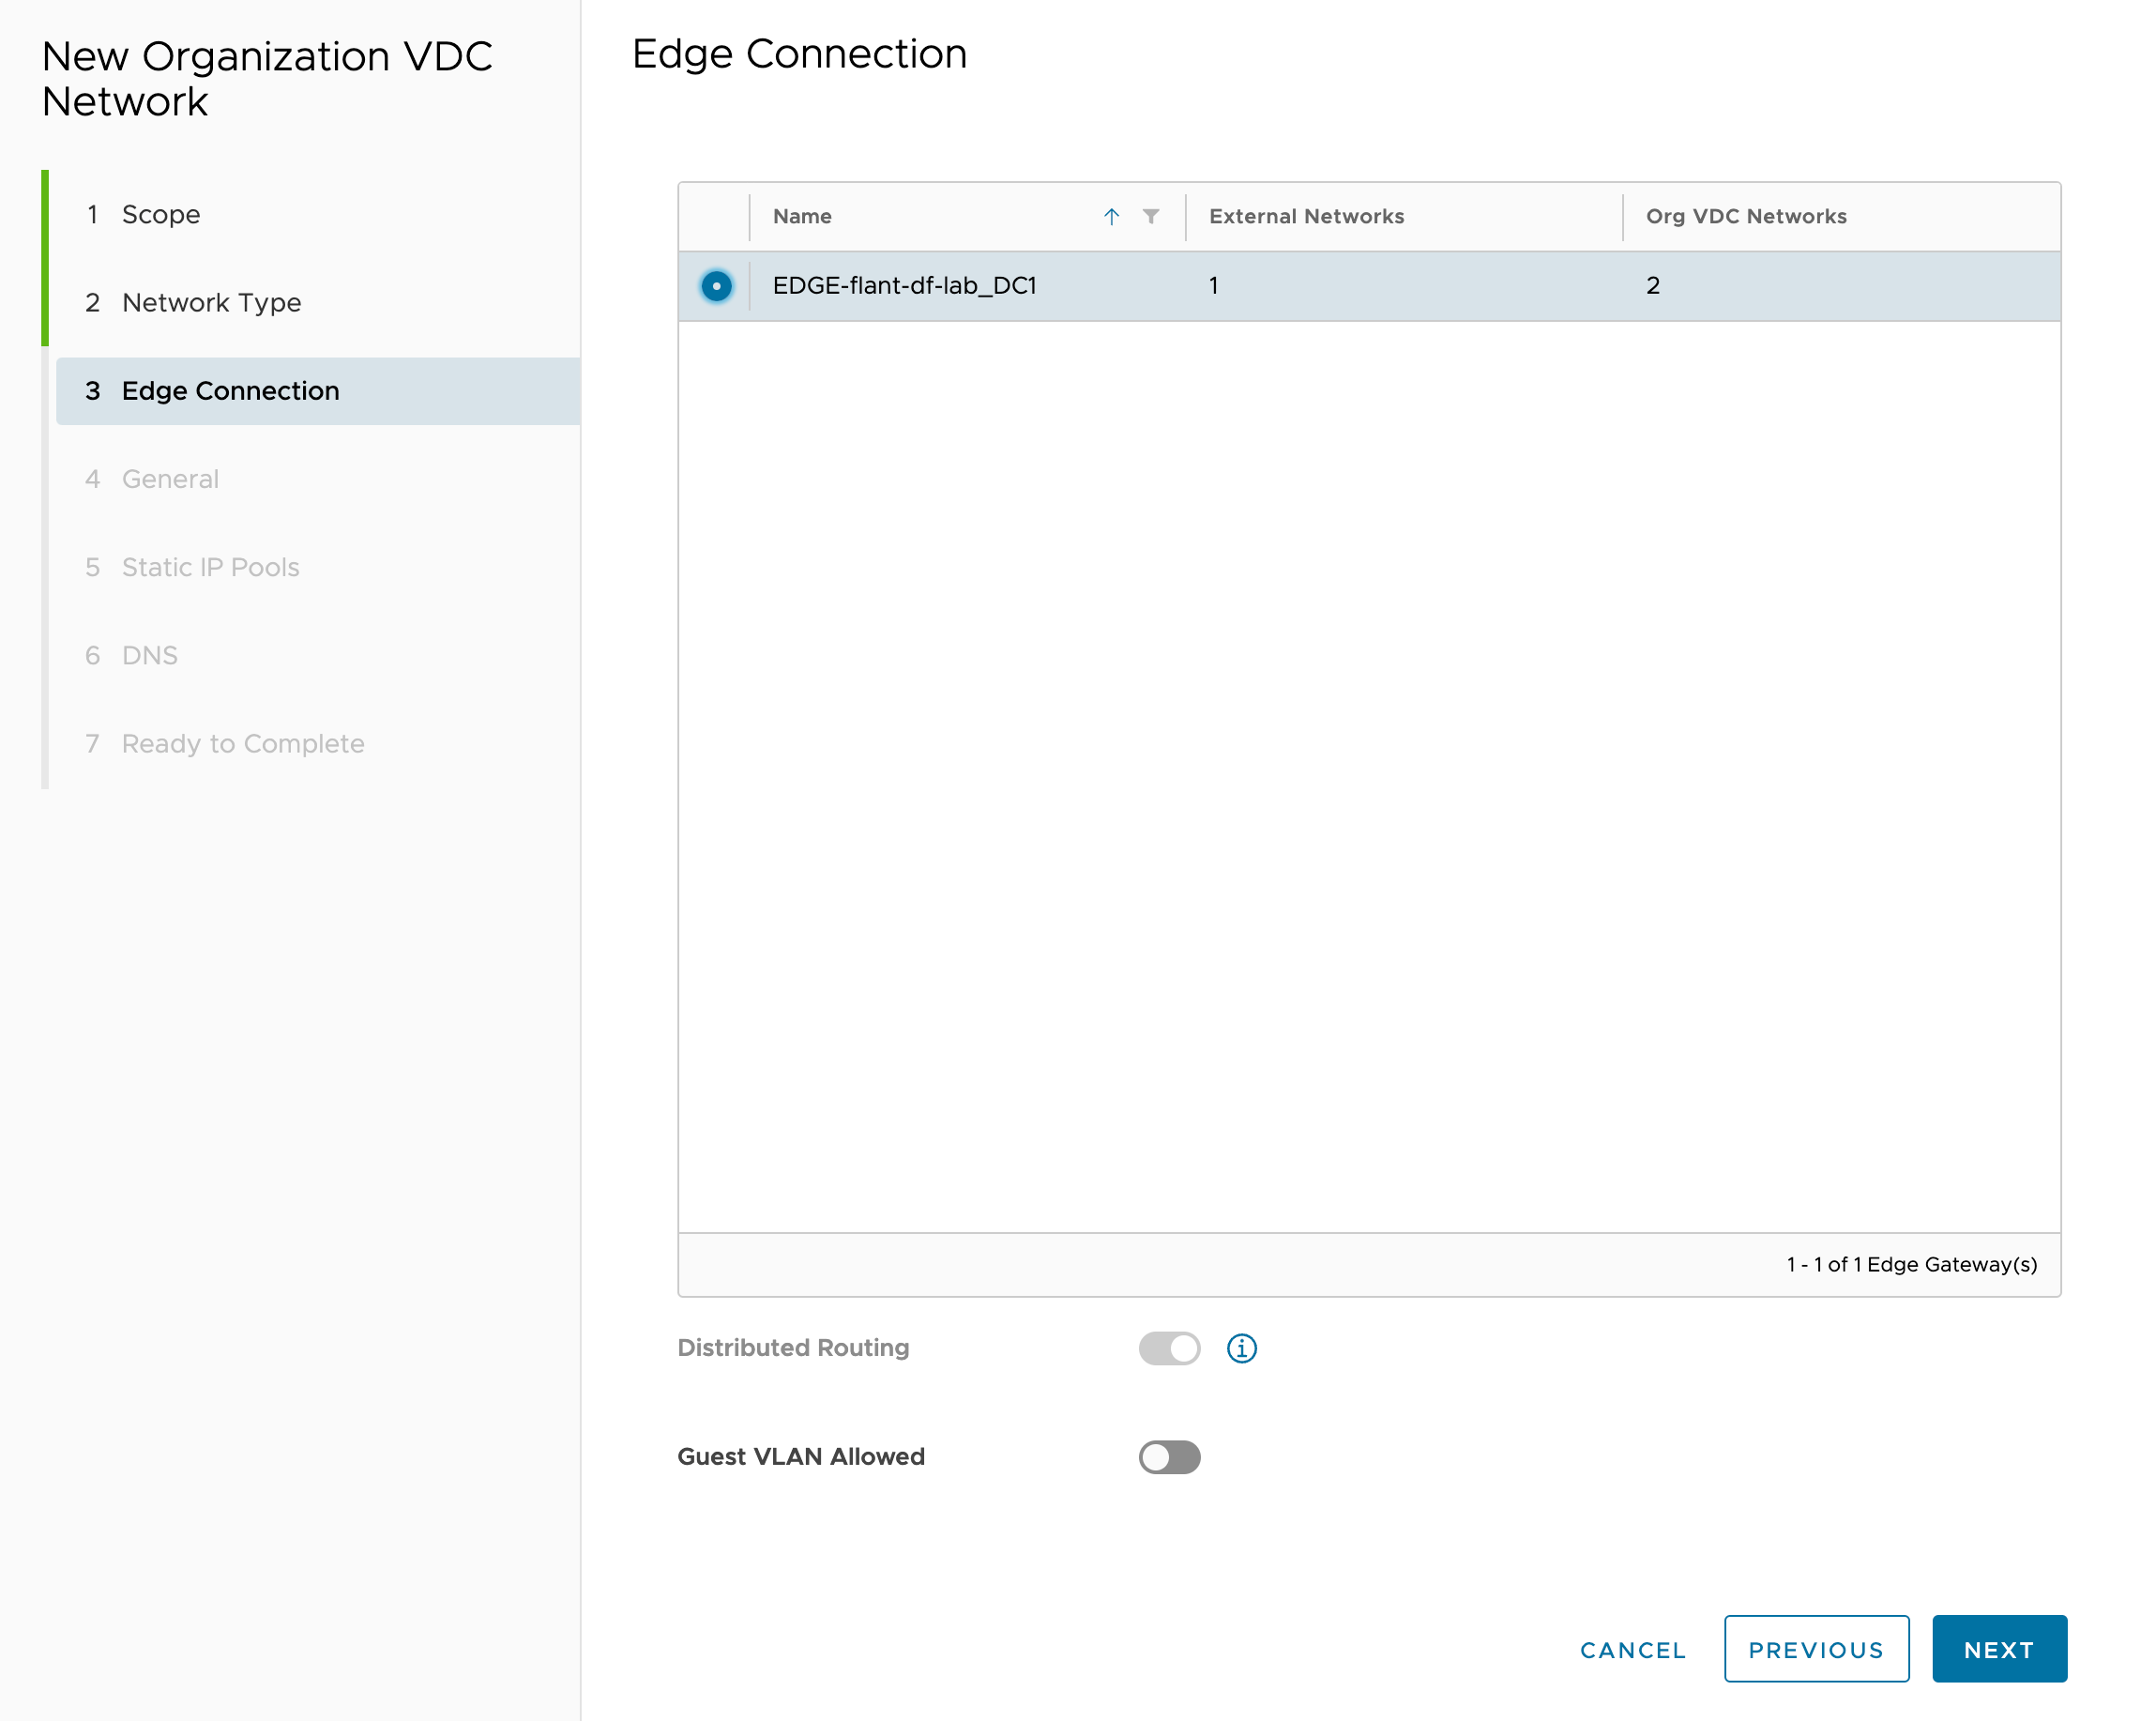
-
Specify the network name and CIDR:
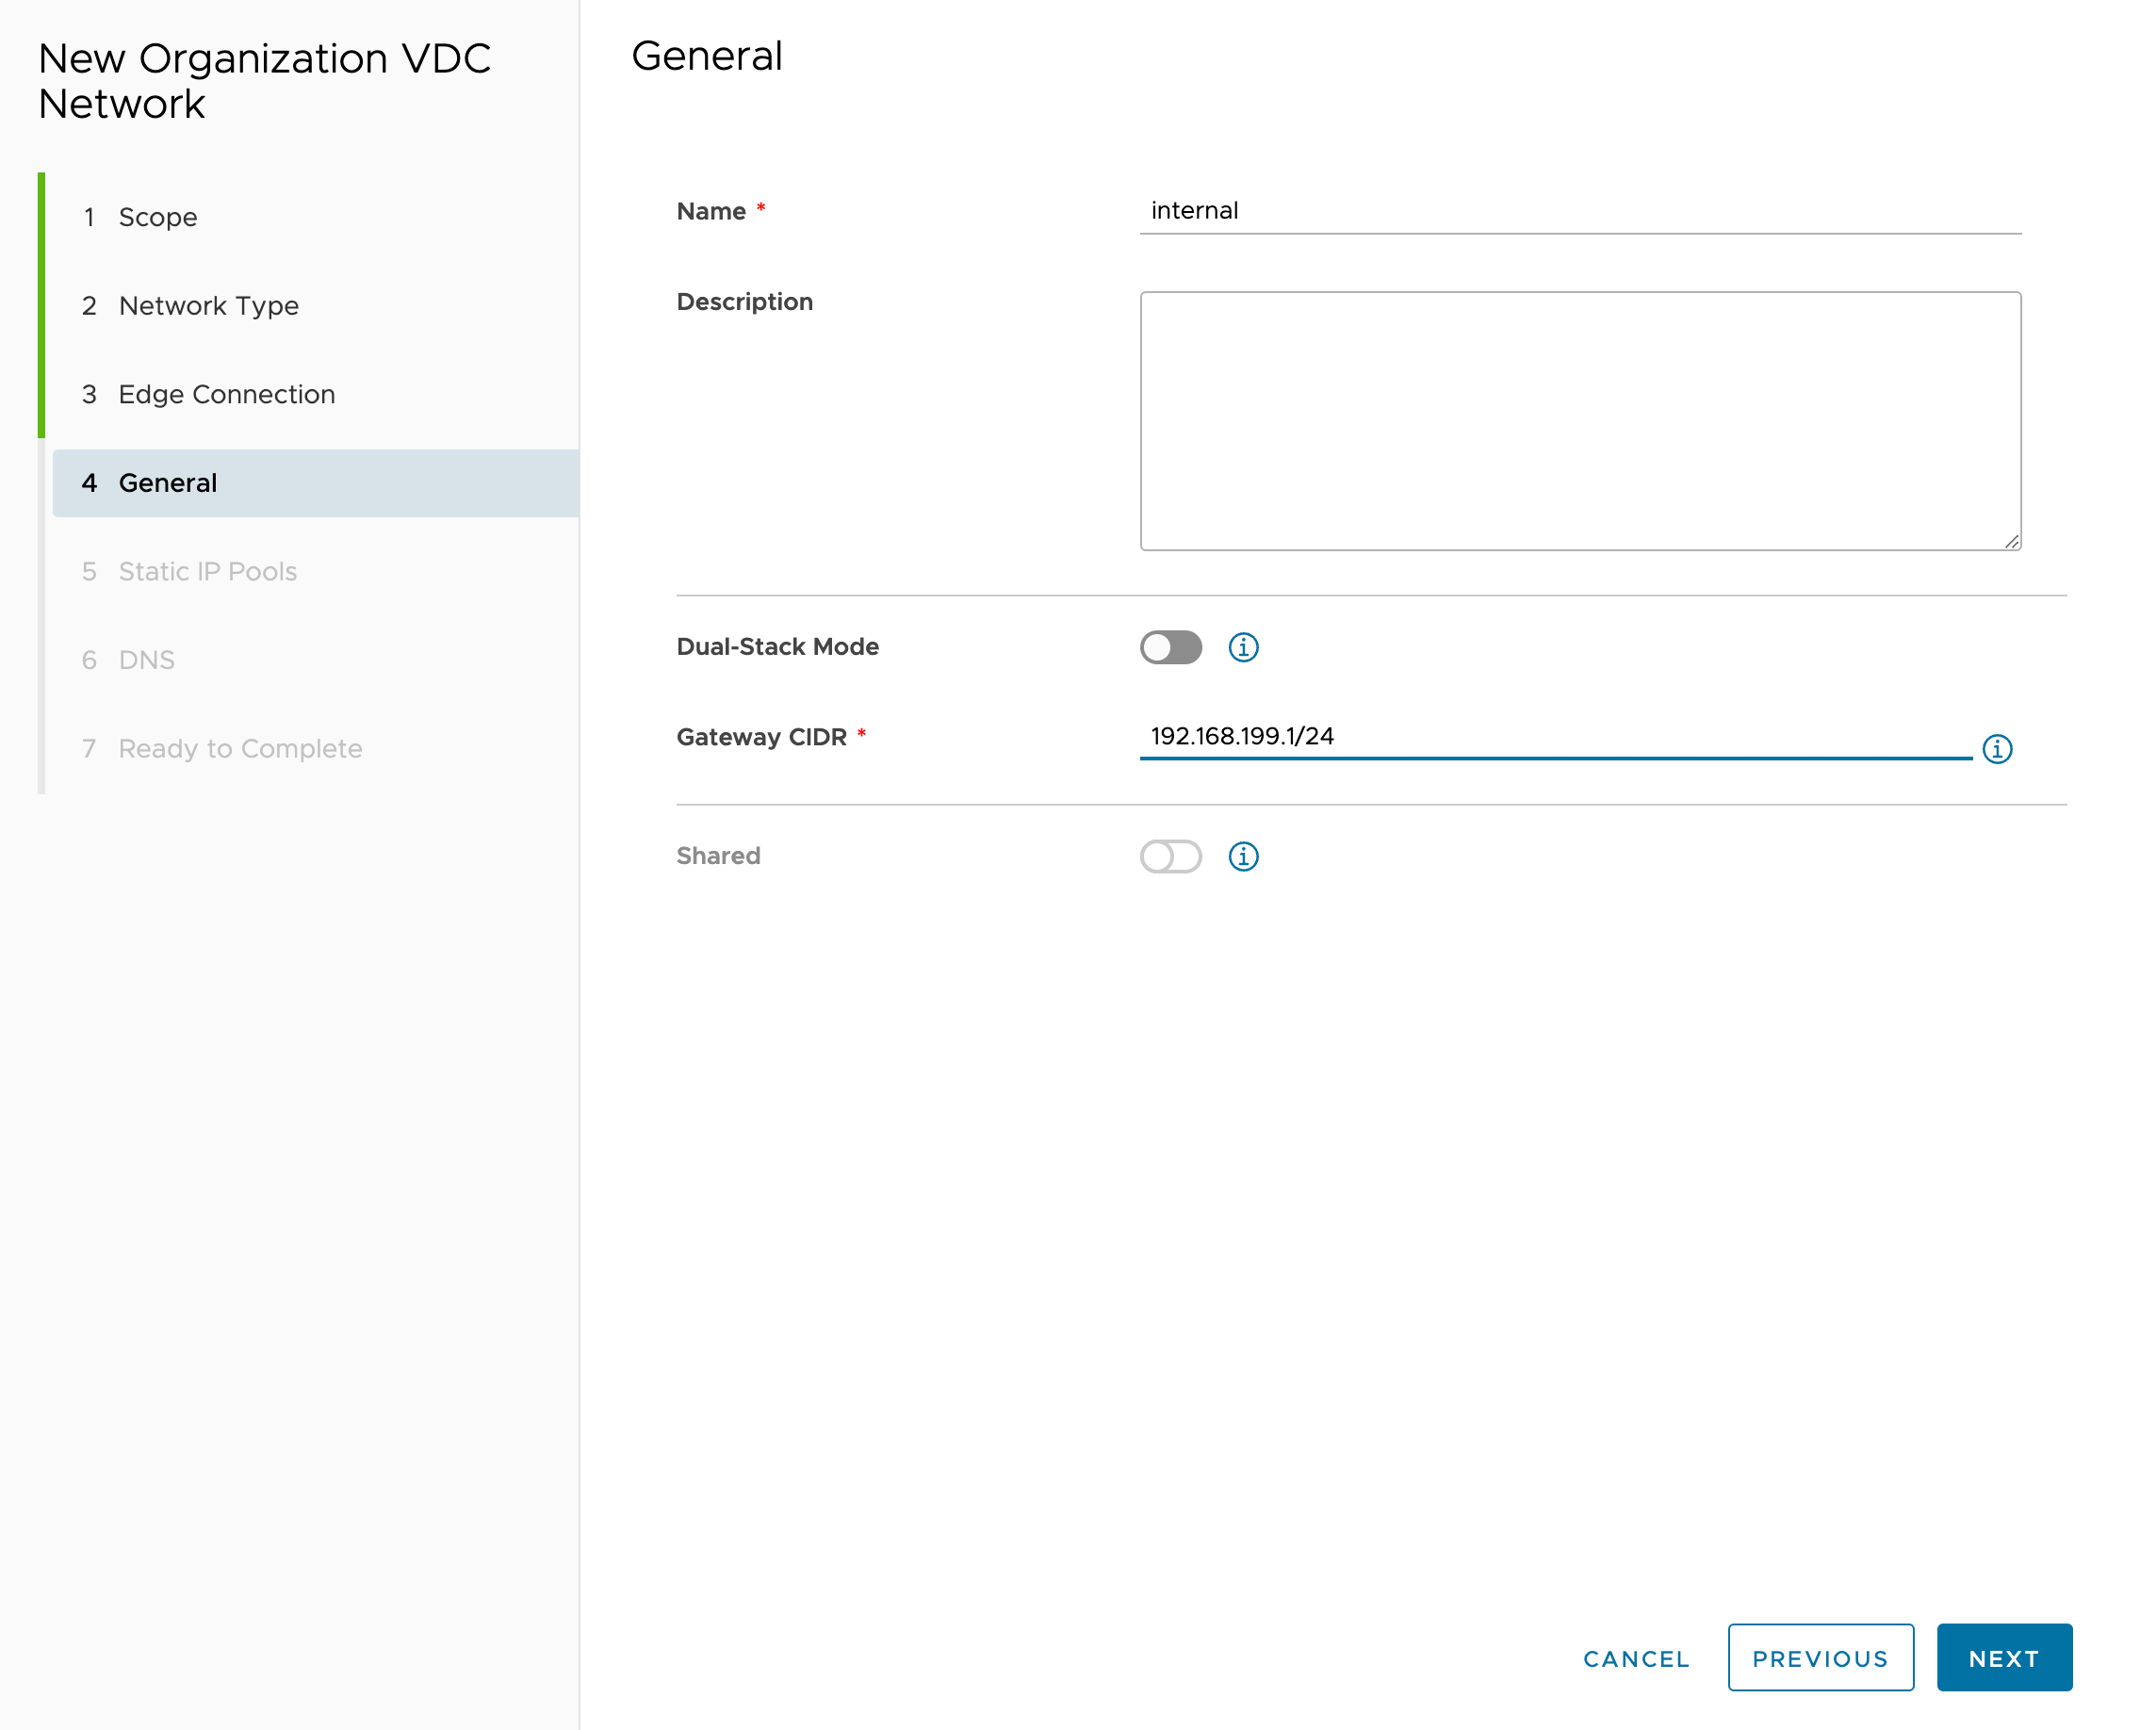
-
Do not add “Static IP Pools” because DHCP will be used:
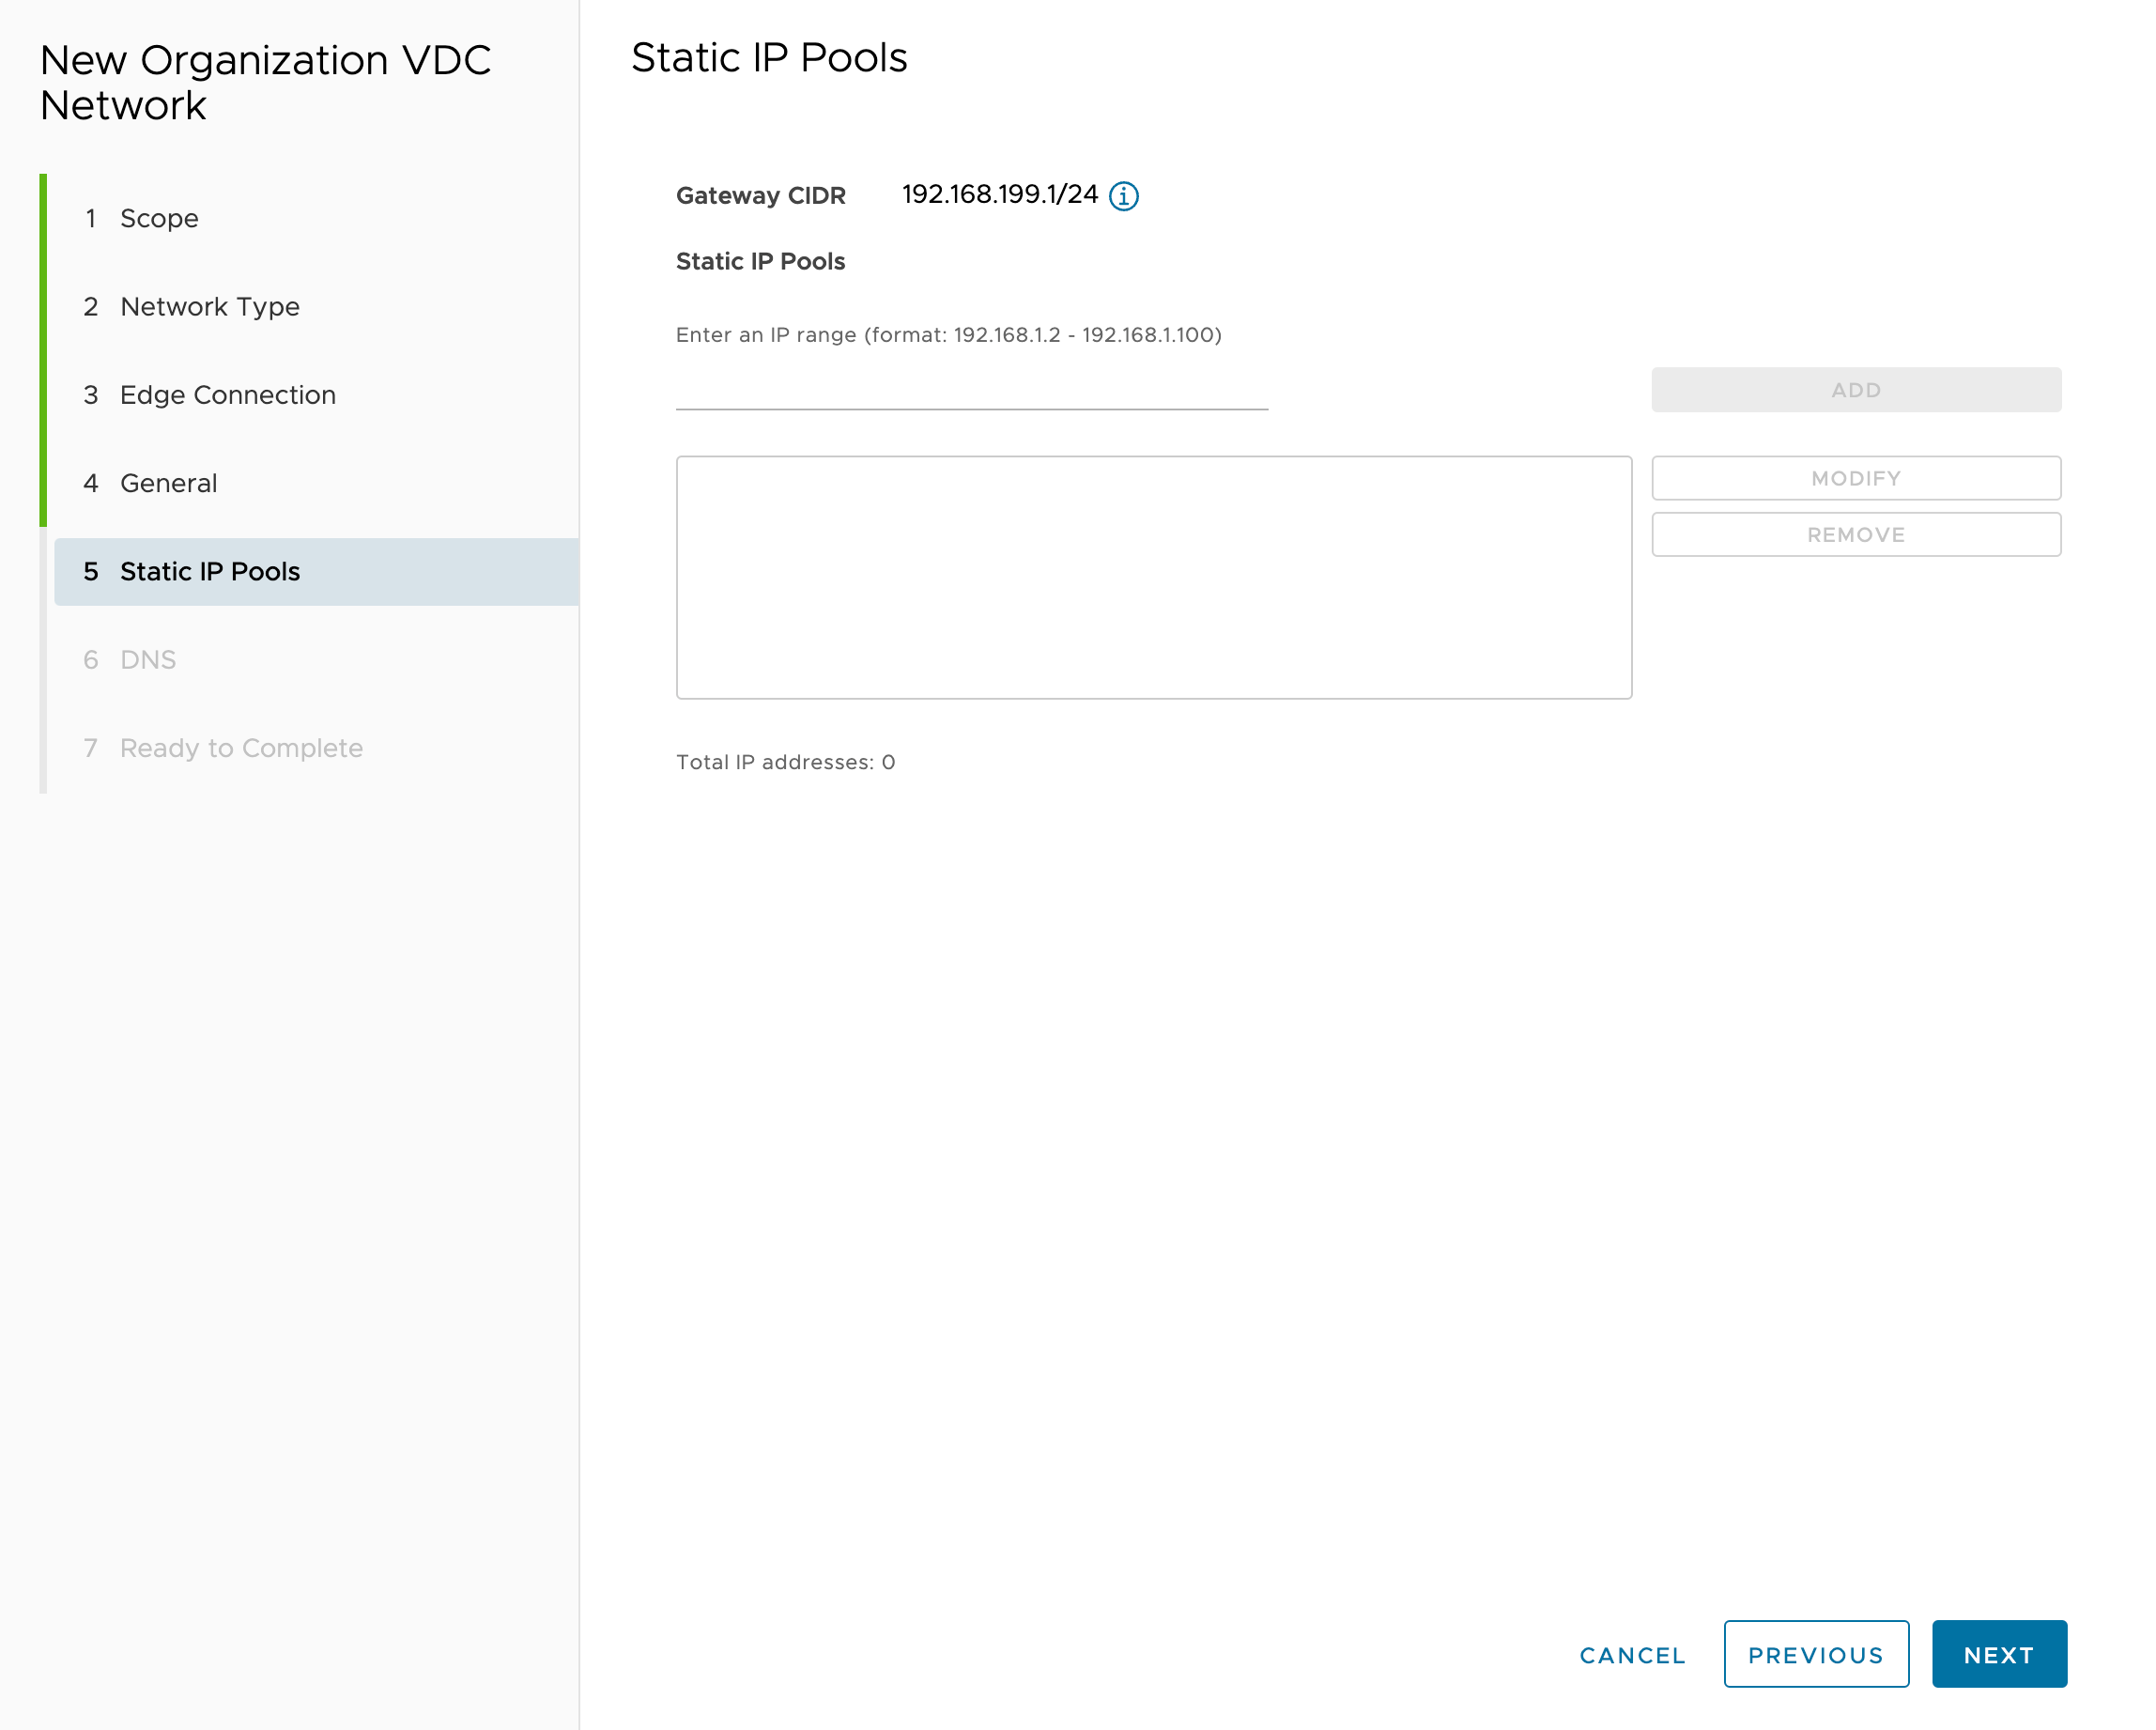
-
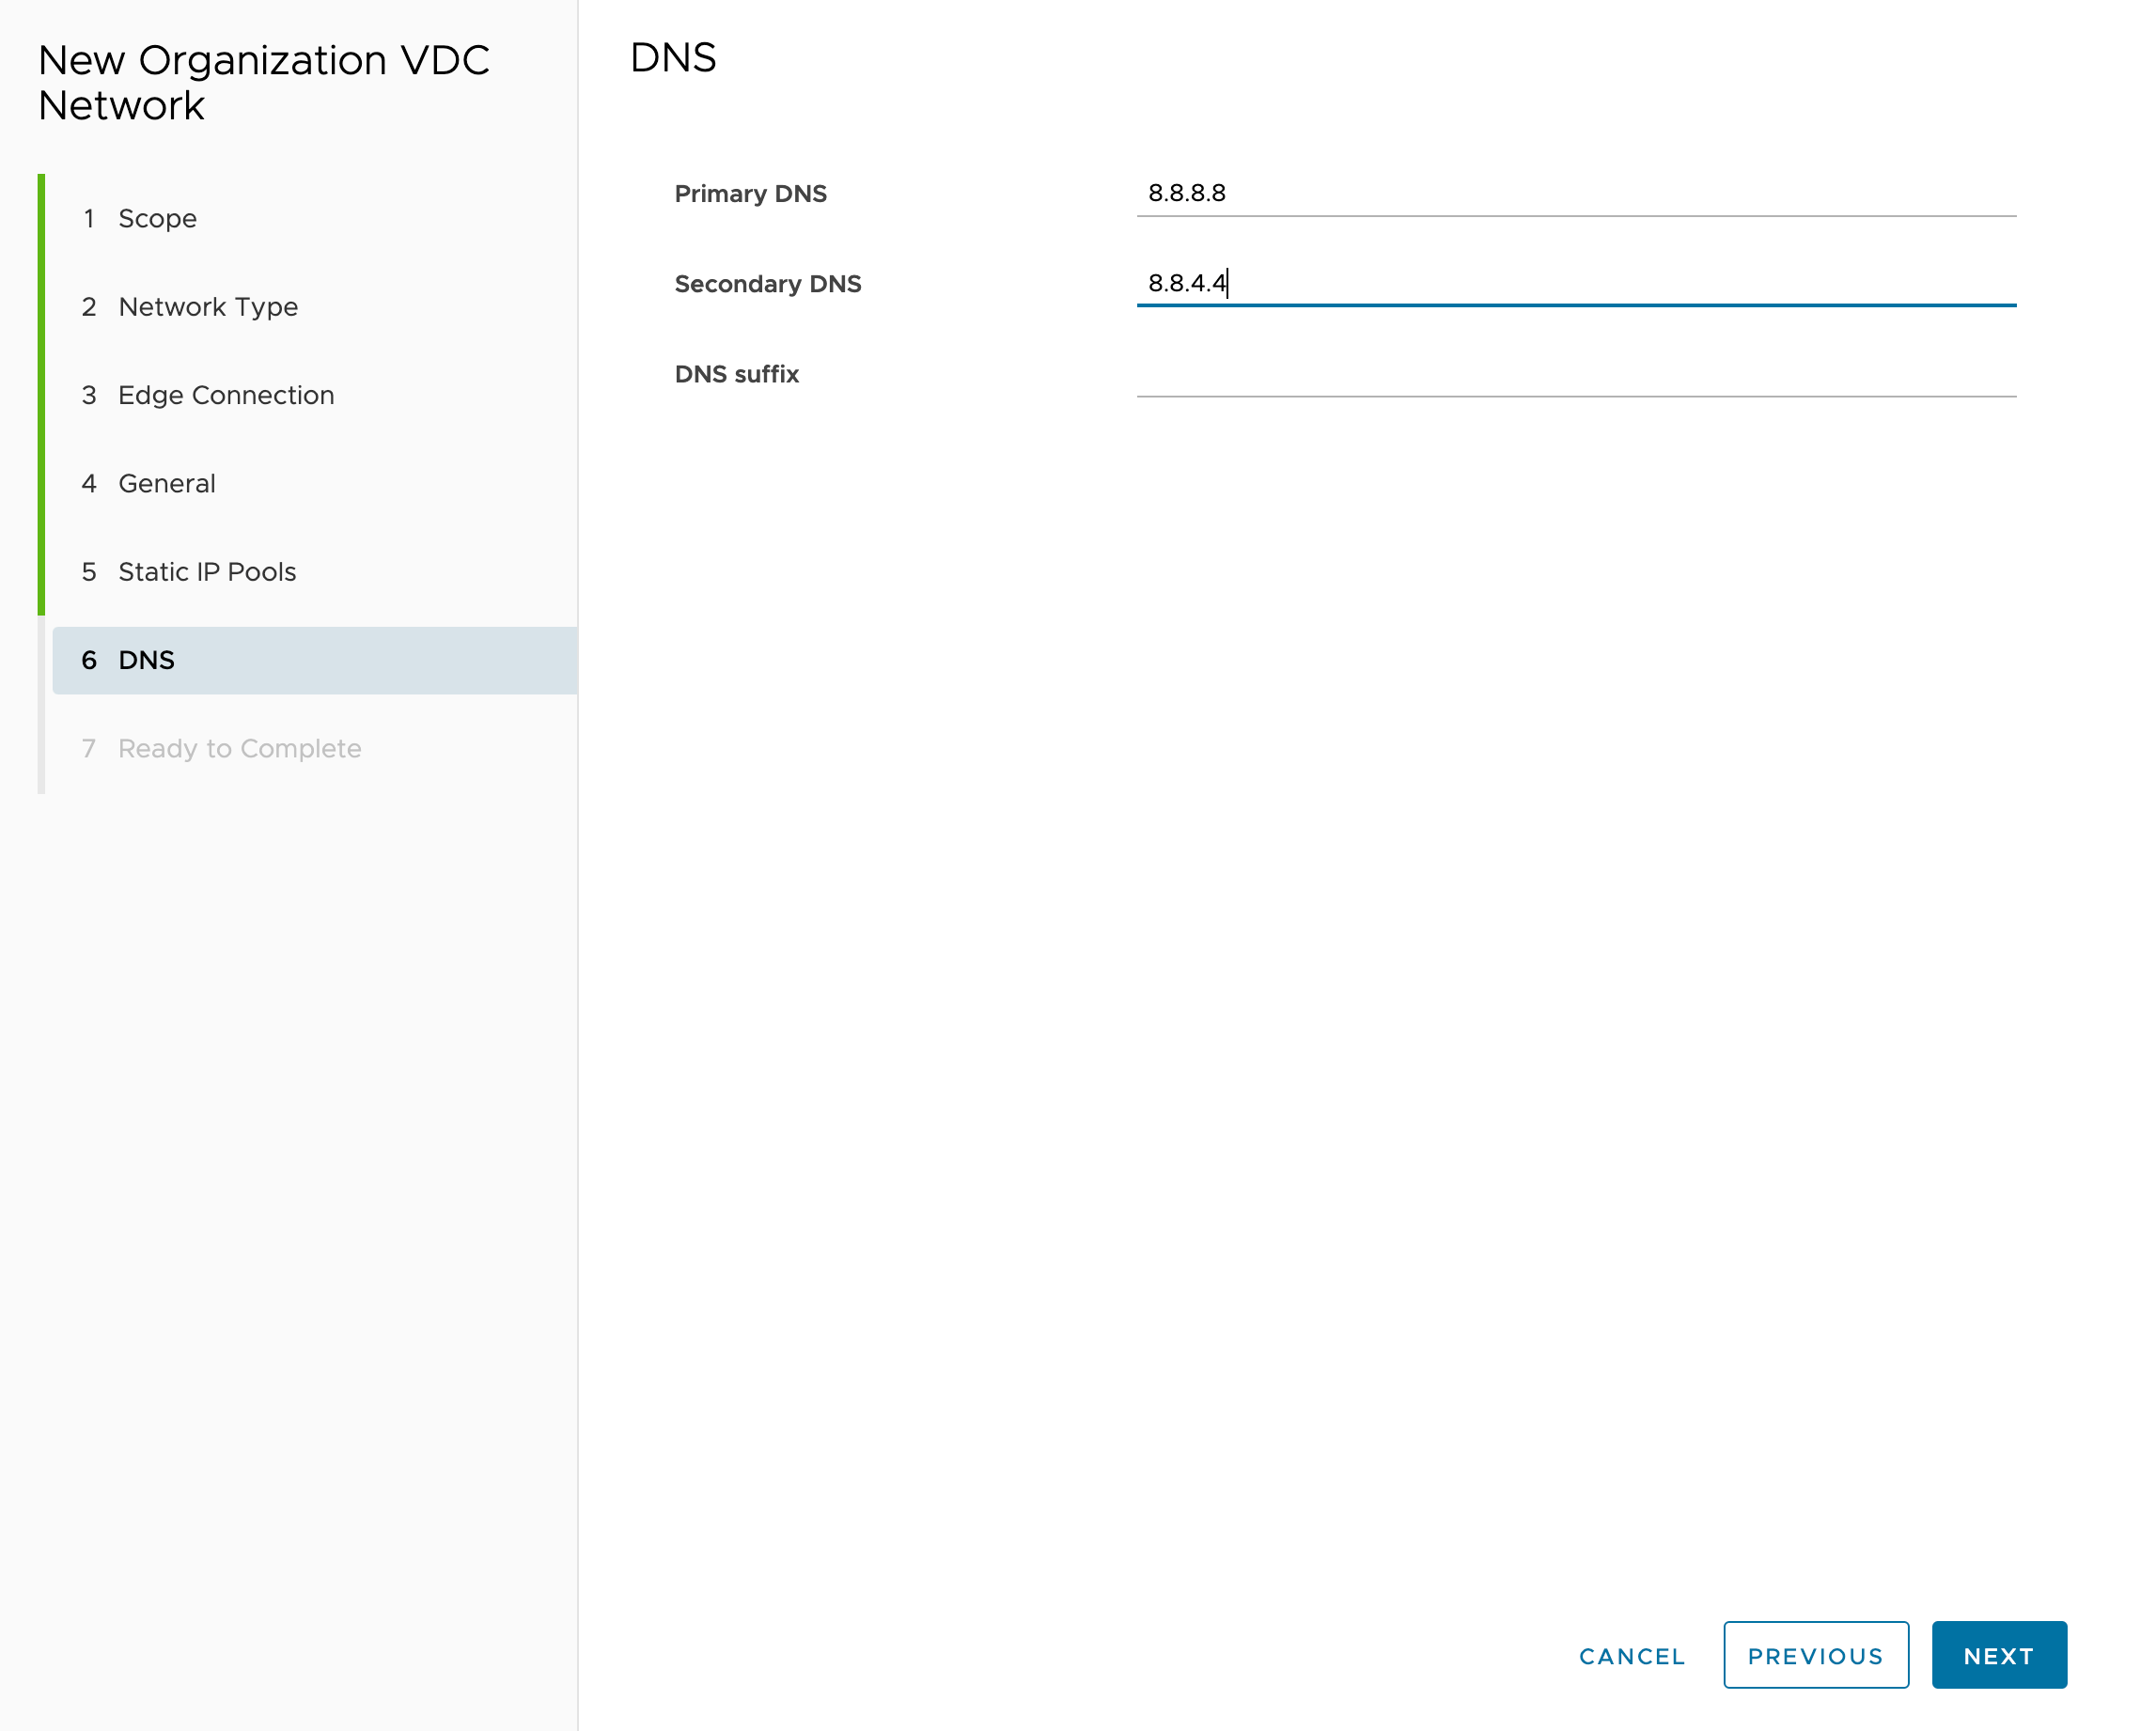
Specify the DNS server addresses:
Configuring DHCP
This instruction is applicable only for the Standard layout.
To provision nodes dynamically, enable the DHCP server for the internal network.
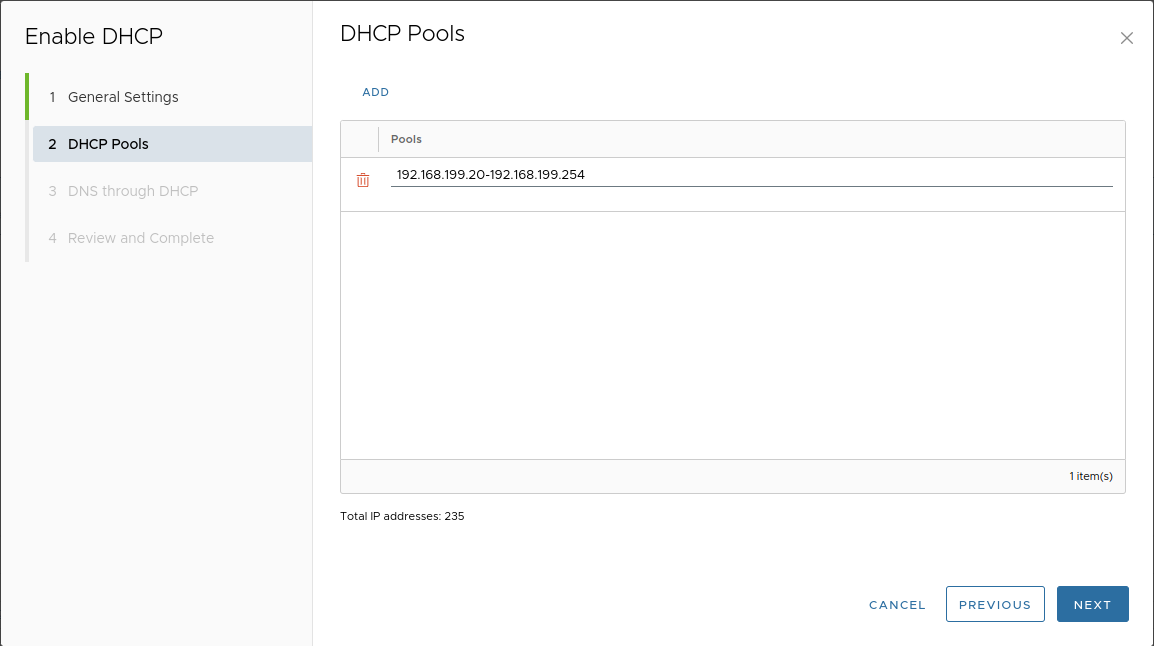
We recommend allocating the beginning of the network address range to system consumers (control plane, frontend nodes, system nodes) and the rest to the DHCP pool. For example, for a /24 mask network it would be enough to allocate 20 addresses to system consumers.
-
Click the “Networking” tab and open the network you created:
-
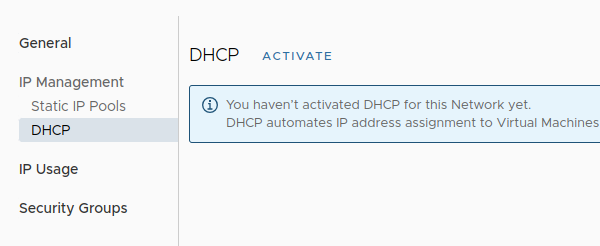
In the opened window, select “IP Management” → “DHCP” → “Activate”:
-
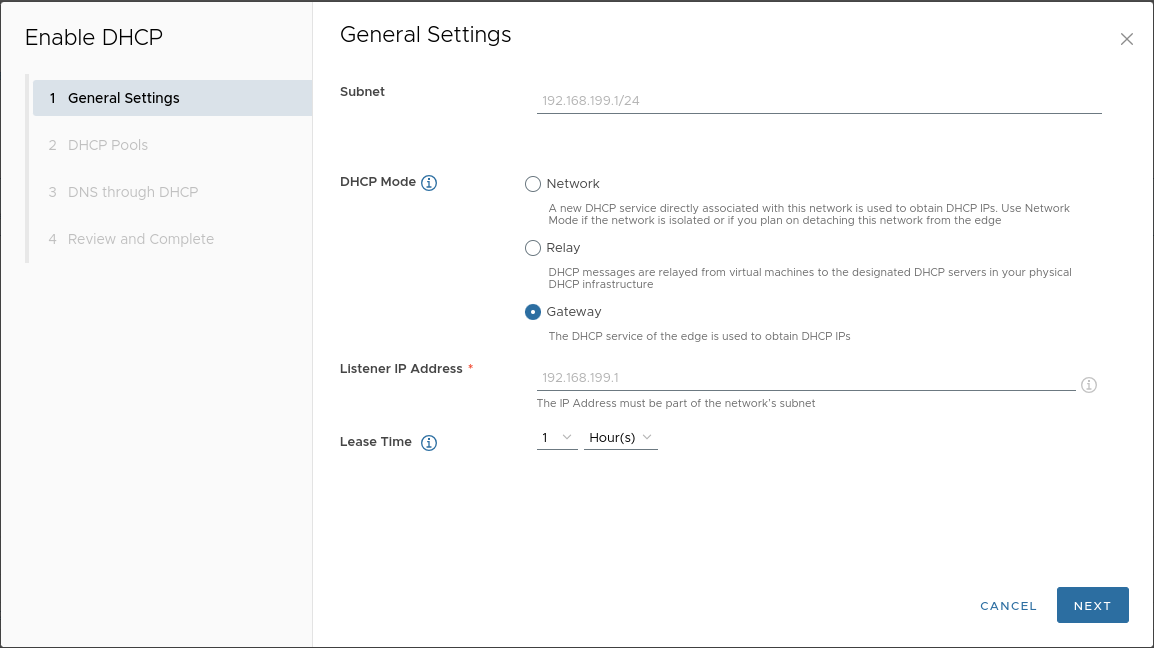
In the “General settings” tab, set the parameters as shown in the example:
-
Add a pool:
-
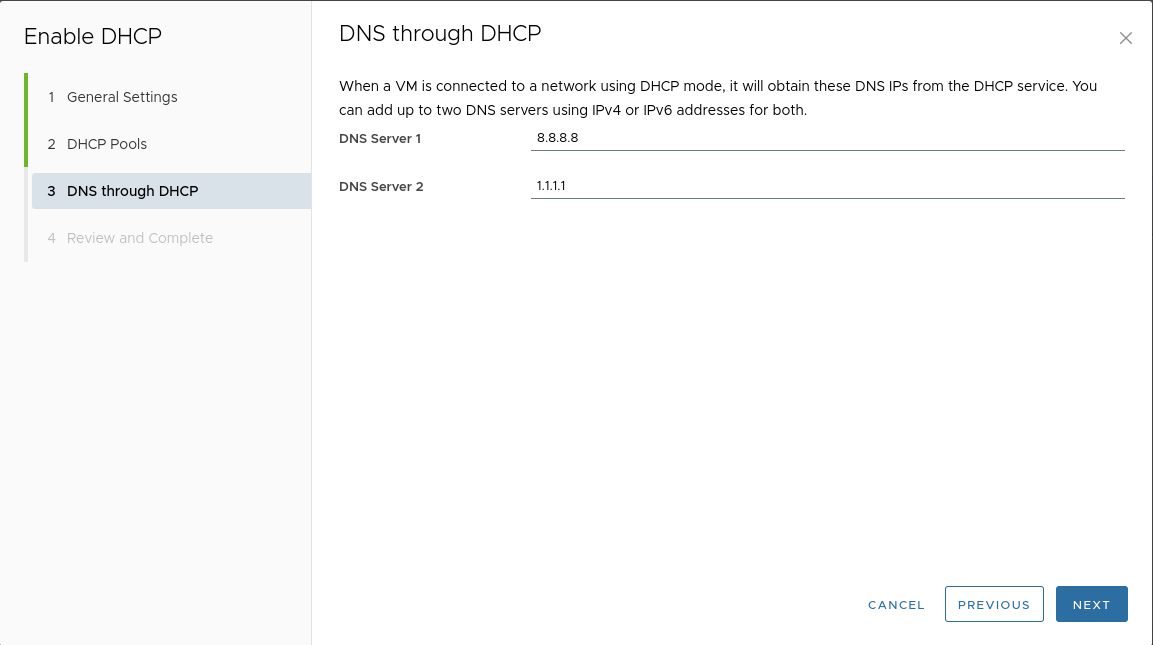
Set the DNS server addresses:
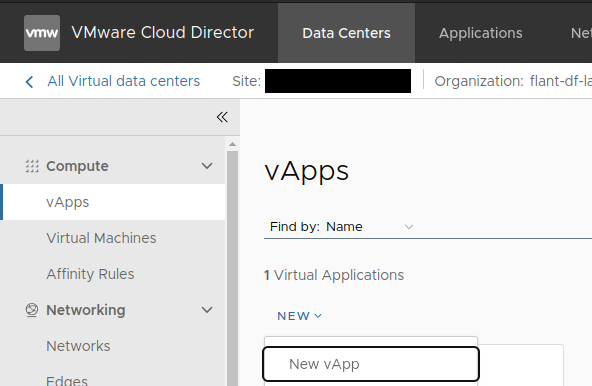
Adding a vApp
This instruction is applicable only for the Standard deployment layout.
-
Switch to the “Data Centers” tab → “vApps” → “NEW” → “New vApp”:
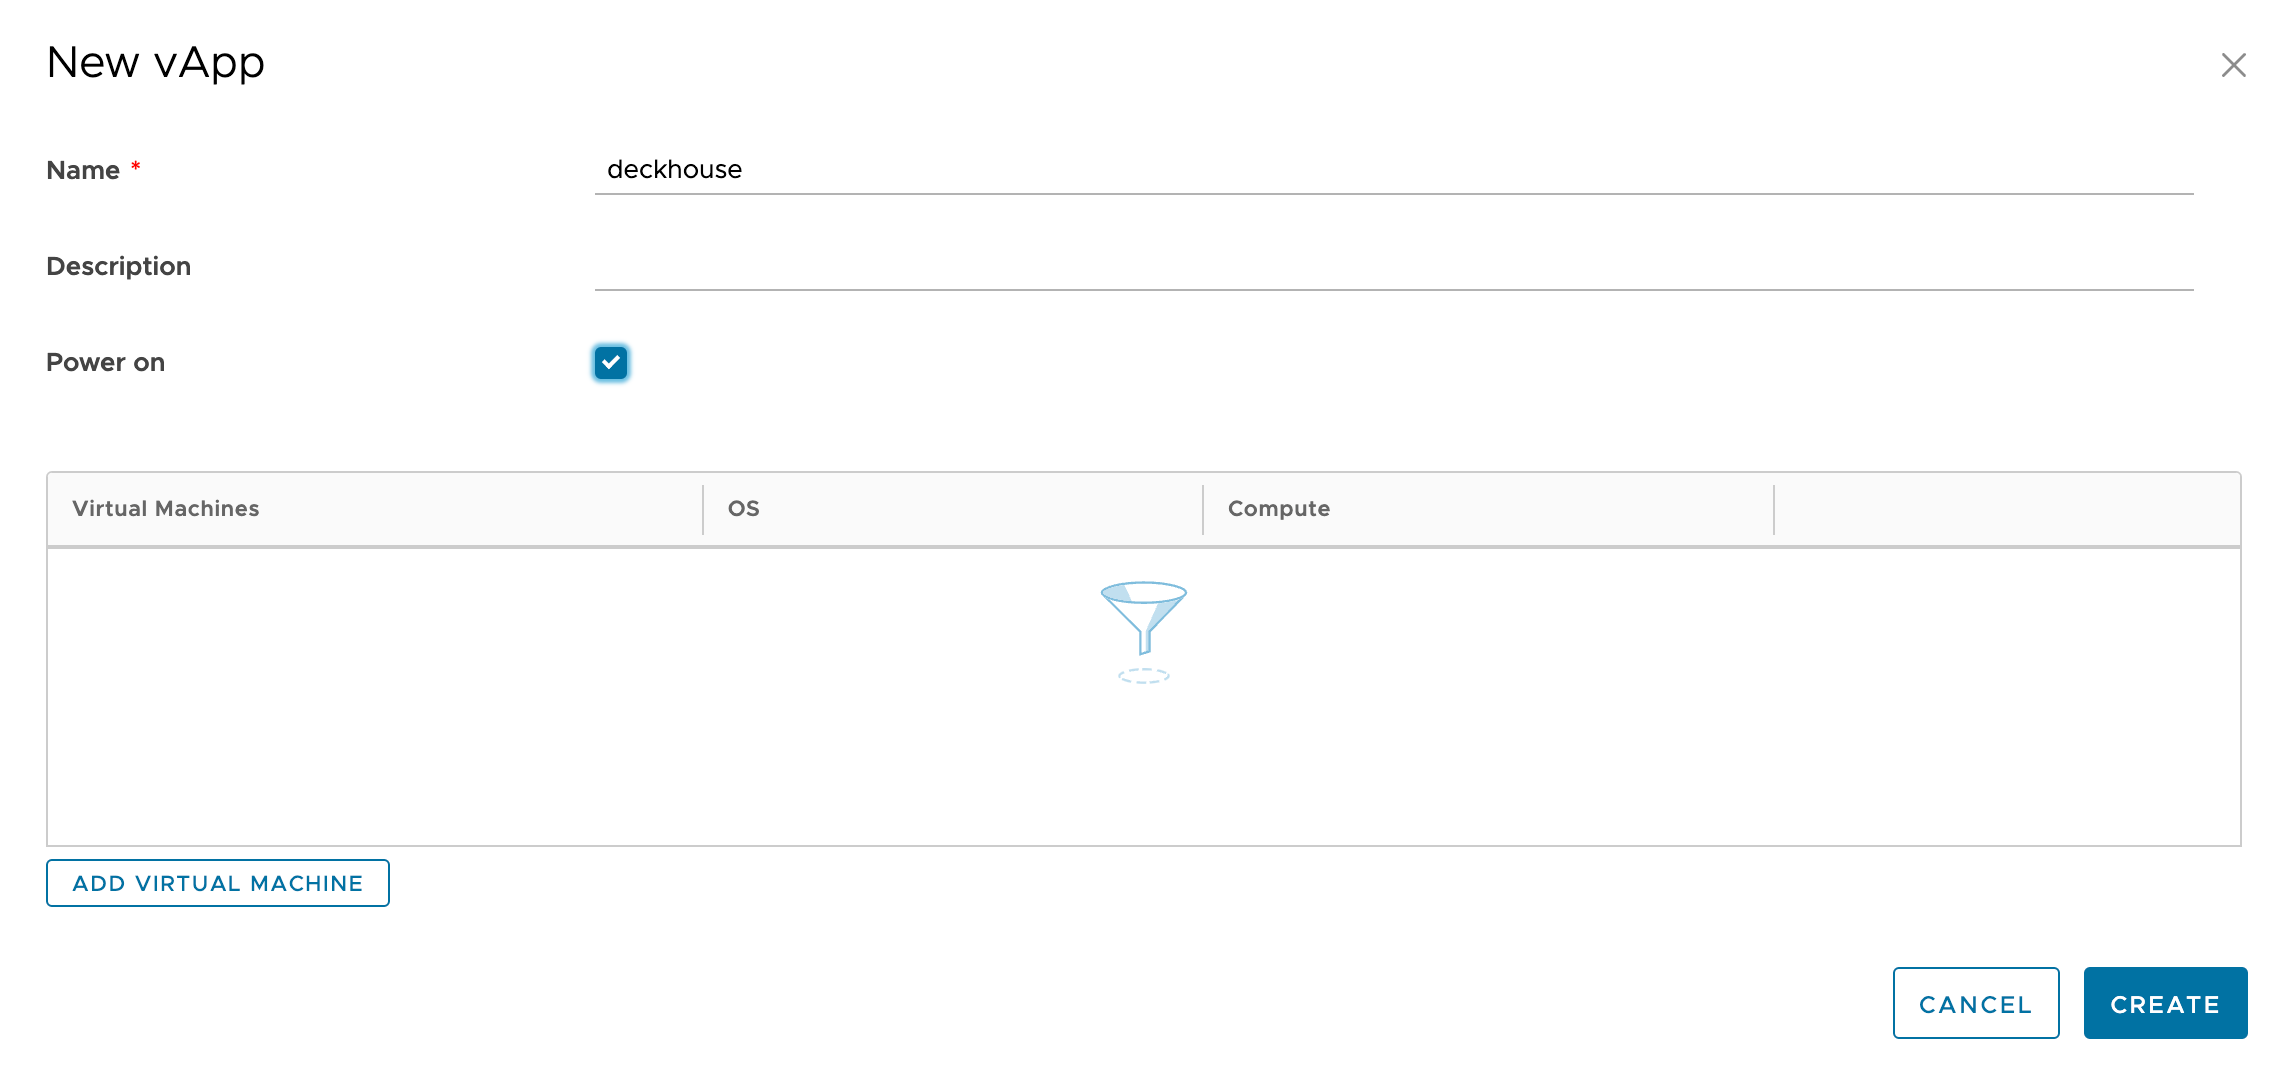
-
Specify a name and enable the vApp:
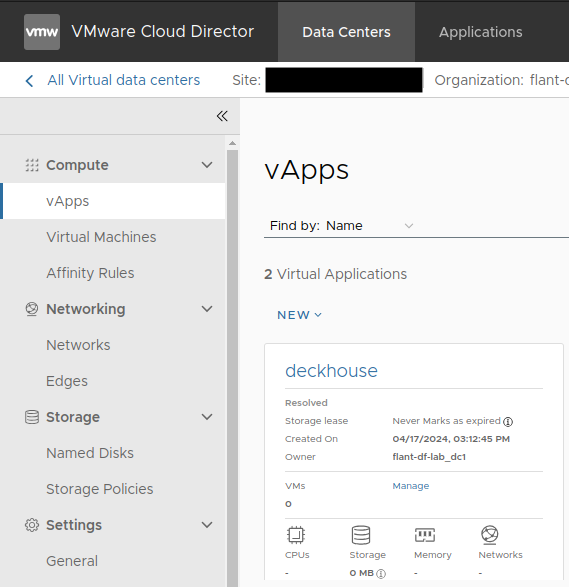
Adding a network to the vApp
This instruction is applicable only for the Standard deployment layout.
Once the vApp is created, connect the created internal network to it.
-
Switch to the “Data Centers” tab → “vApps” and open the target vApp:
-
Go to the “Networks” tab and click “NEW”:
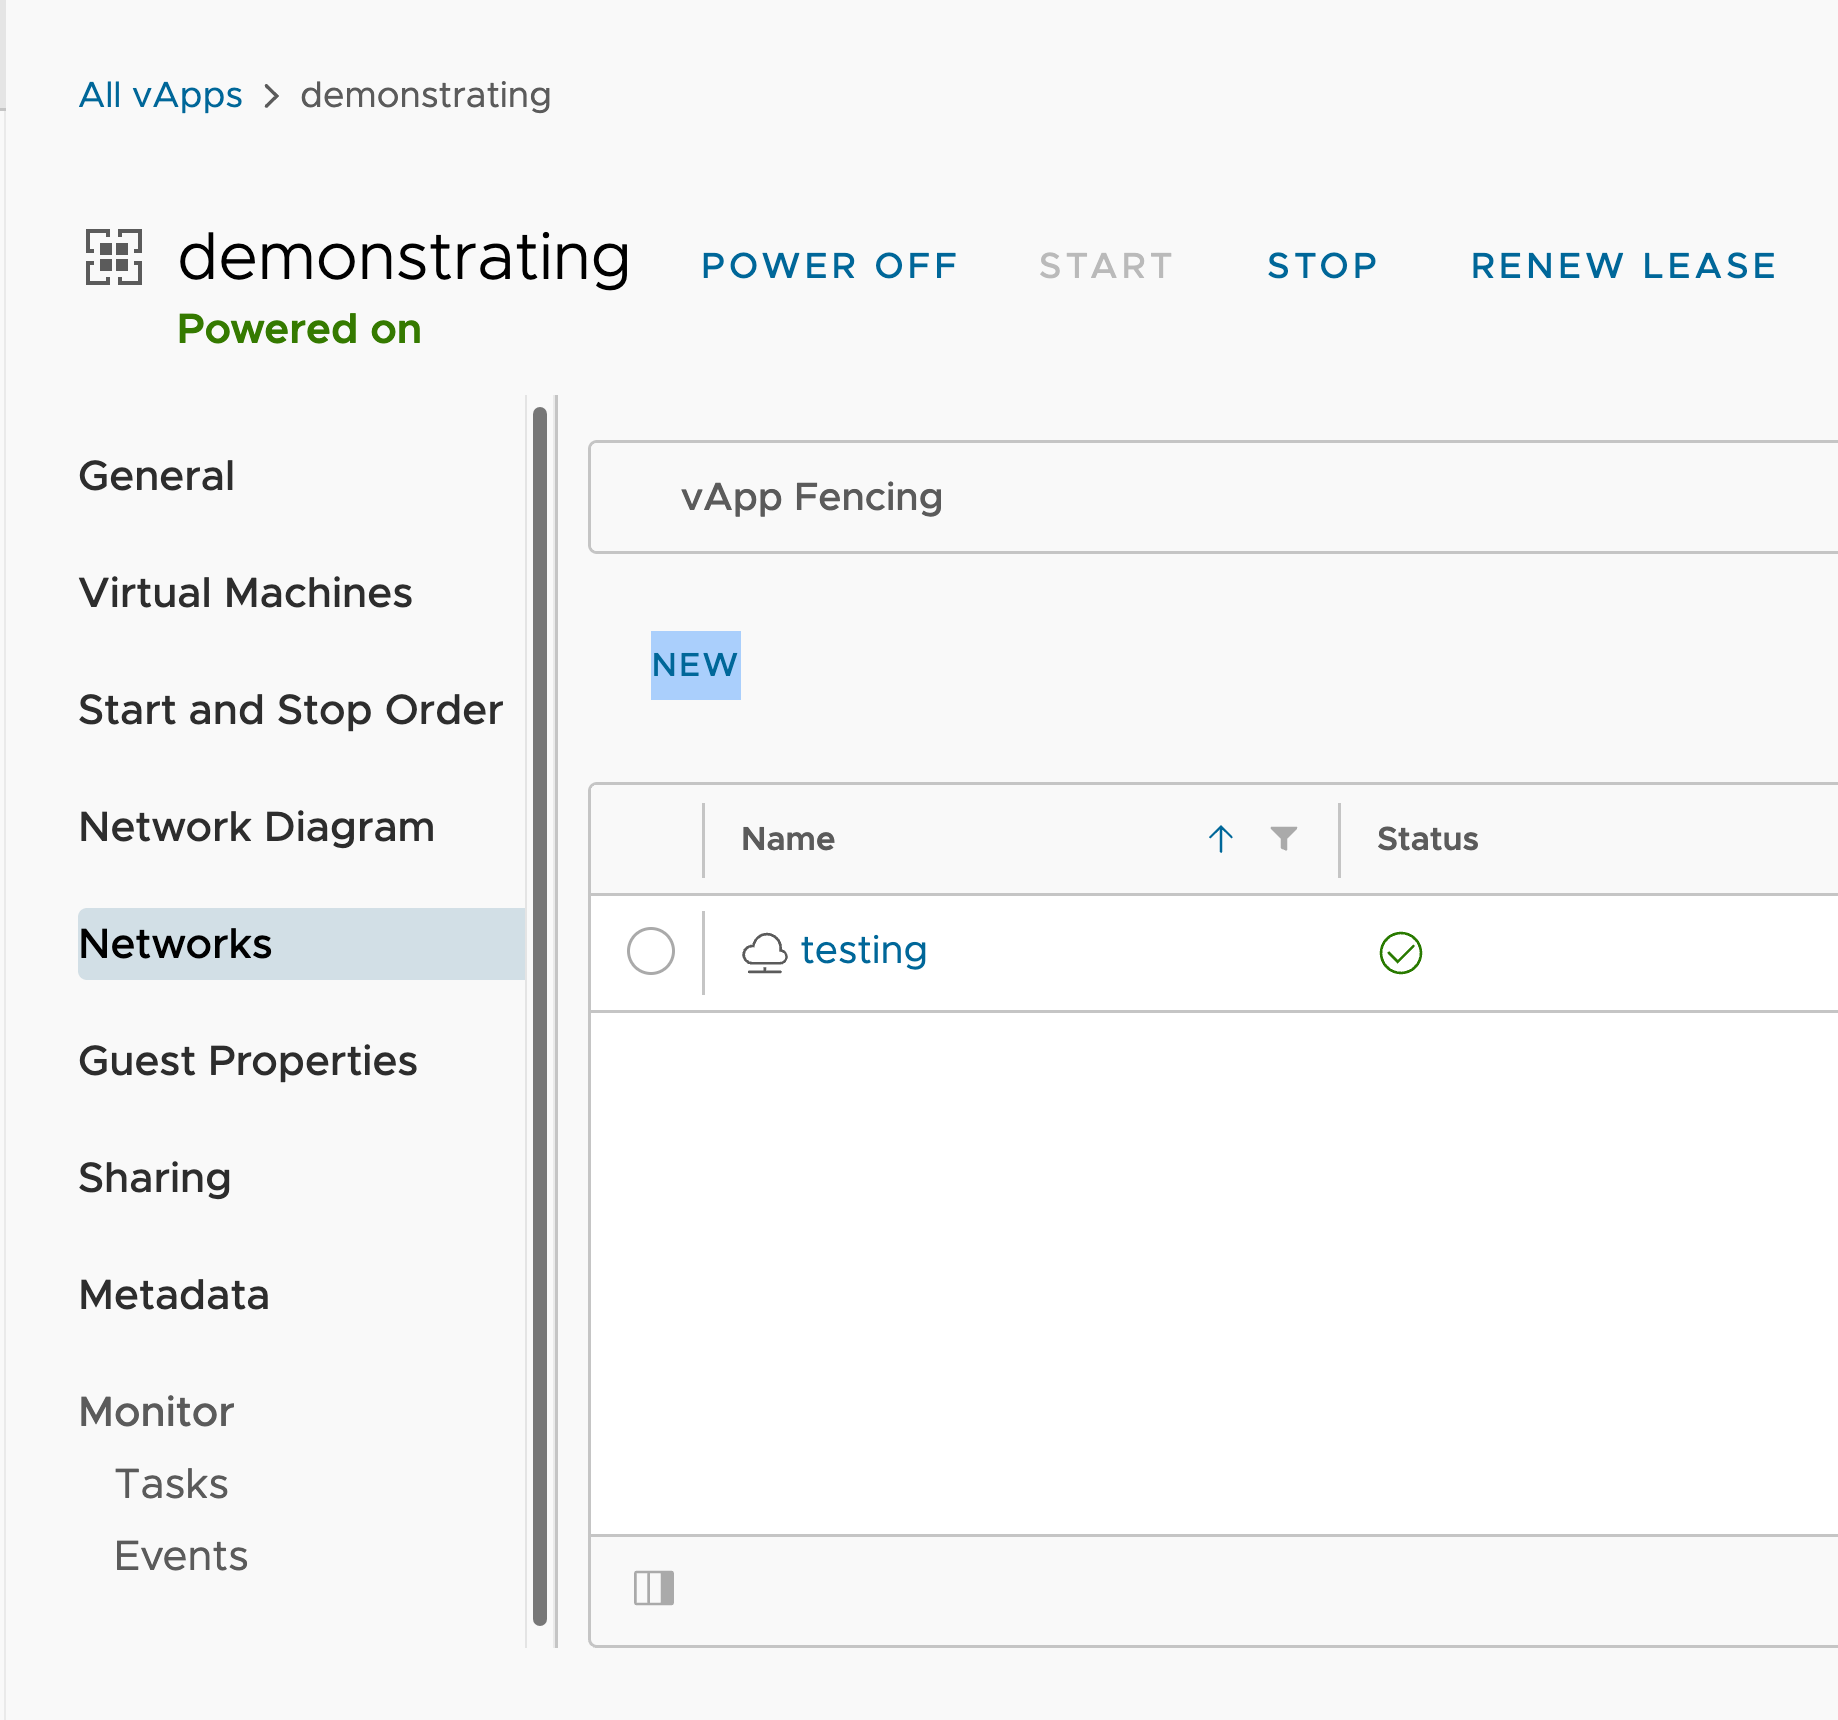
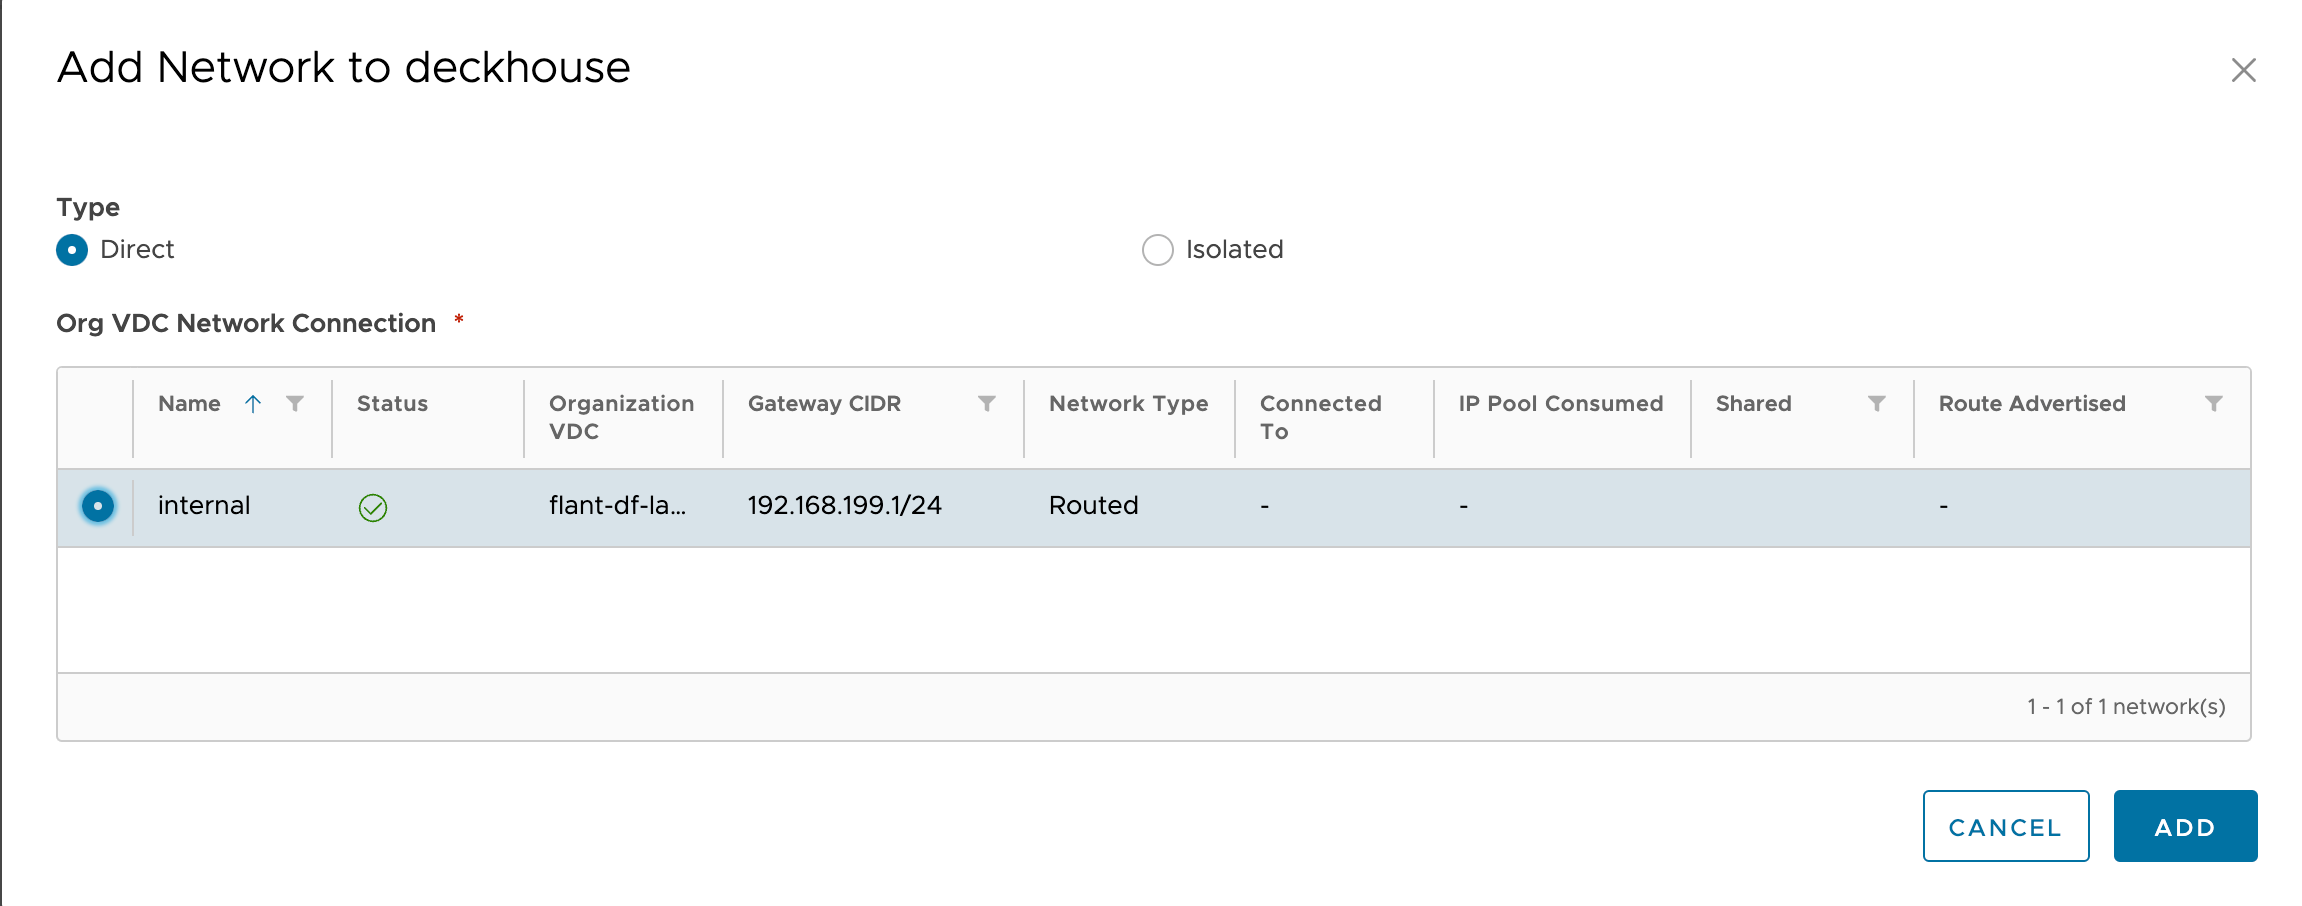
-
In the opened window, click the “Direct” type and select the network:
Incoming traffic
Incoming traffic should be routed to the edge router (ports 80, 443) using DNAT rules to be forwarded to a dedicated address on the internal network.
This address can be created by running MetalLB in L2 mode for dedicated frontend nodes.
Configuring DNAT/SNAT rules on the edge gateway
This instruction is applicable only for the Standard deployment layout.
-
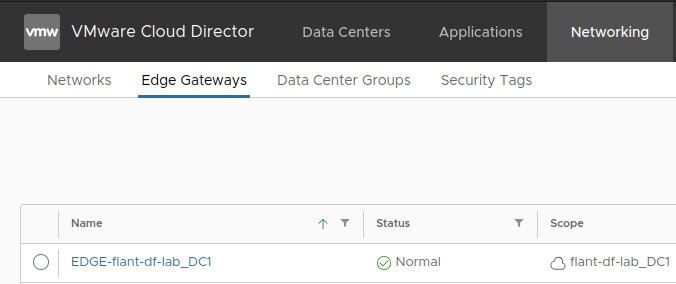
Navigate to the “Networking” tab → “Edge Gateways” and open the edge gateway:
-
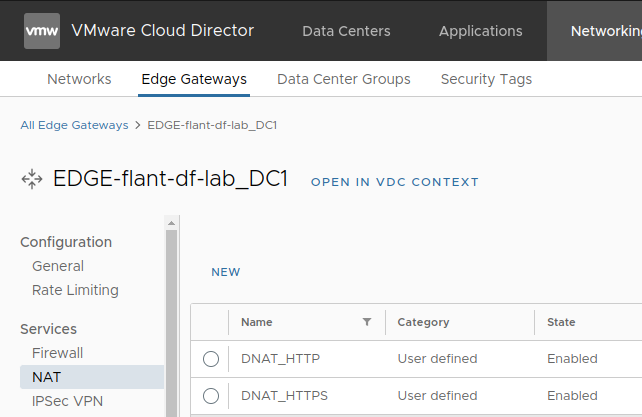
Switch to the “Services” tab → “NAT”:
-
Add the following rules:
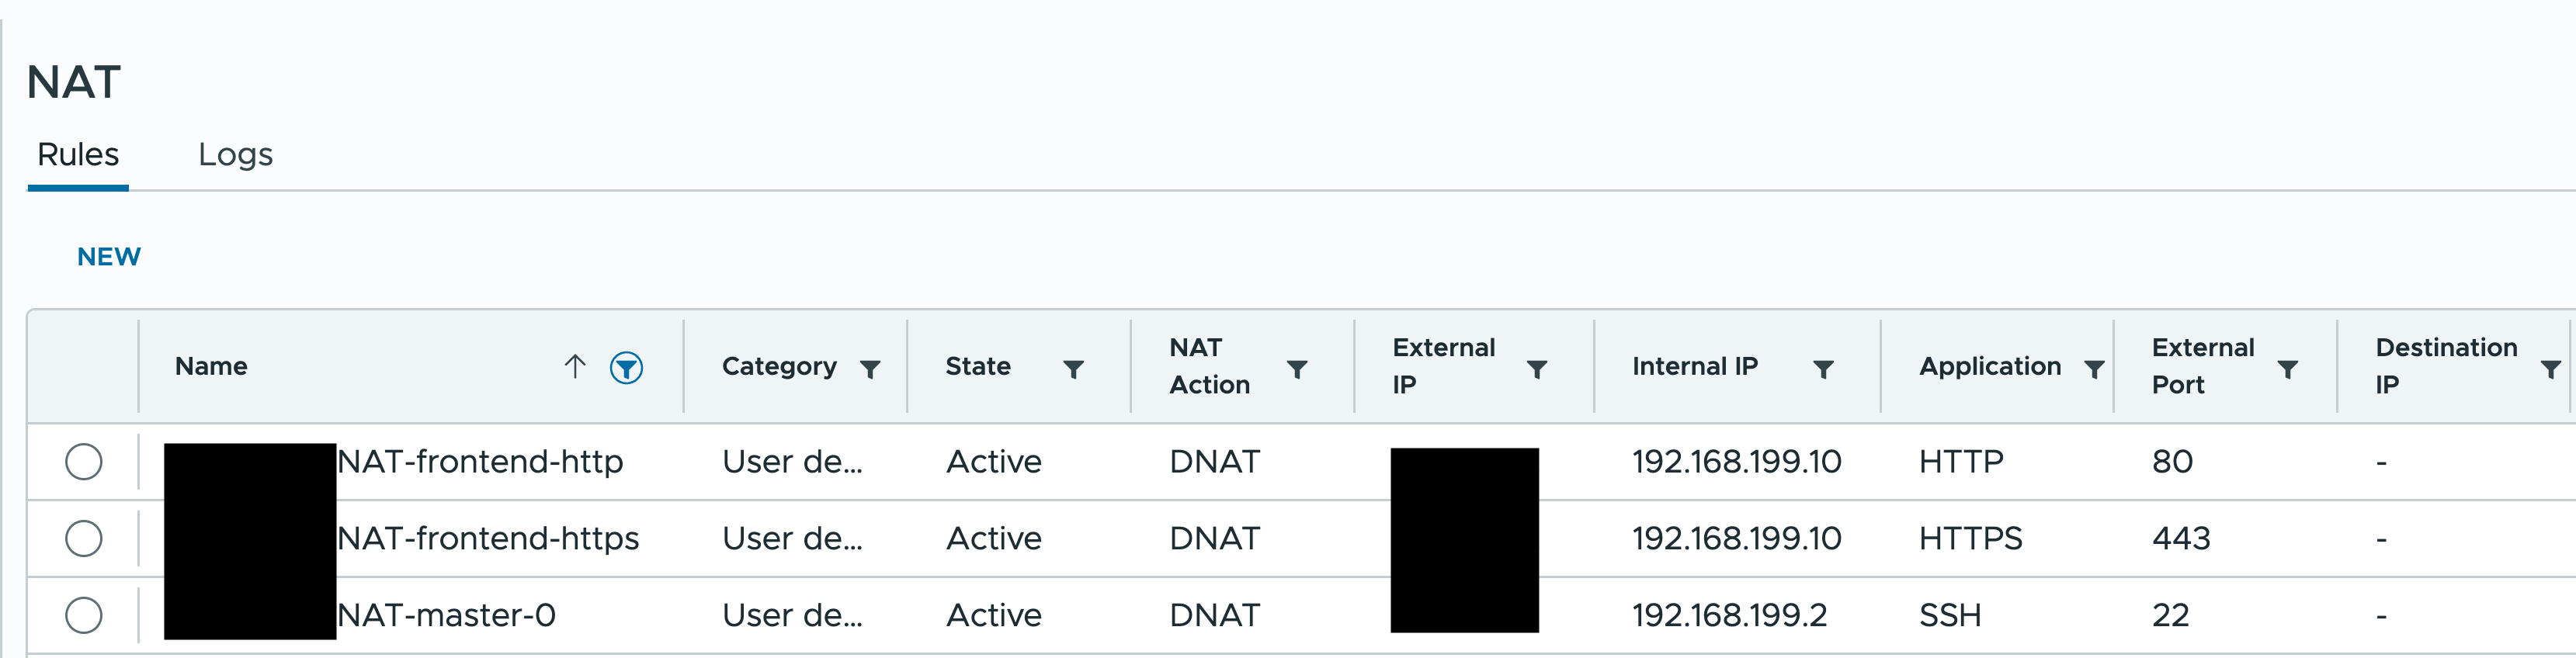
The first two rules are used for incoming traffic, while the third rule is used for SSH access to the control plane host (without this rule the installation will not be possible).
-
To allow virtual machines to access the Internet, configure SNAT rules following the example:

This rule will allow virtual machines from the
192.168.199.0/24subnet to access the Internet.
Let’s Encrypt certificate issuance
This instruction is applicable only for the Standard deployment layout.
When using cert-manager with the HTTP-01 ACME challenge type, you may need to configure Hairpin NAT (NAT loopback) on the Edge Gateway.
This is required when the Ingress domain name resolves to the external IP address of the Edge Gateway, while requests to that address are made from inside the cluster (from the node network). In this case, the traffic must be correctly routed back to the internal network to the Ingress address (for example, the MetalLB address).
This is important for issuing Let’s Encrypt certificates because cert-manager performs a preliminary self-check of the challenge URL before sending a request to the ACME provider. If the URL is not reachable from inside the cluster, certificate issuance will not start, even if the address is accessible from outside.
Example (cluster network 192.168.199.0/24):
- internal node network:
192.168.199.0/24 - external Edge Gateway IP address:
194.117.83.19 - internal Ingress address (for example, MetalLB):
192.168.199.251.
In this case, you must configure Hairpin NAT for traffic from the 192.168.199.0/24 network that is sent to the external IP 194.117.83.19, with translation to the internal Ingress address 192.168.199.251.
Hairpin NAT configuration may be required for Edge Gateway based on NSX-V.
For NSX-T, the loopback scenario is often supported by default, but the actual behavior depends on the VMware Cloud Director provider configuration.
Configuring a firewall
This instruction is applicable only for the Standard deployment layout.
Once DNAT is configured, set up the firewall. Start by configuring the IP sets.
-
Switch to the “Security” tab → “IP Sets”:
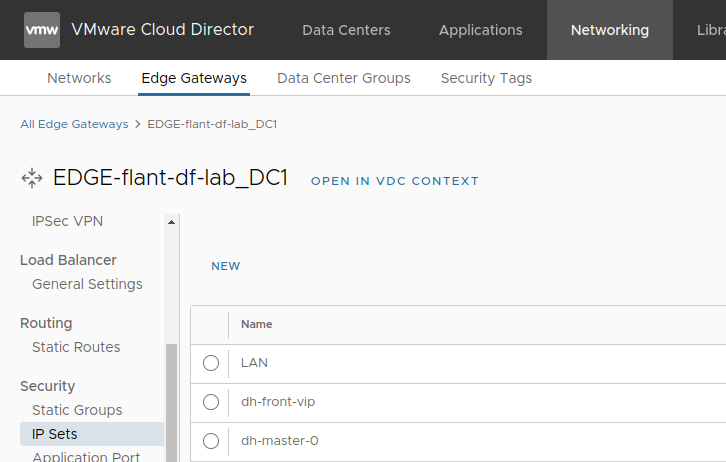
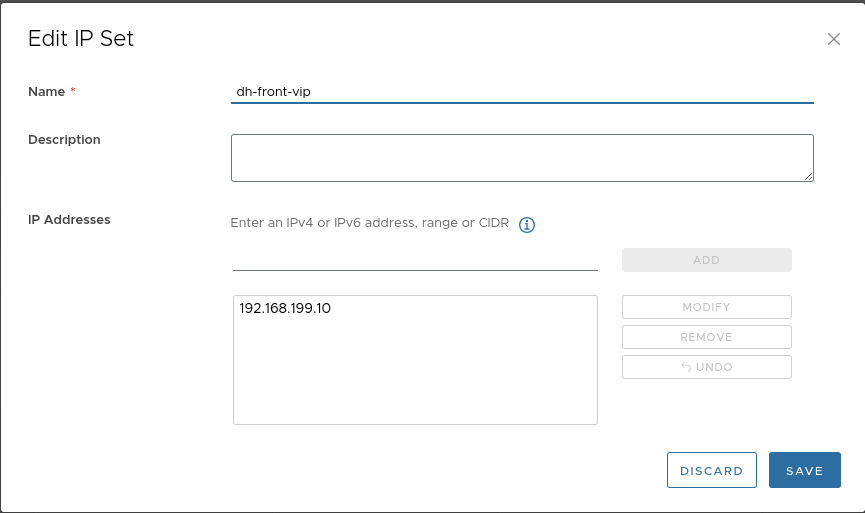
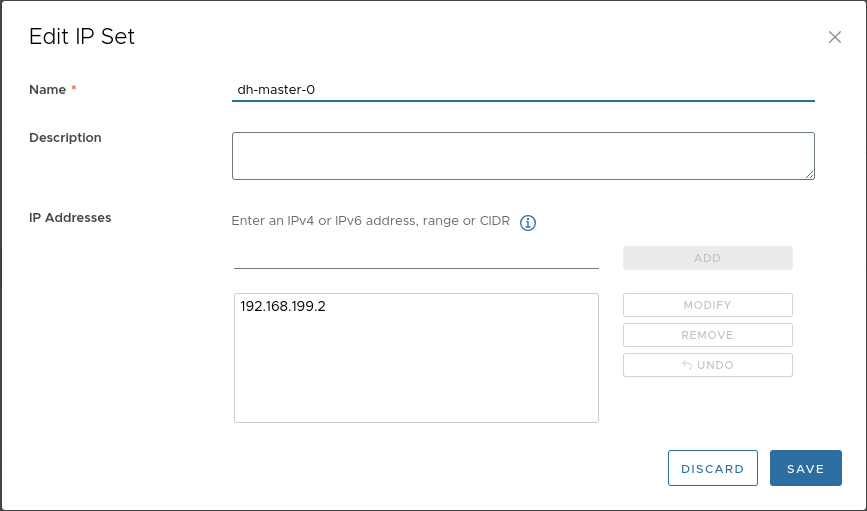
-
Create the following set of IPs (the MetalLB address here is
.10and the control plane node address is.2):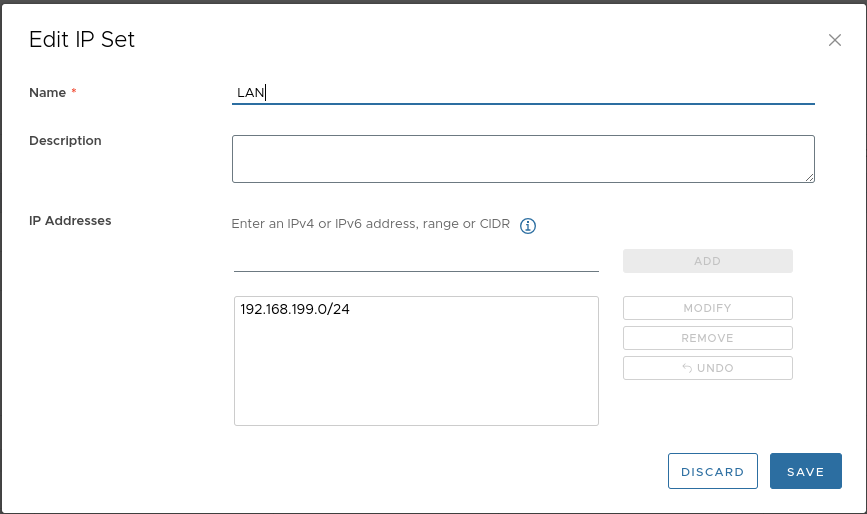
-
Add the following firewall rules:

Virtual machine template
The provider is confirmed to work with Ubuntu 22.04-based virtual machine templates only.
Disable vApp/Guest OS Customization (Guest Customization, vApp Customization, and similar mechanisms) for the cluster template and virtual machines in VMware Cloud Director. DKP performs the initial node provisioning via cloud-init (OVF/VMware GuestInfo datasource). If customization is enabled, it may conflict with cloud-init and result in incorrect node initialization.
To use ContainerdV2 as the container runtime on cluster nodes, the operating systems on virtual machines must meet the following requirements:
- Linux kernel version 5.8 or newer.
CgroupsV2support.- Systemd version
244or newer. erofskernel module support.
For more information, see the documentation.
The cloud-init package must be installed on the VMs.
After the virtual machine is started, the following services associated with this package must be started:
cloud-config.service;cloud-final.service;cloud-init.service.
The provider supports working with only one disk in the virtual machine template. Make sure the template contains only one disk.
The example below uses the OVA file provided by Ubuntu, updated to include two fixes. Those fixes are essential for CloudPermanent nodes to be provisioned correctly and to be able to mount CSI-created disks.
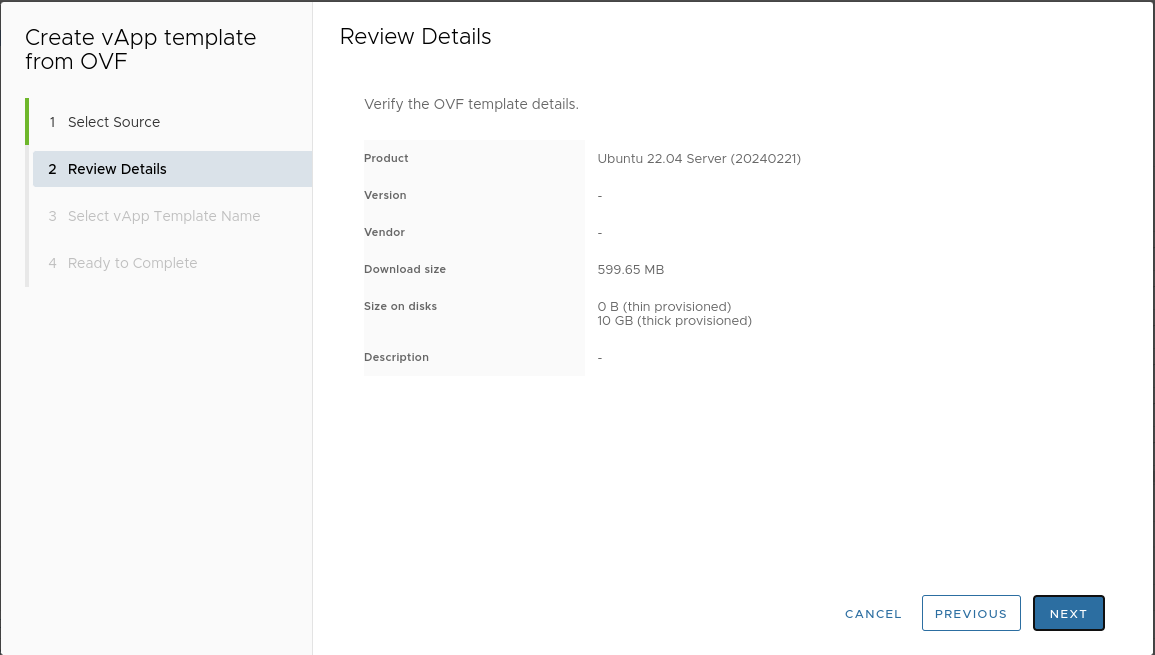
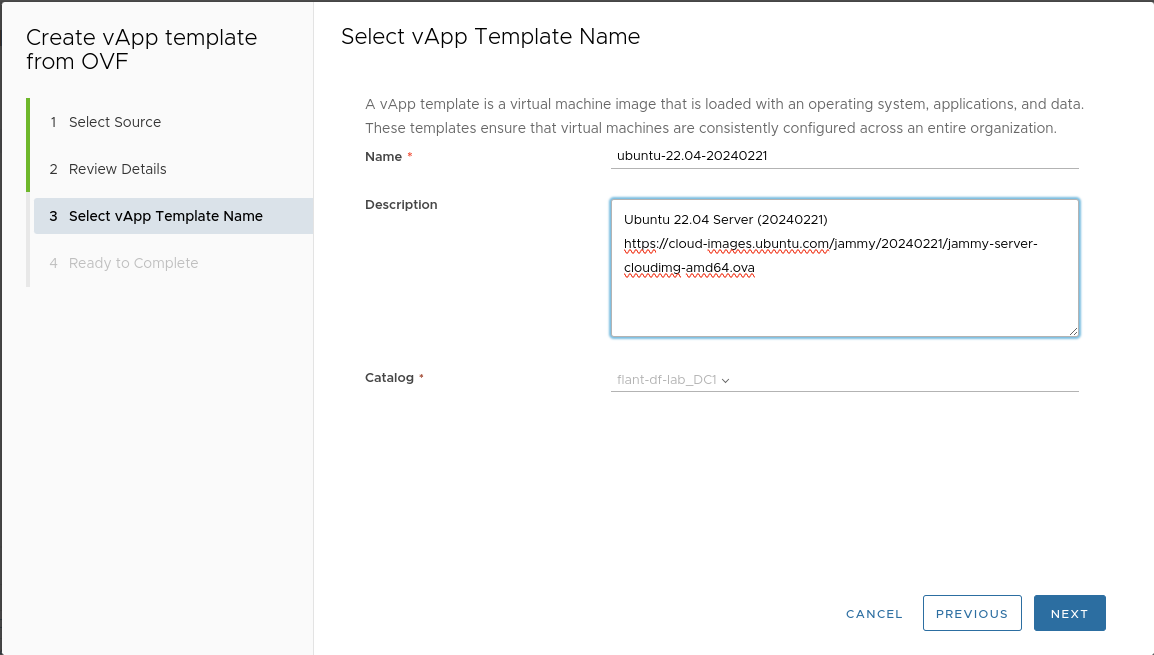
Making a template from an OVA file
-
Download the OVA file:

-
Switch to the “Libraries” tab → “Catalogs” → “Organization Catalog”:
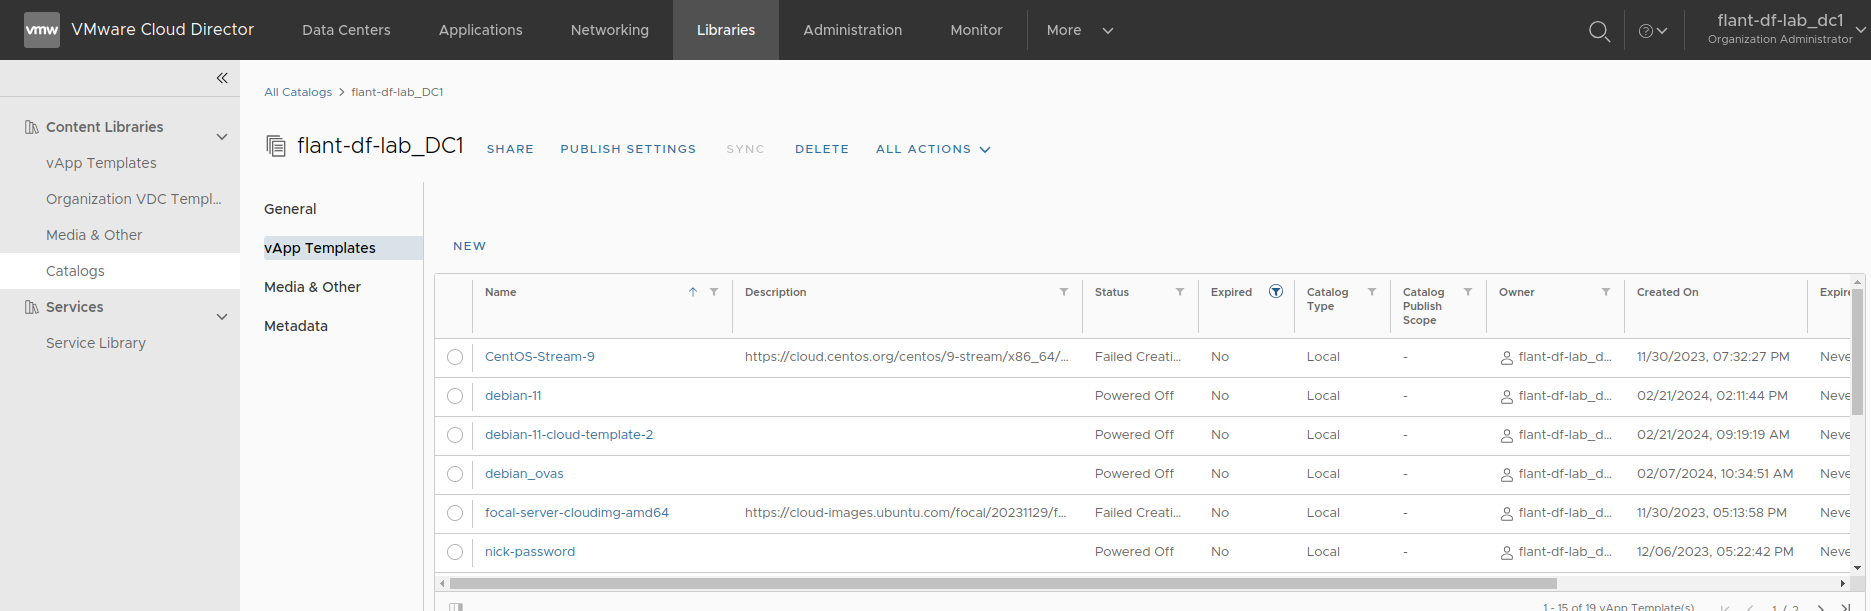
-
Select the template you downloaded and add it to the catalog:

-
Create a virtual machine from the template:
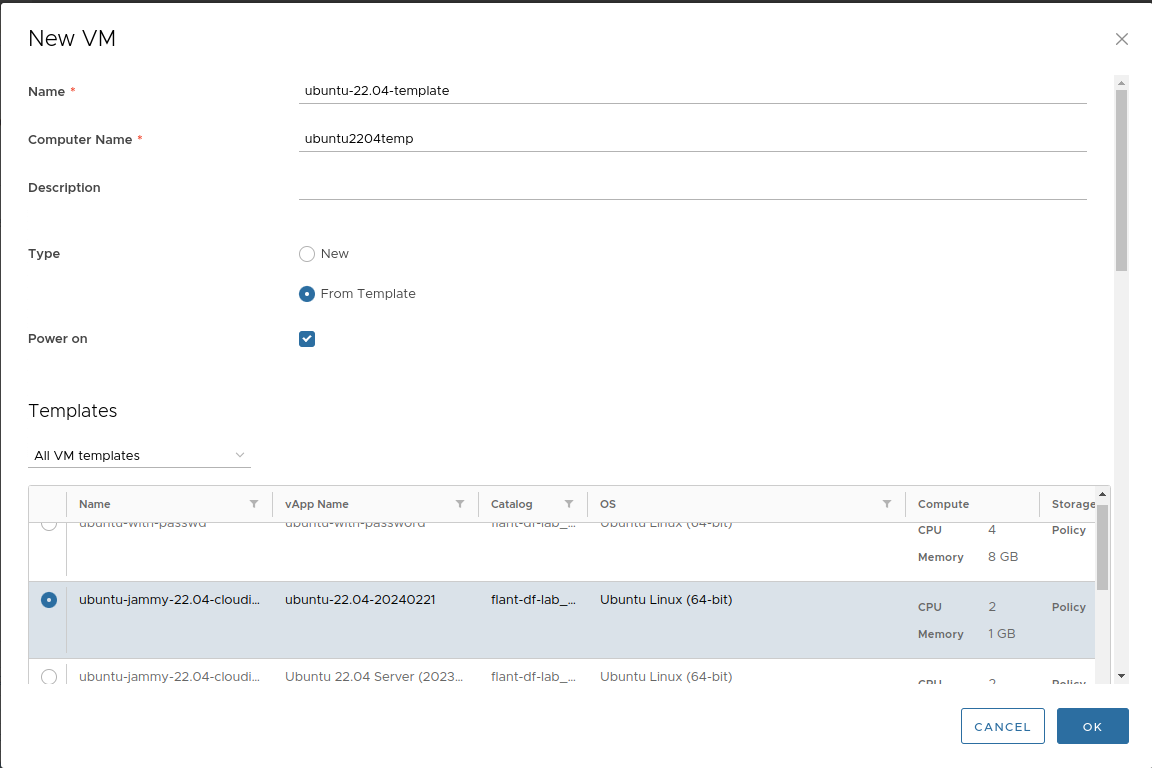
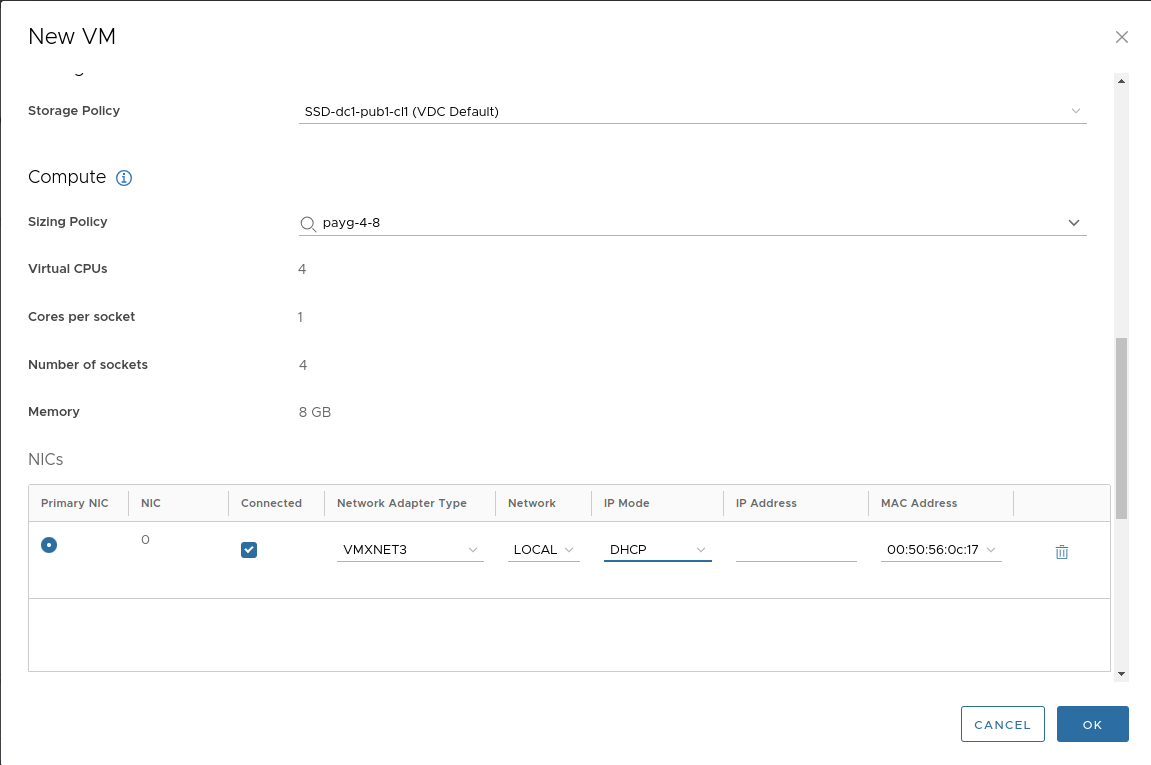
Enter the default password and public key. You will need them to log in to the VM console.

Follow these steps to be able to connect to the virtual machine:
- Start the virtual machine.
- Wait for the IP address to be set.
-
Forward port
22to the virtual machine: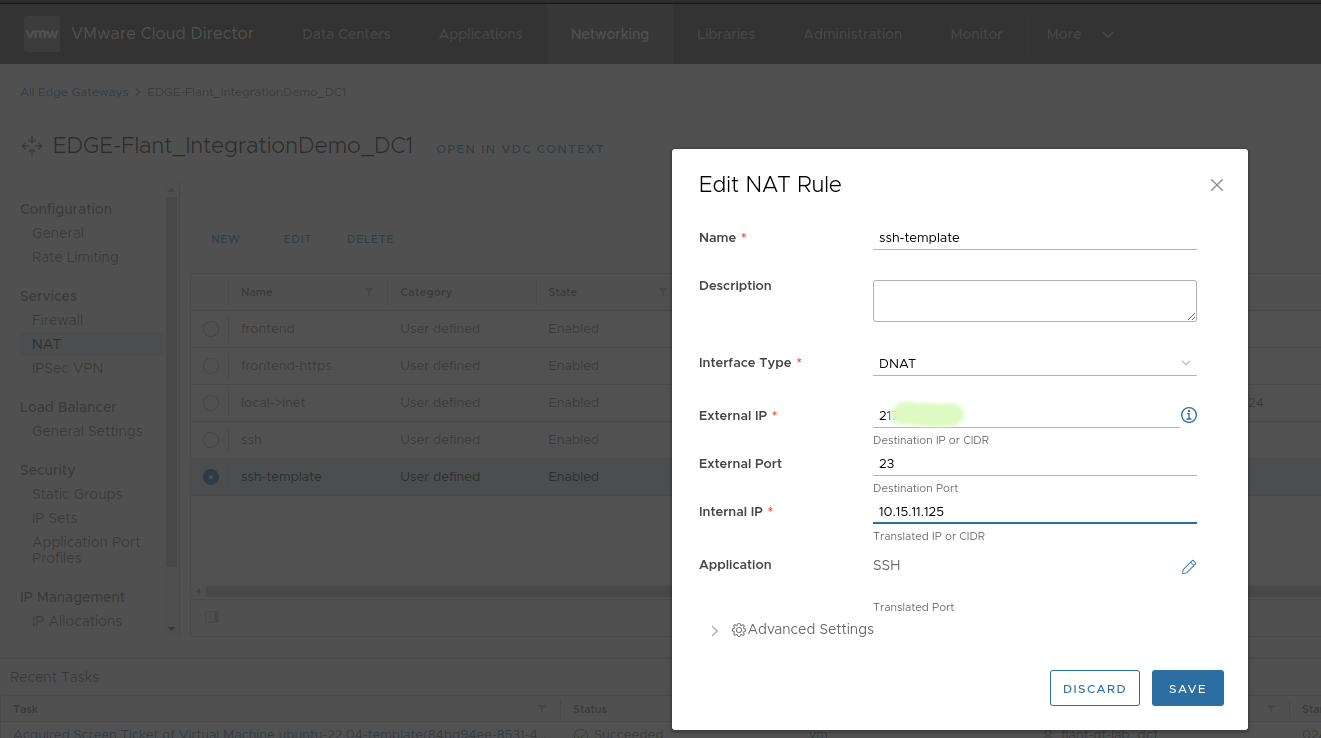
Log on to the virtual machine over SSH and run the following commands:
rm /etc/netplan/99-netcfg-vmware.yaml
echo -e '\n[deployPkg]\nwait-cloudinit-timeout=1800\n' >> /etc/vmware-tools/tools.conf
echo 'disable_vmware_customization: true' > /etc/cloud/cloud.cfg.d/91_vmware_cust.cfg
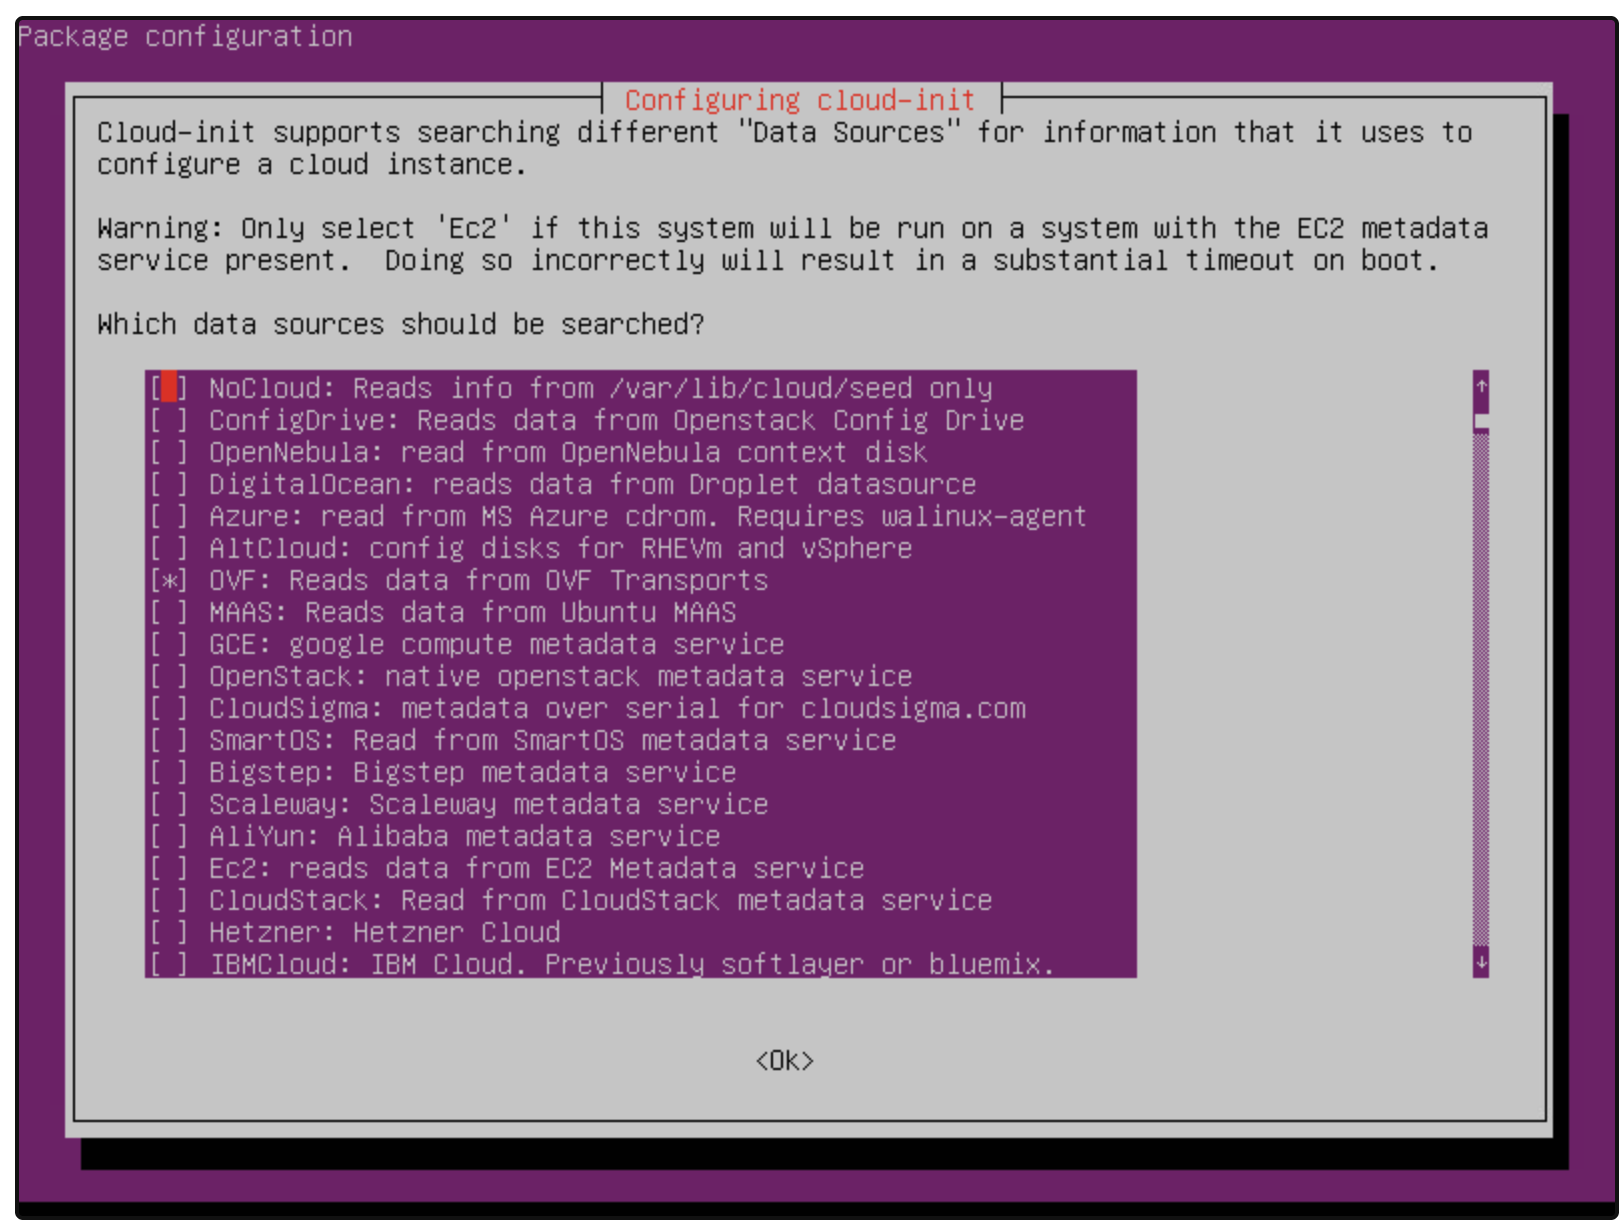
dpkg-reconfigure cloud-init
In the dialog box that appears, leave the checkmark only on OVF: Reads data from OVF transports, and make sure to scroll down and remove checkmarks from other options:
Make sure that the datasource_list parameter is specified in the cloud-init configuration. You can verify this using the following command:
cat /etc/cloud/cloud.cfg.d/90_dpkg.cfg
If the output is empty, execute the following command:
echo "datasource_list: [ OVF, VMware, None ]" > /etc/cloud/cloud.cfg.d/90_dpkg.cfg
Execute the remaining commands:
truncate -s 0 /etc/machine-id
rm /var/lib/dbus/machine-id
ln -s /etc/machine-id /var/lib/dbus/machine-id
cloud-init clean --logs --seed
passwd -d ubuntu
passwd -d root
rm /home/ubuntu/.ssh/authorized_keys
history -c

shutdown -P now
Setting up the template in VCD
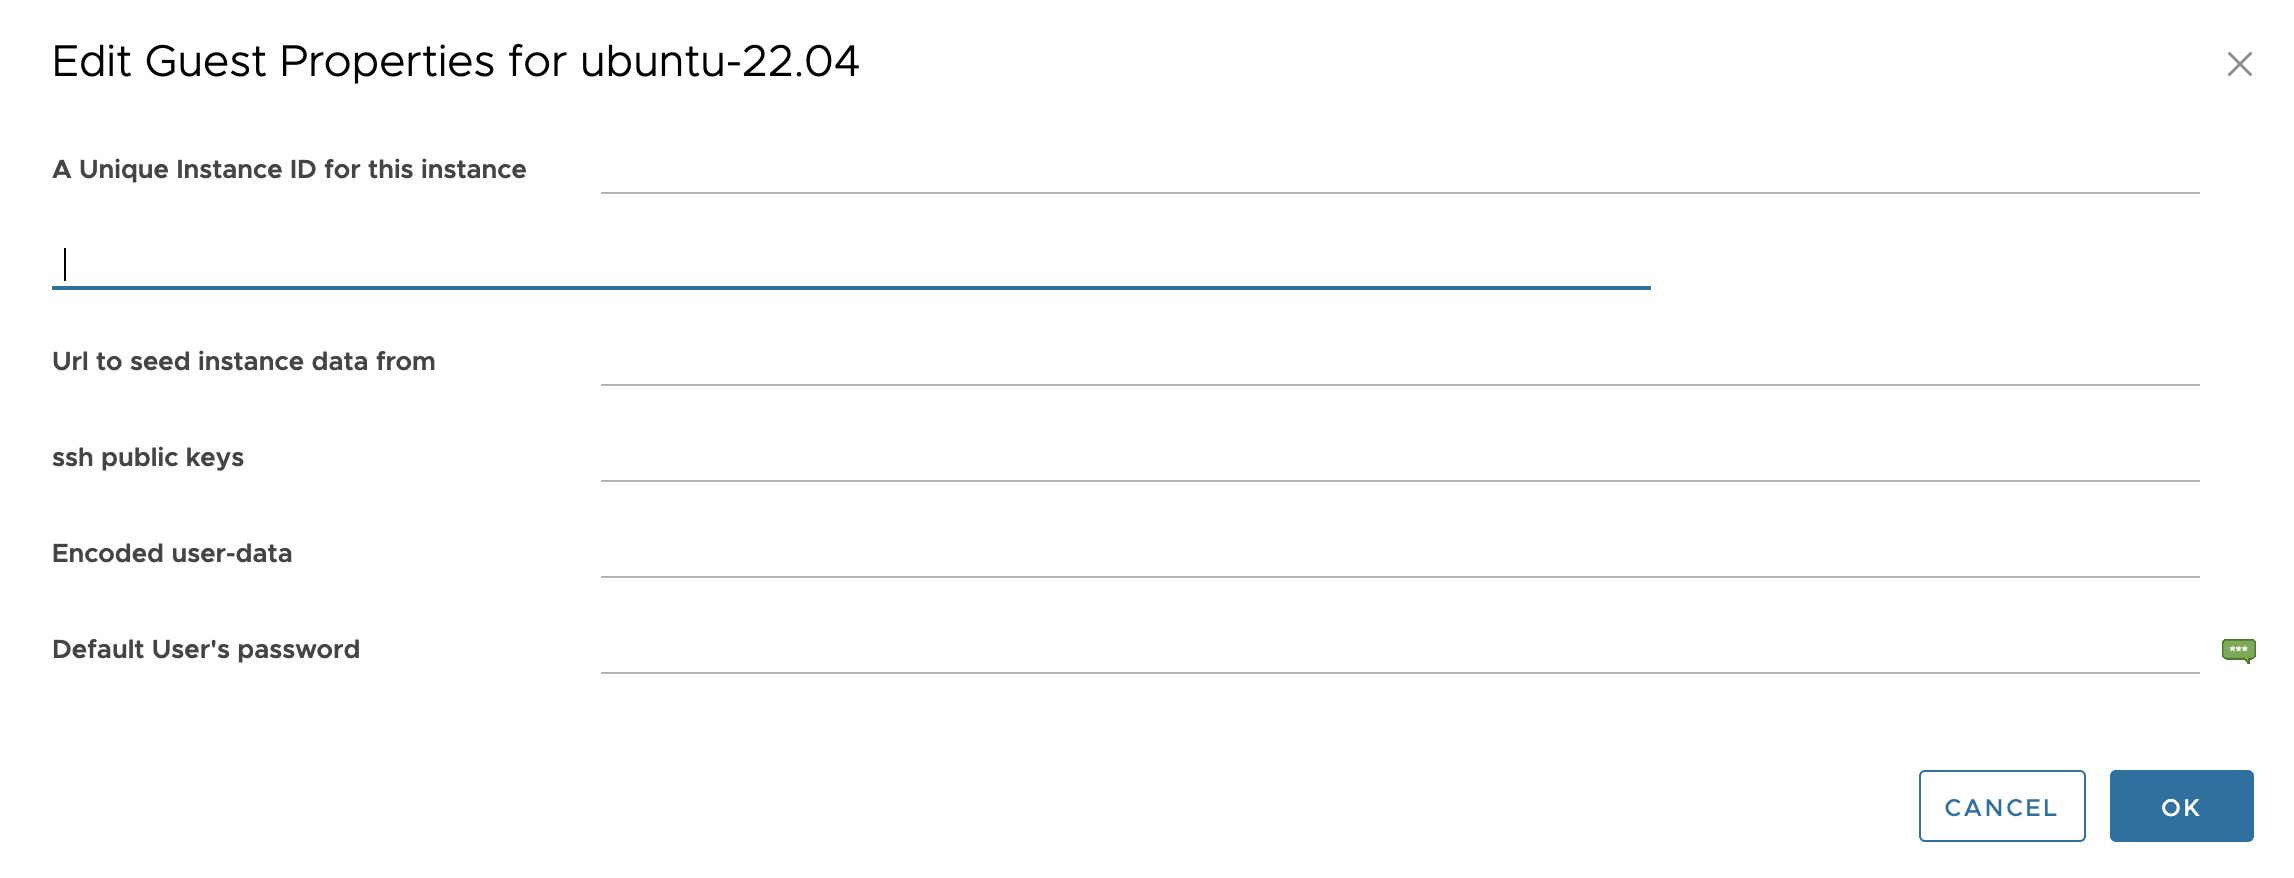
-
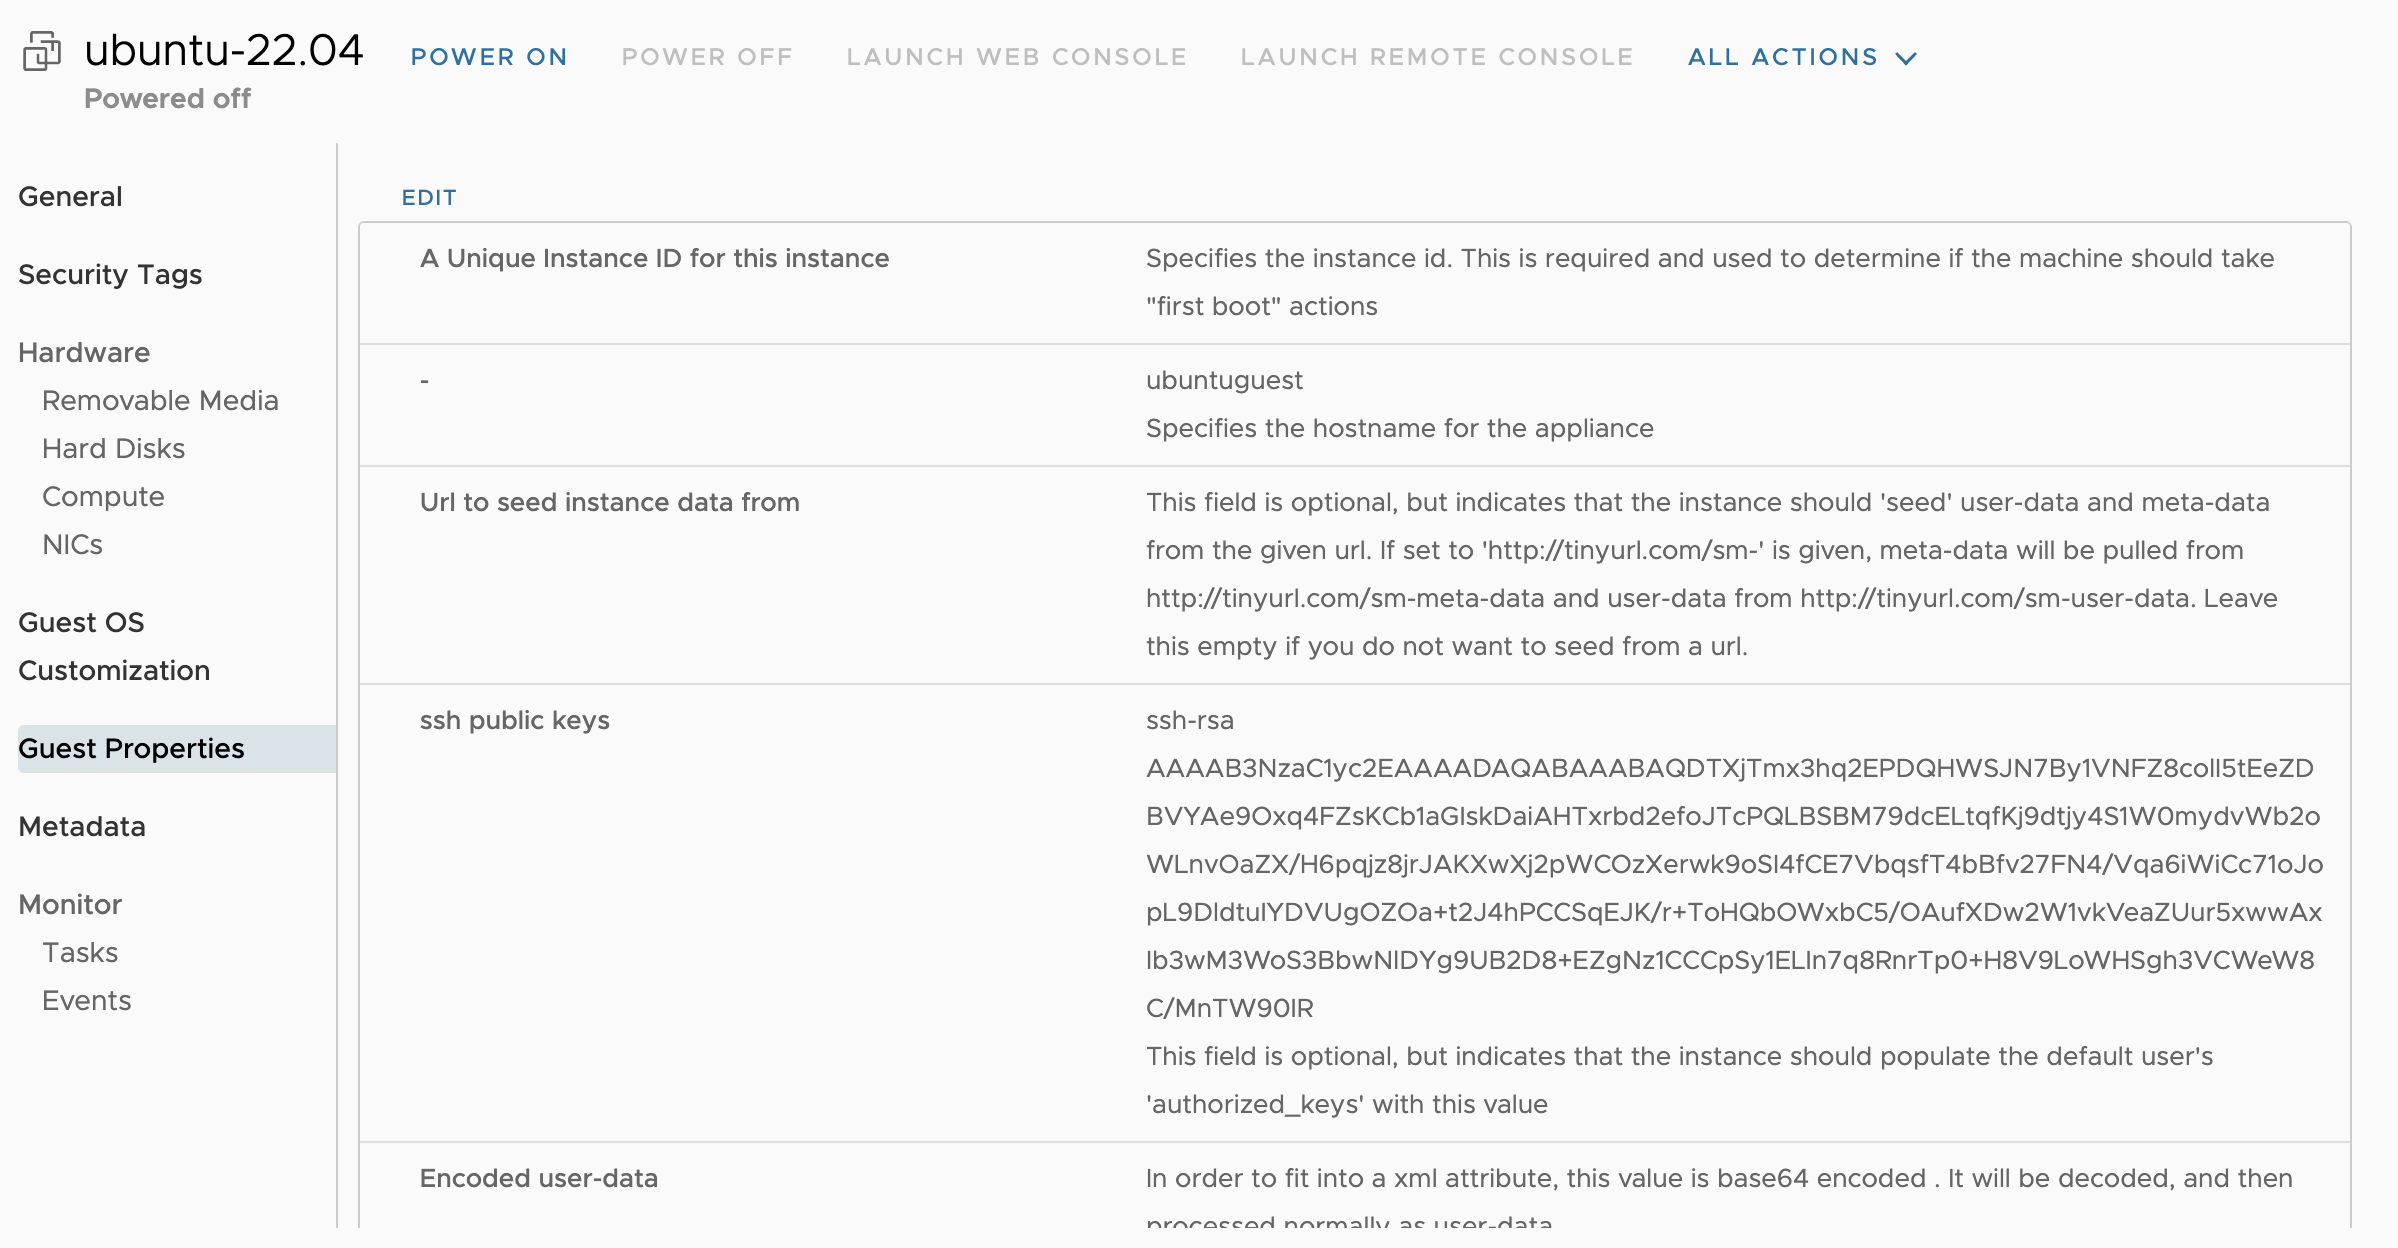
Shut down the virtual machine and clear all populated fields in “Guest Properties”:
-
Create a virtual machine template:


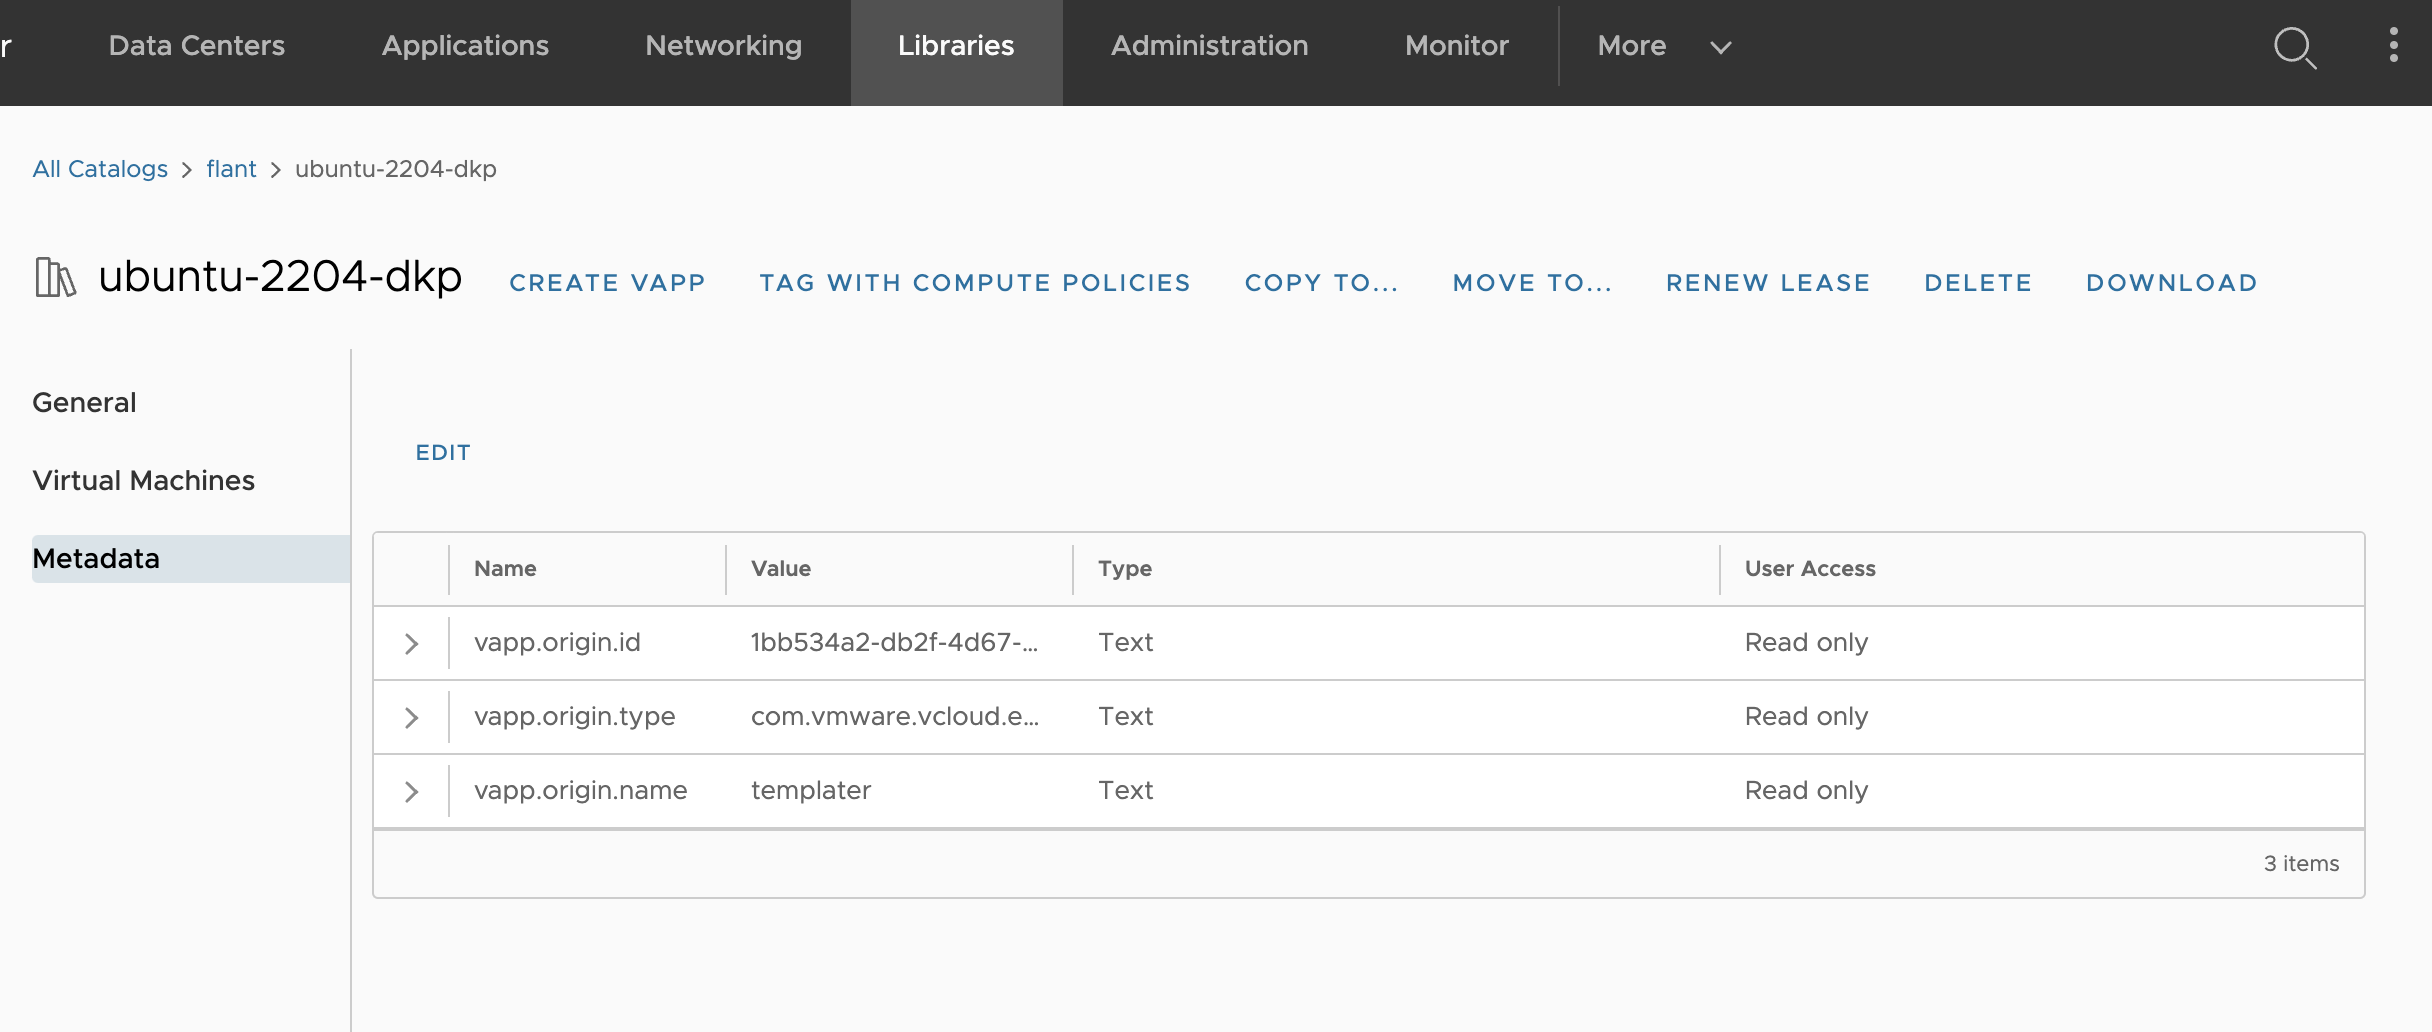
-
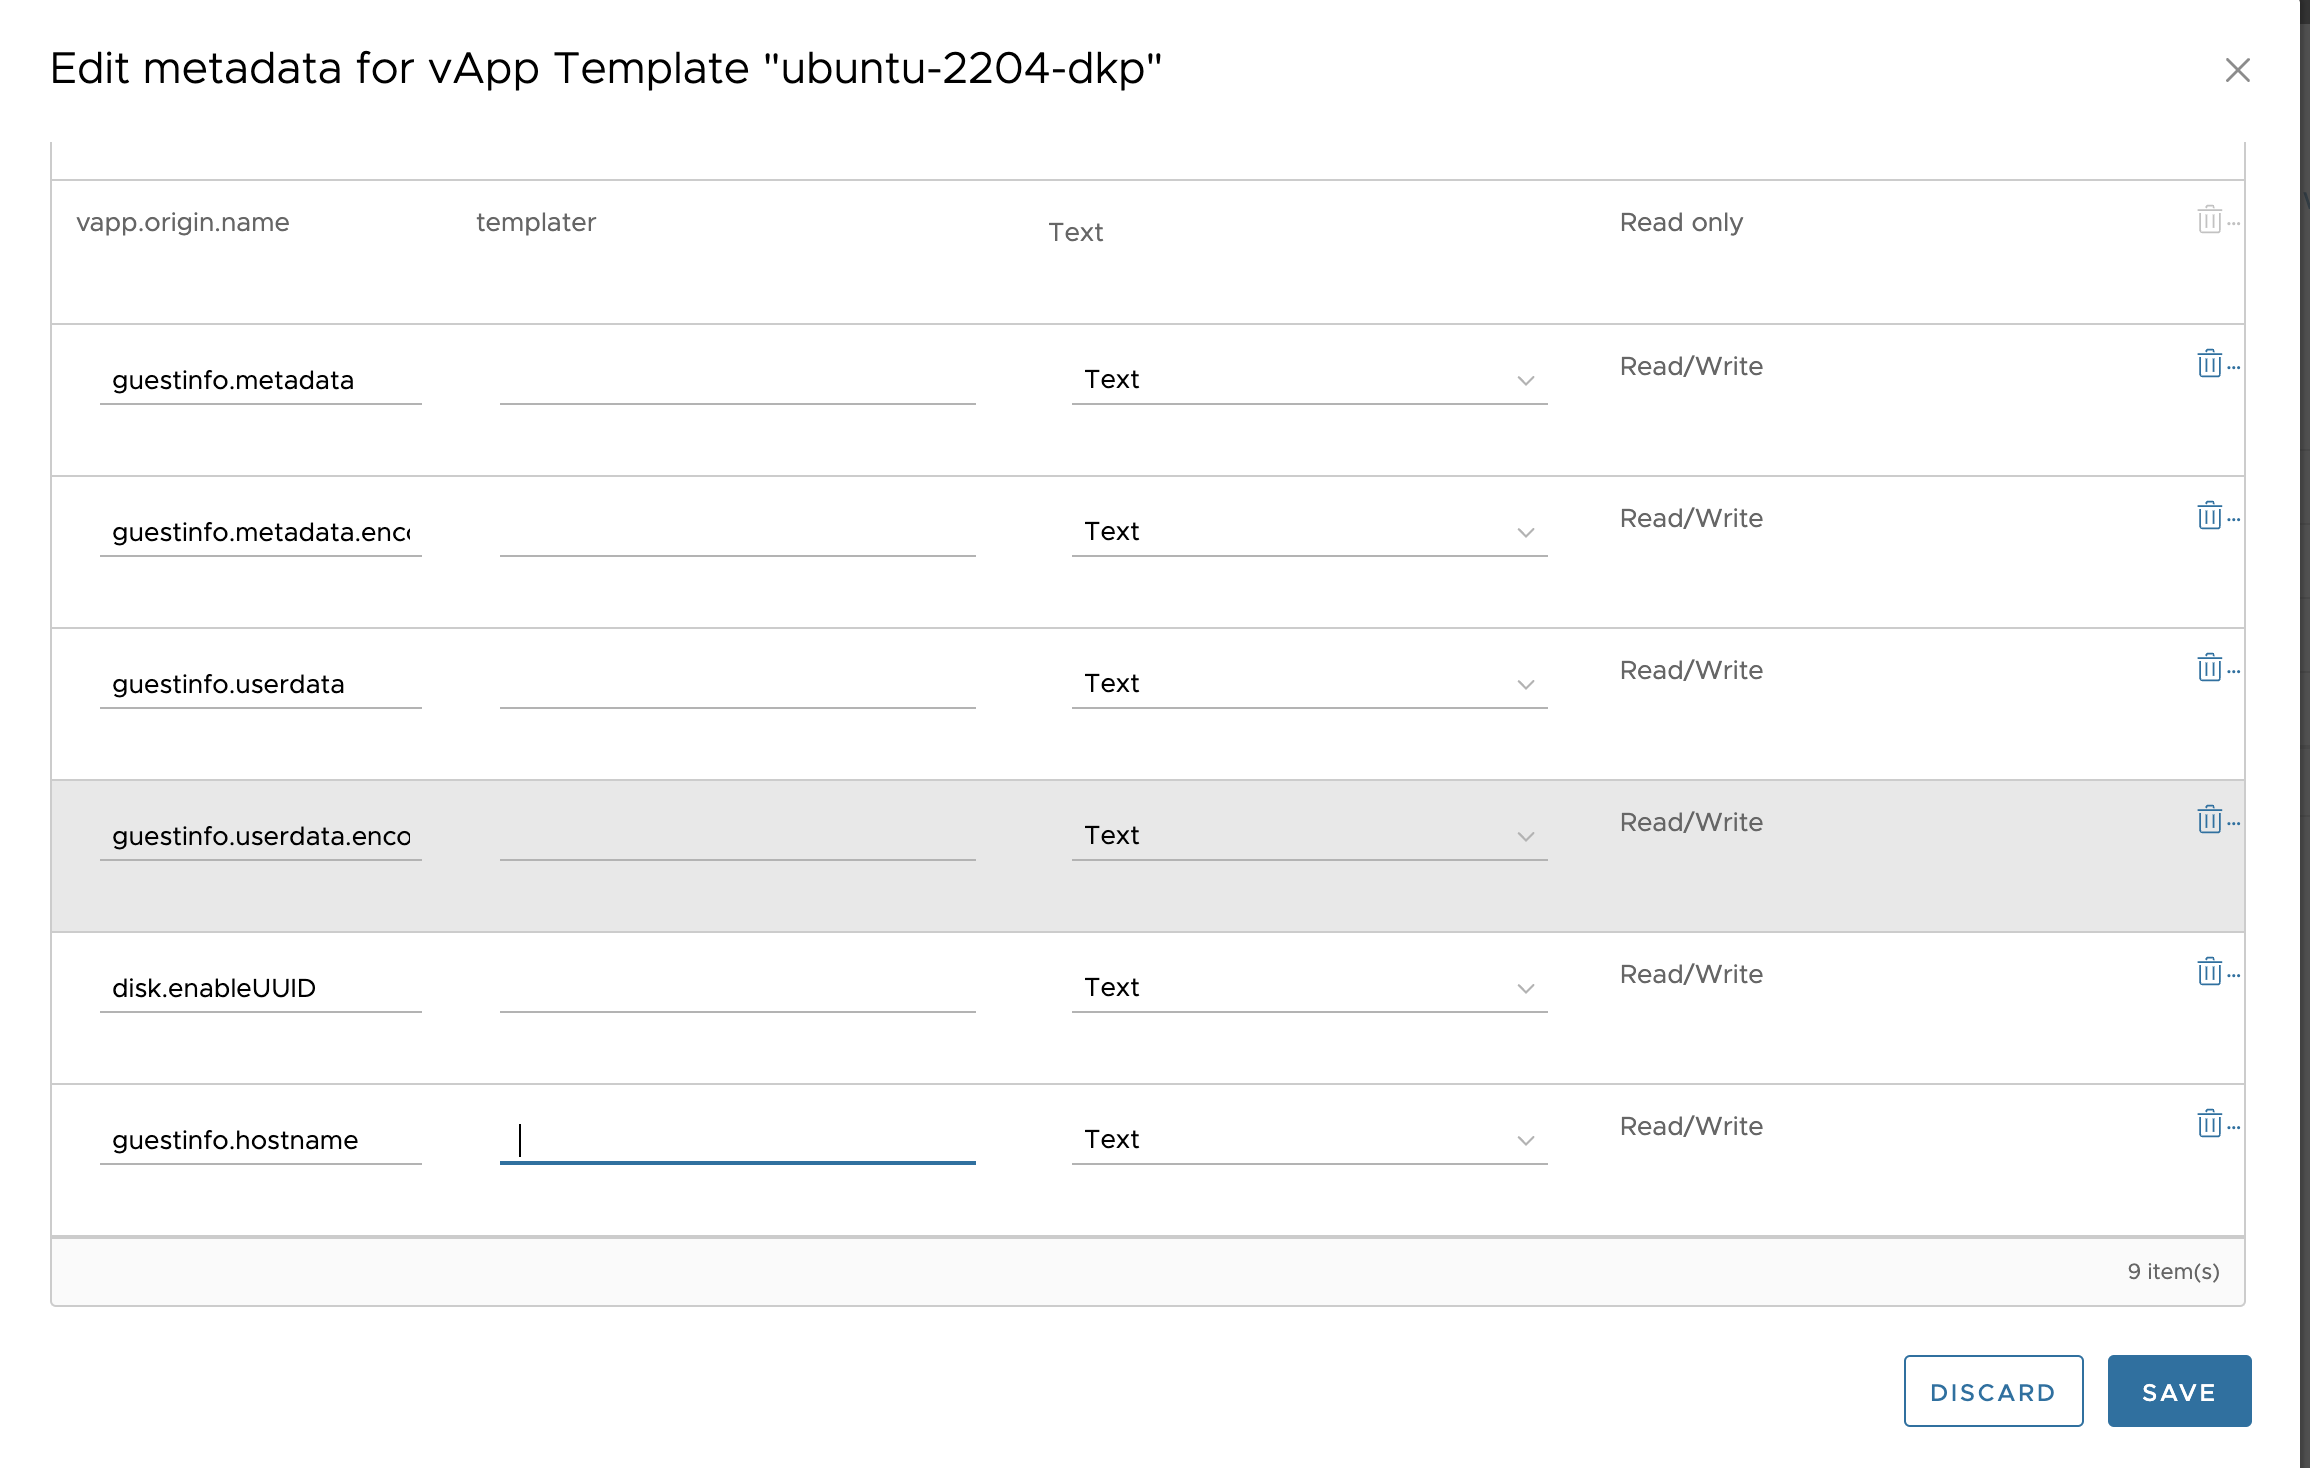
In the created template, navigate to the “Metadata” tab and add the following six fields:
guestinfo.metadataguestinfo.metadata.encodingguestinfo.userdataguestinfo.userdata.encodingdisk.enableUUIDguestinfo.hostname
For each field in the add/edit form, set the following:
- “Type”:
Text(text value) - “User access”:
Read/Write - “Value”: A single space
The VCD UI may not save metadata with an empty value. A single space is used as a placeholder and does not affect functionality. The actual values will be populated automatically when virtual machines are created.
-
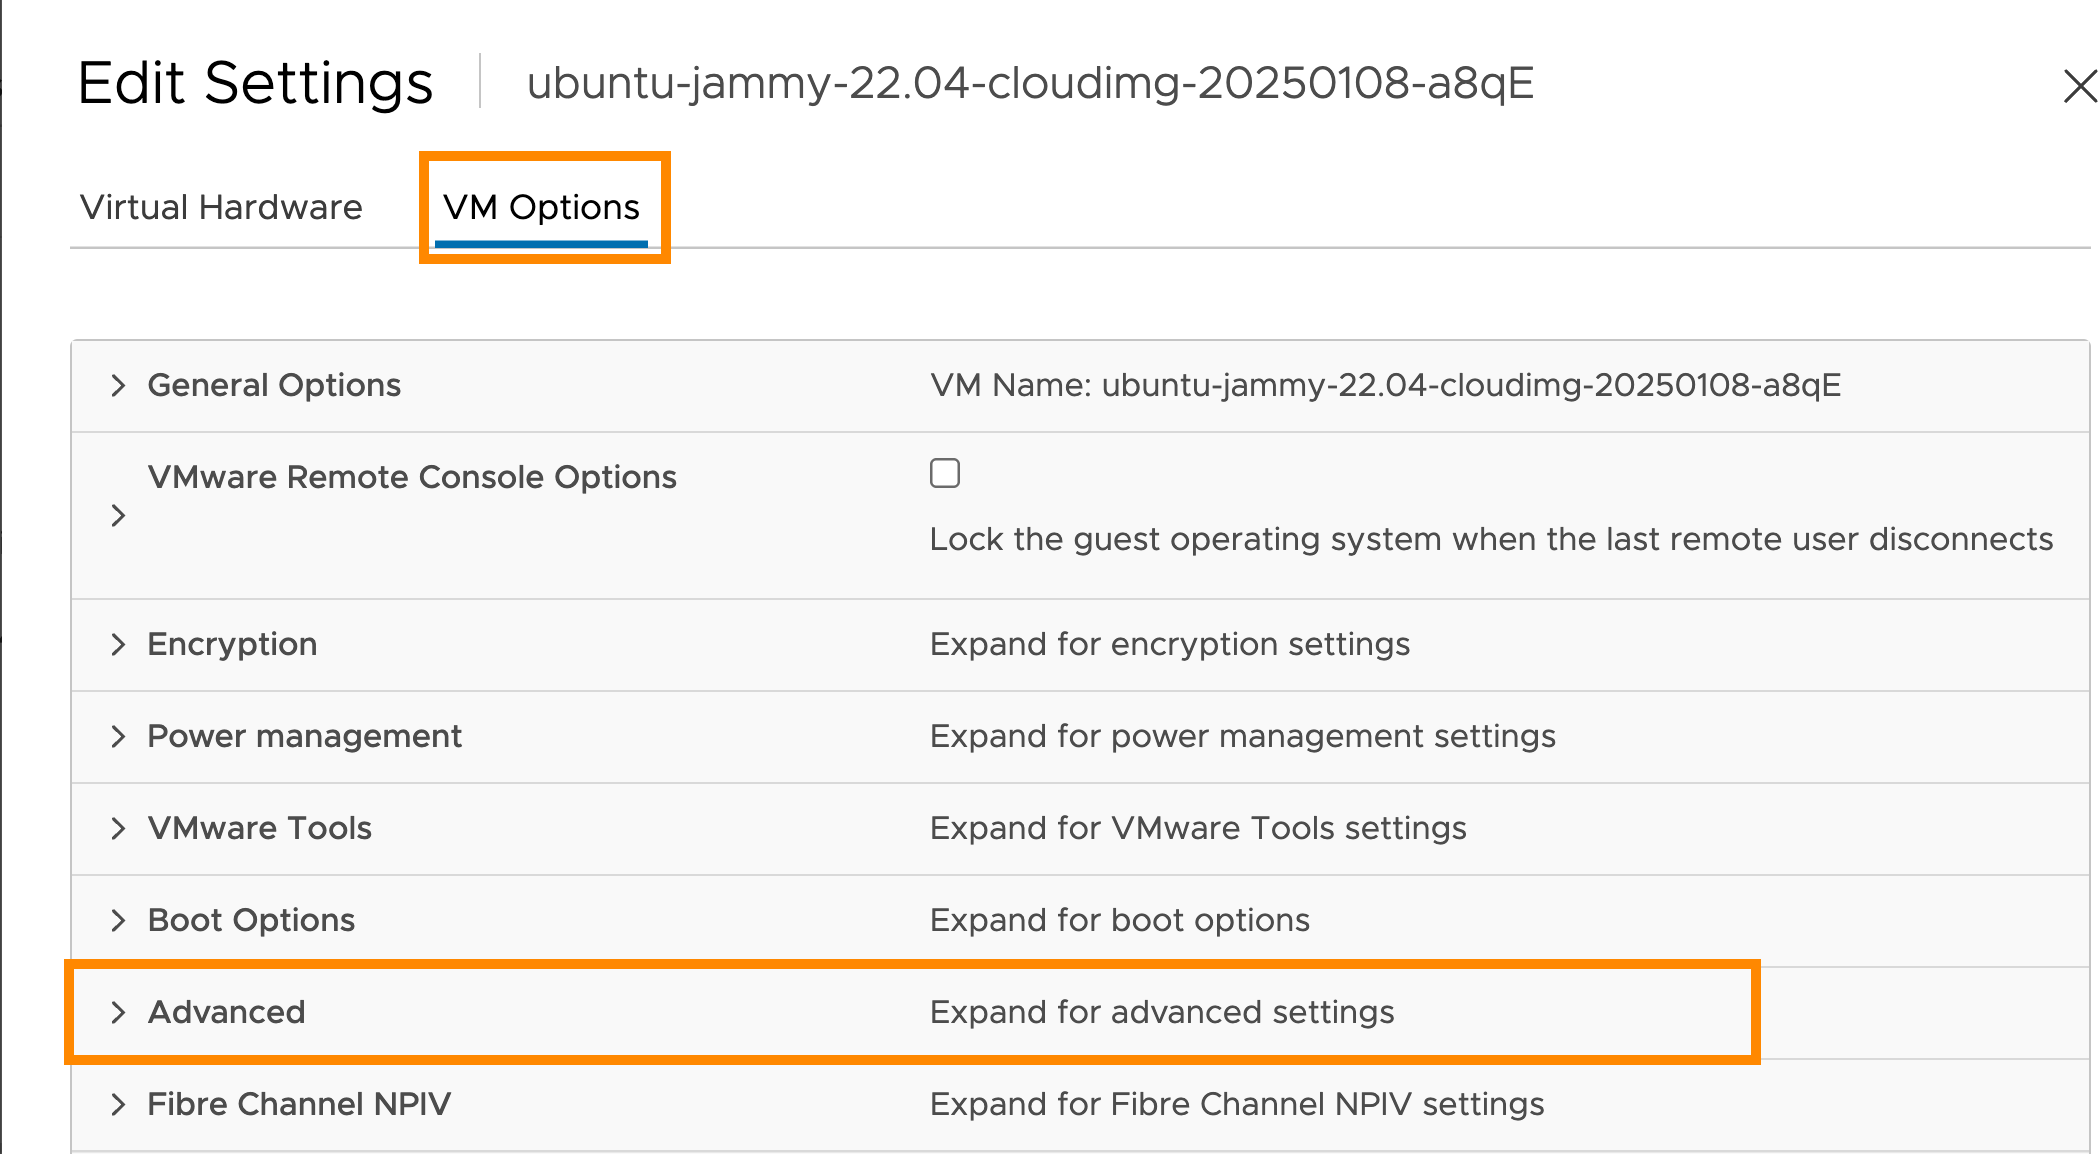
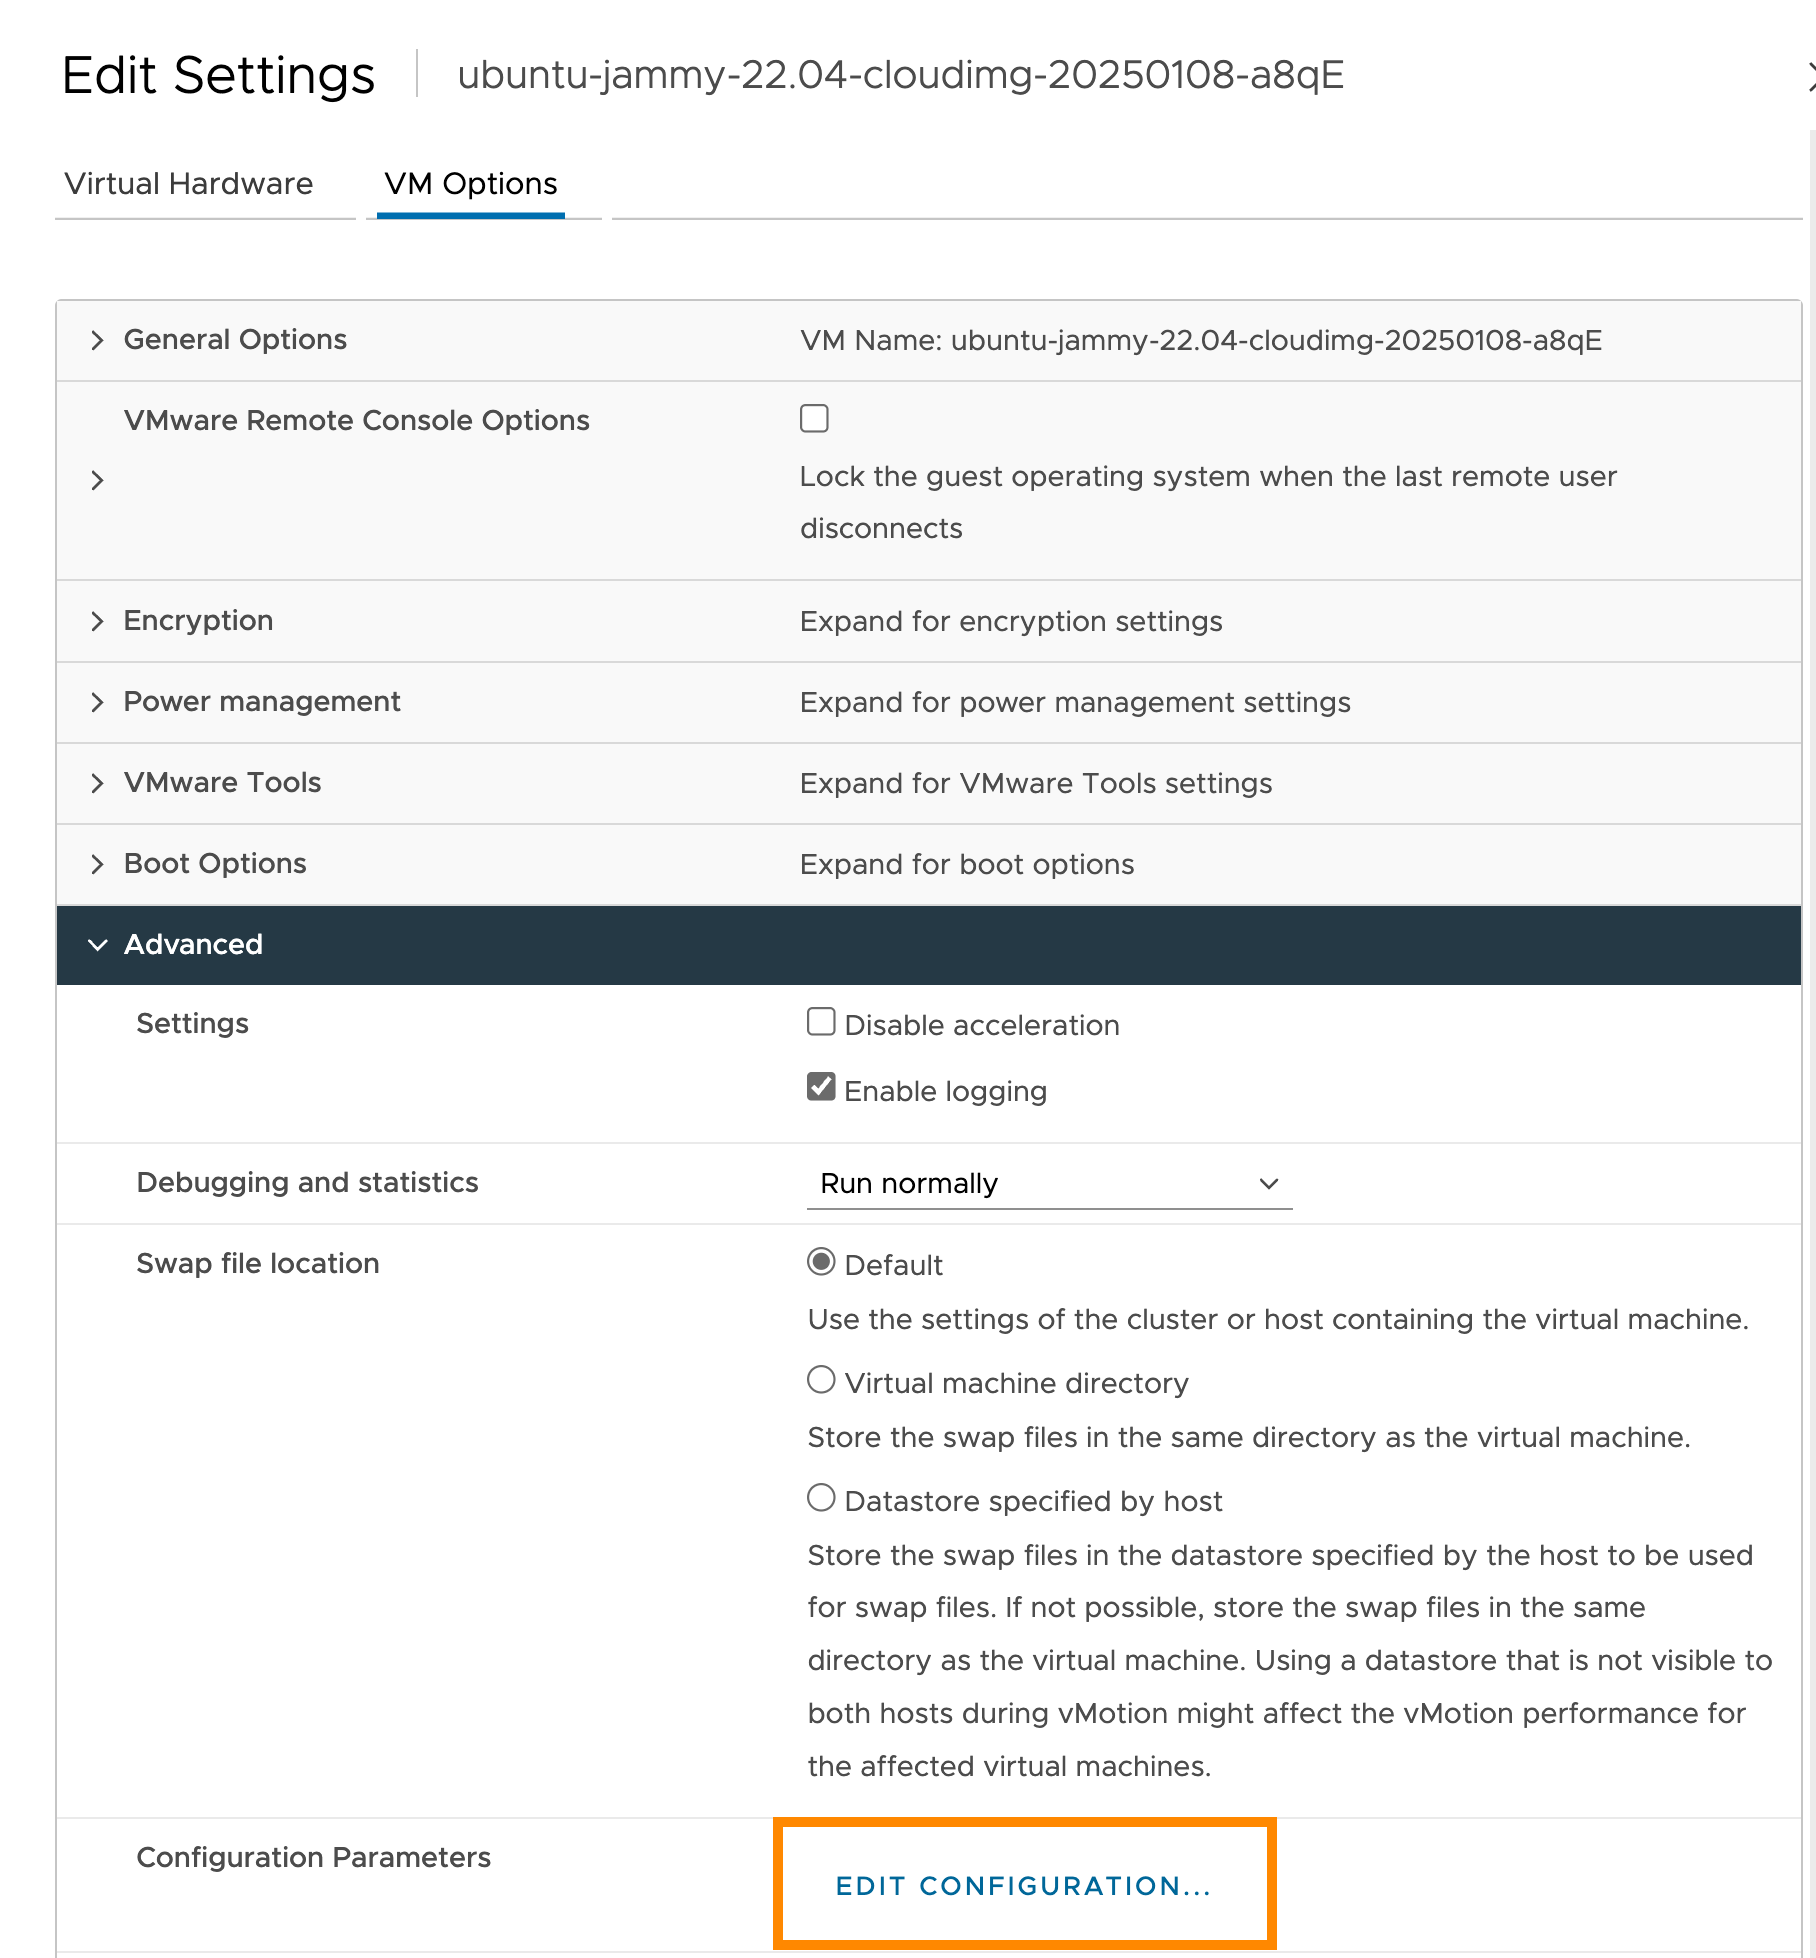
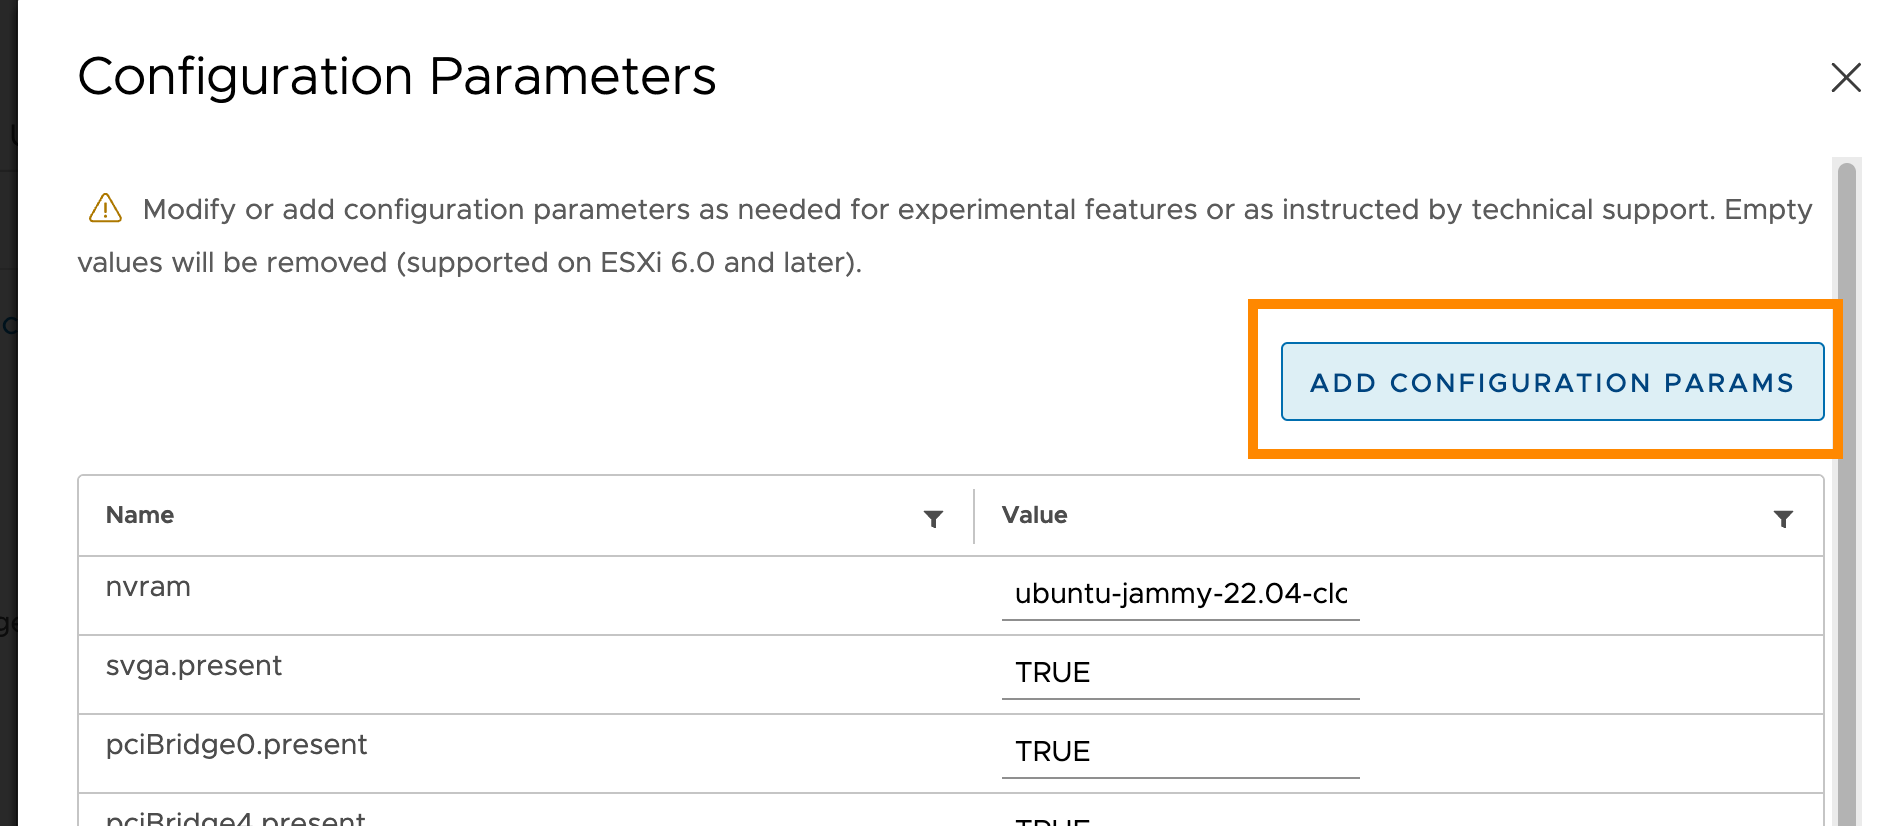
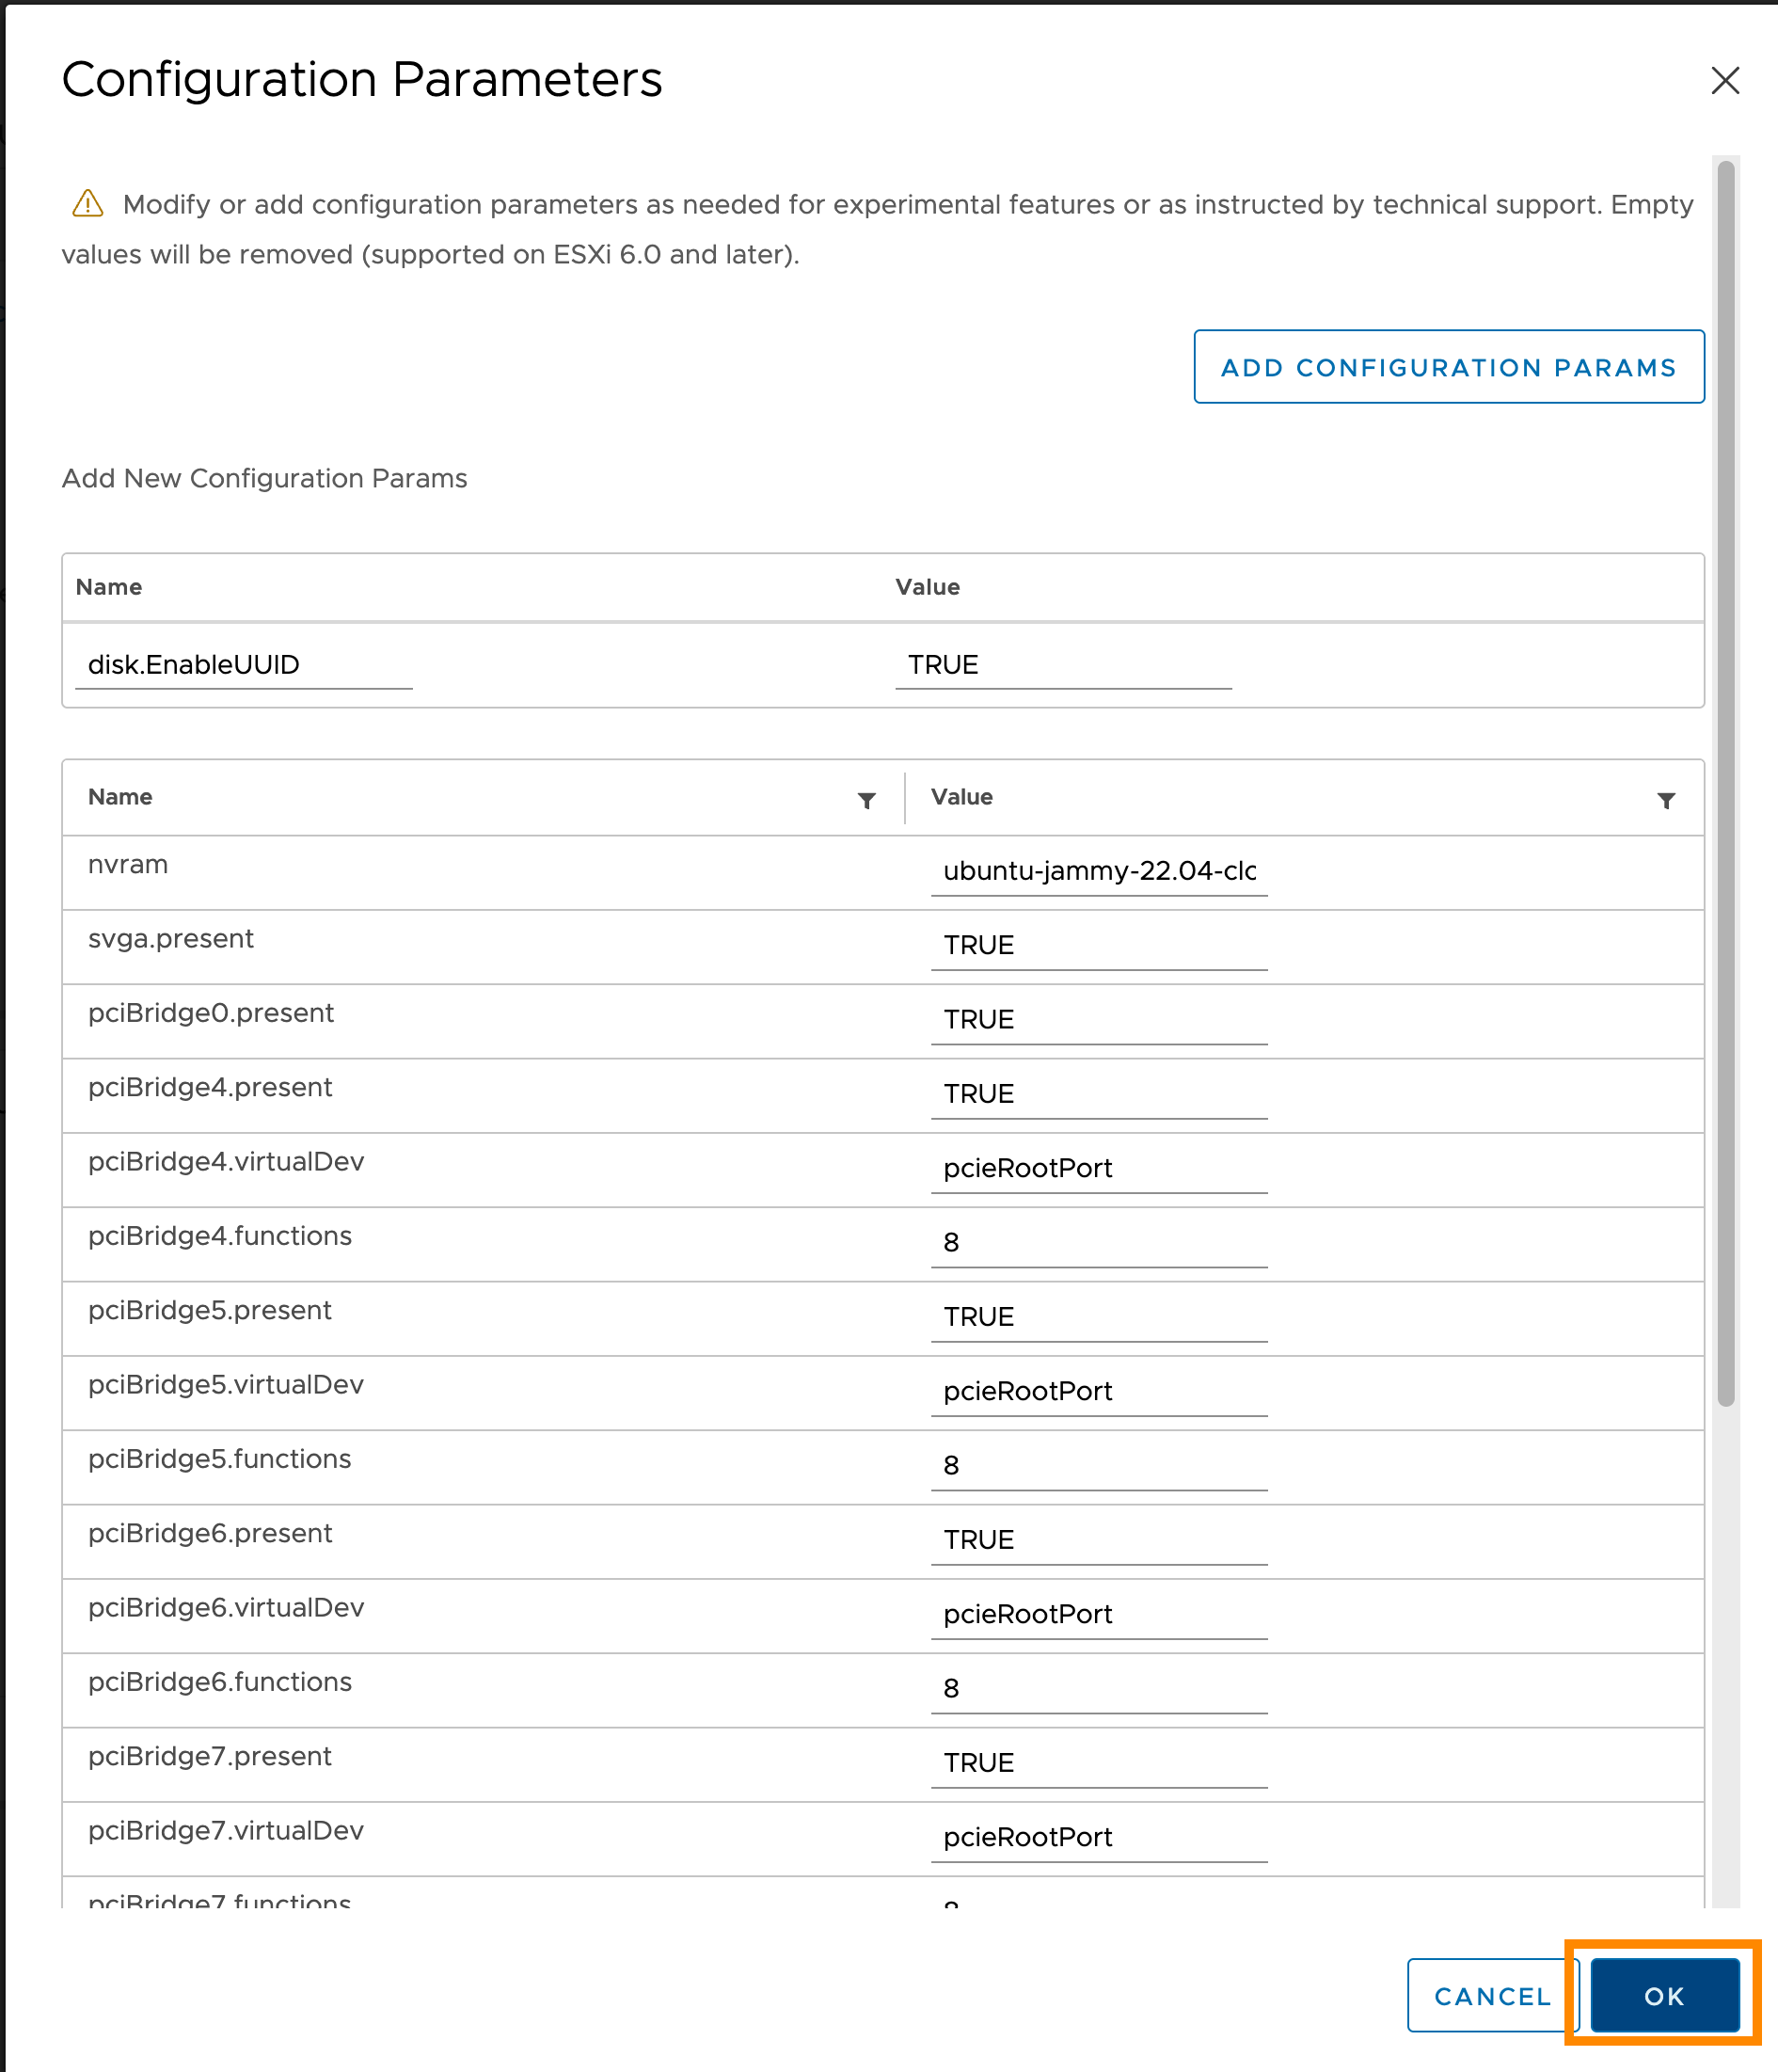
In the vCenter management panel for the template, enable the
disk.EnableUUIDparameter: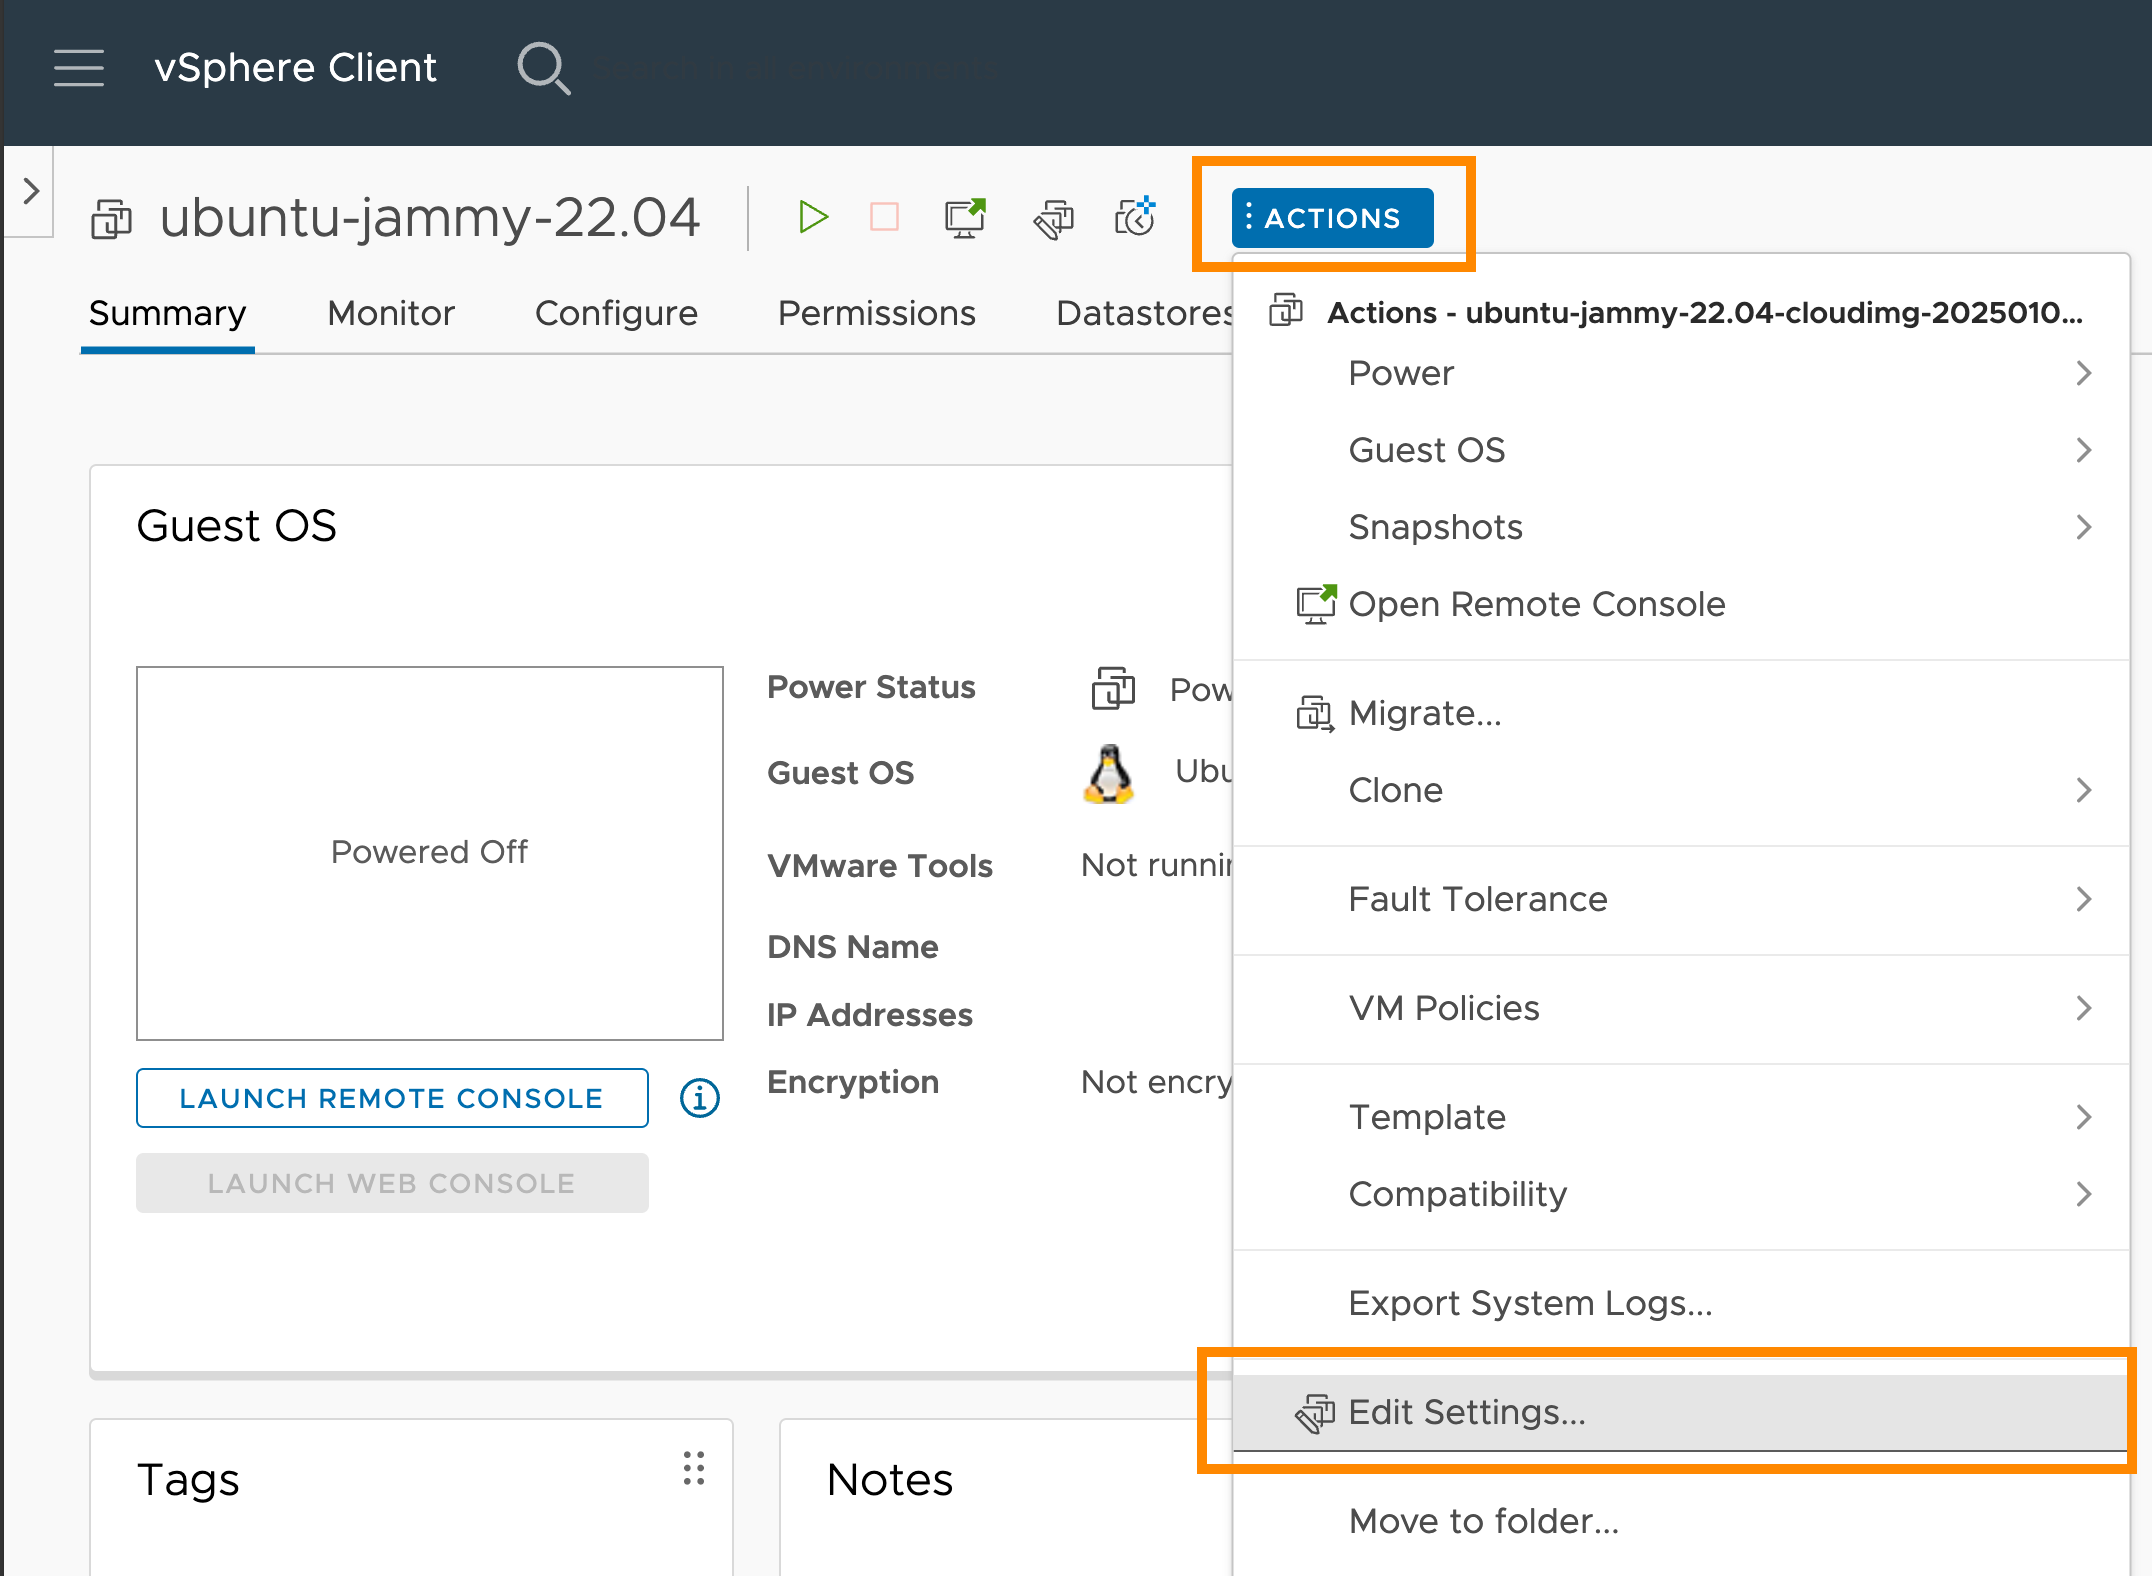
Using the storage
- VCD supports CSI; disks are created as VCD Independent Disks.
- The
disk.EnableUUIDguest property must be set for the virtual machine templates in use. - Deckhouse Kubernetes Platform supports disk resizing as of v1.59.1.
Using the LoadBalancer
- DKP components support
Serviceresources of typeLoadBalancerwhen deployed on VMware Cloud Director (VCD). - VMware NSX Advanced Load Balancer (ALB or Avi Networks) is used as the load balancer.
- Support is available only when using the
NSX-Tnetwork virtualization platform. - The load balancer functionality must be enabled on the Edge Gateway by your VCD provider. You can verify this under Edge Gateway → Load Balancer → General Settings — the
Stateparameter must beActive. - If the load balancer was enabled after the DKP cluster was successfully created, the components will automatically pick up the changes within an hour (no additional actions are required).
- For each open port, a Pool + Virtual Service pair is created.
- If a firewall is in place, you must create an allow rule for the load balancer’s external IP address and the corresponding ports.