Resource preparation
The provider supports working with only one disk in the virtual machine template. Make sure the template contains only one disk.
To manage resources in VCD using the “Deckhouse Kubernetes Platform”, the following resources must be configured in the system:
- Organization
- VirtualDataCenter
- vApp (for the “Standard” placement scheme)
- StoragePolicy
- SizingPolicy
- Network (for the “Standard” placement scheme)
- EdgeRouter
- Catalog
The Organization, VirtualDataCenter, StoragePolicy, SizingPolicy, EdgeRouter, and Catalog resources must be provided by your VMware Cloud Director service provider.
The Network (internal network) can be configured by your VMware Cloud Director service provider or by yourself. When using the “StandardWithNetwork” placement scheme, the network is created automatically. Below is a method for manually setting up an internal network.
User permissions
The user accessing the VMware Cloud Director API must have the following permissions:
- Role “Organization Administrator” with an additional rule “Preserve All ExtraConfig Elements During OVF Import and Export”;
- The “Preserve All ExtraConfig Elements During OVF Import and Export” rule must also be included in the user’s “Right Bundle”.
Adding a network
This instruction applies only to the “Standard” placement scheme.
-
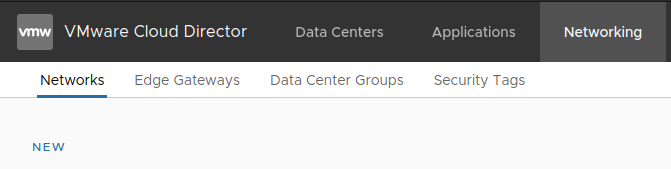
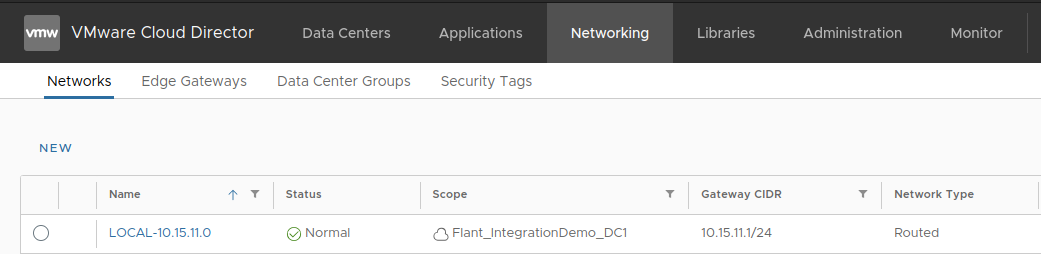
Go to the “Networking” tab and click “NEW”:
-
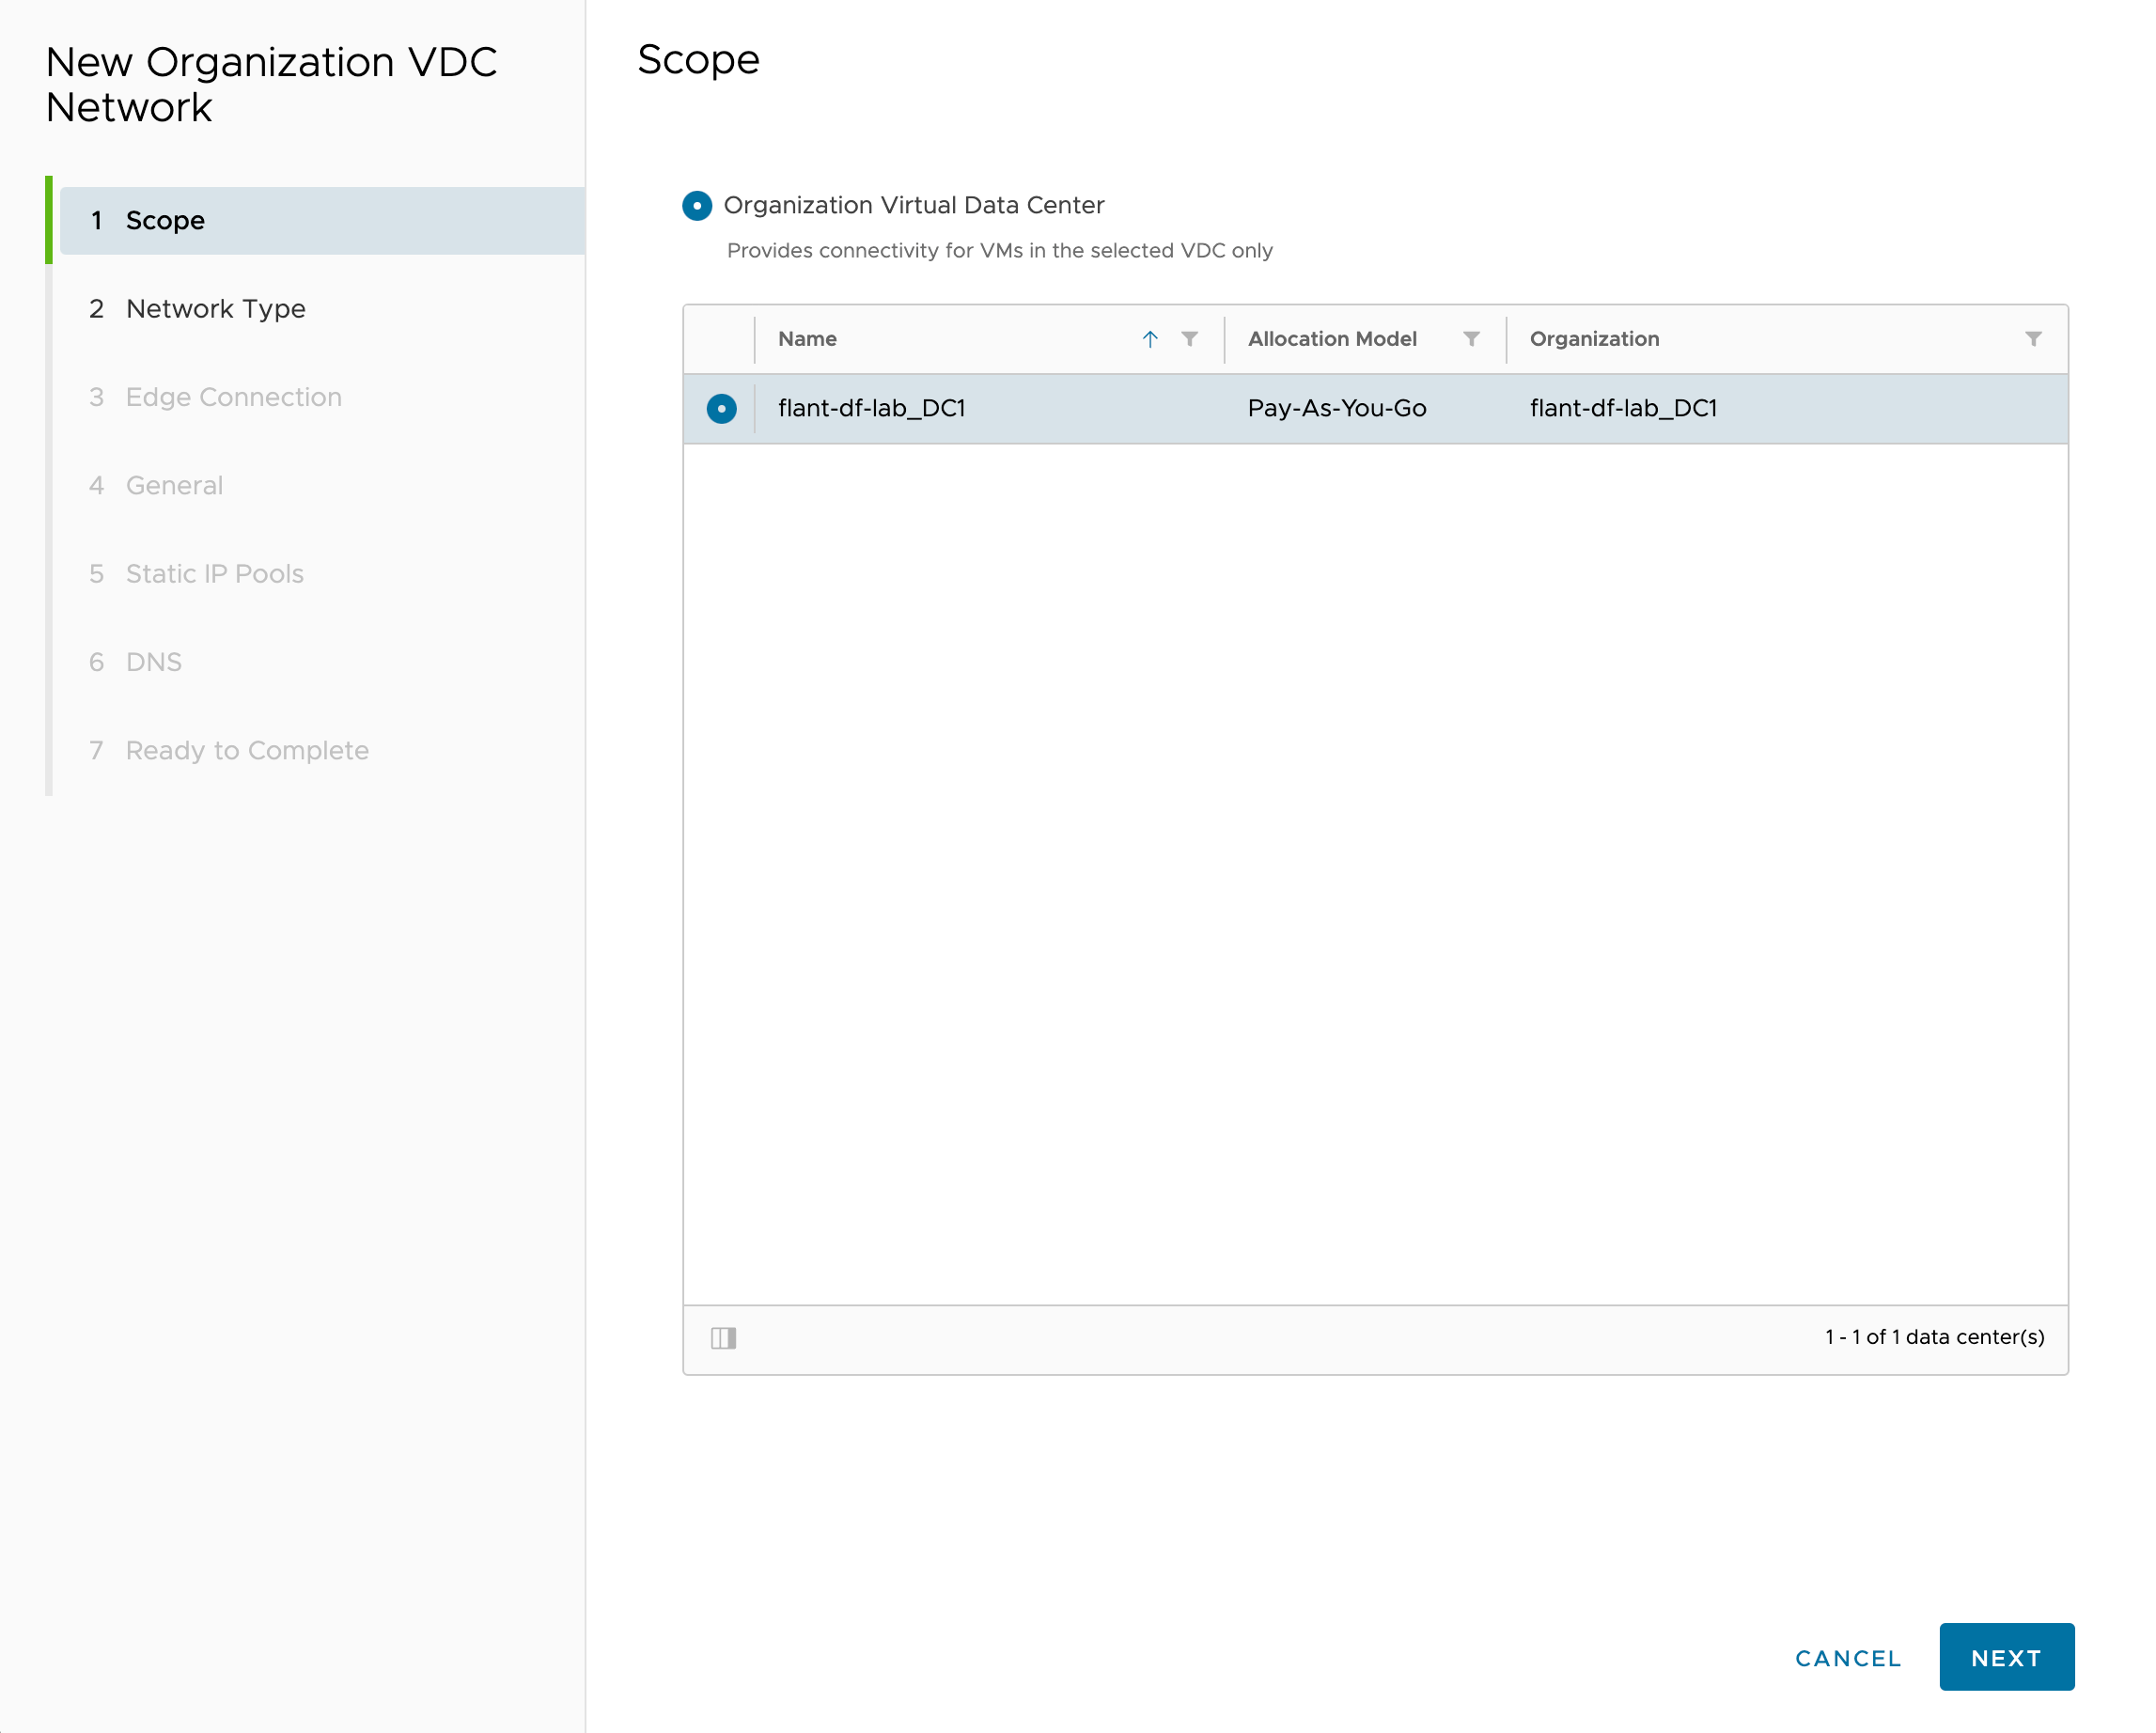
Select the desired “Data Center”:
-
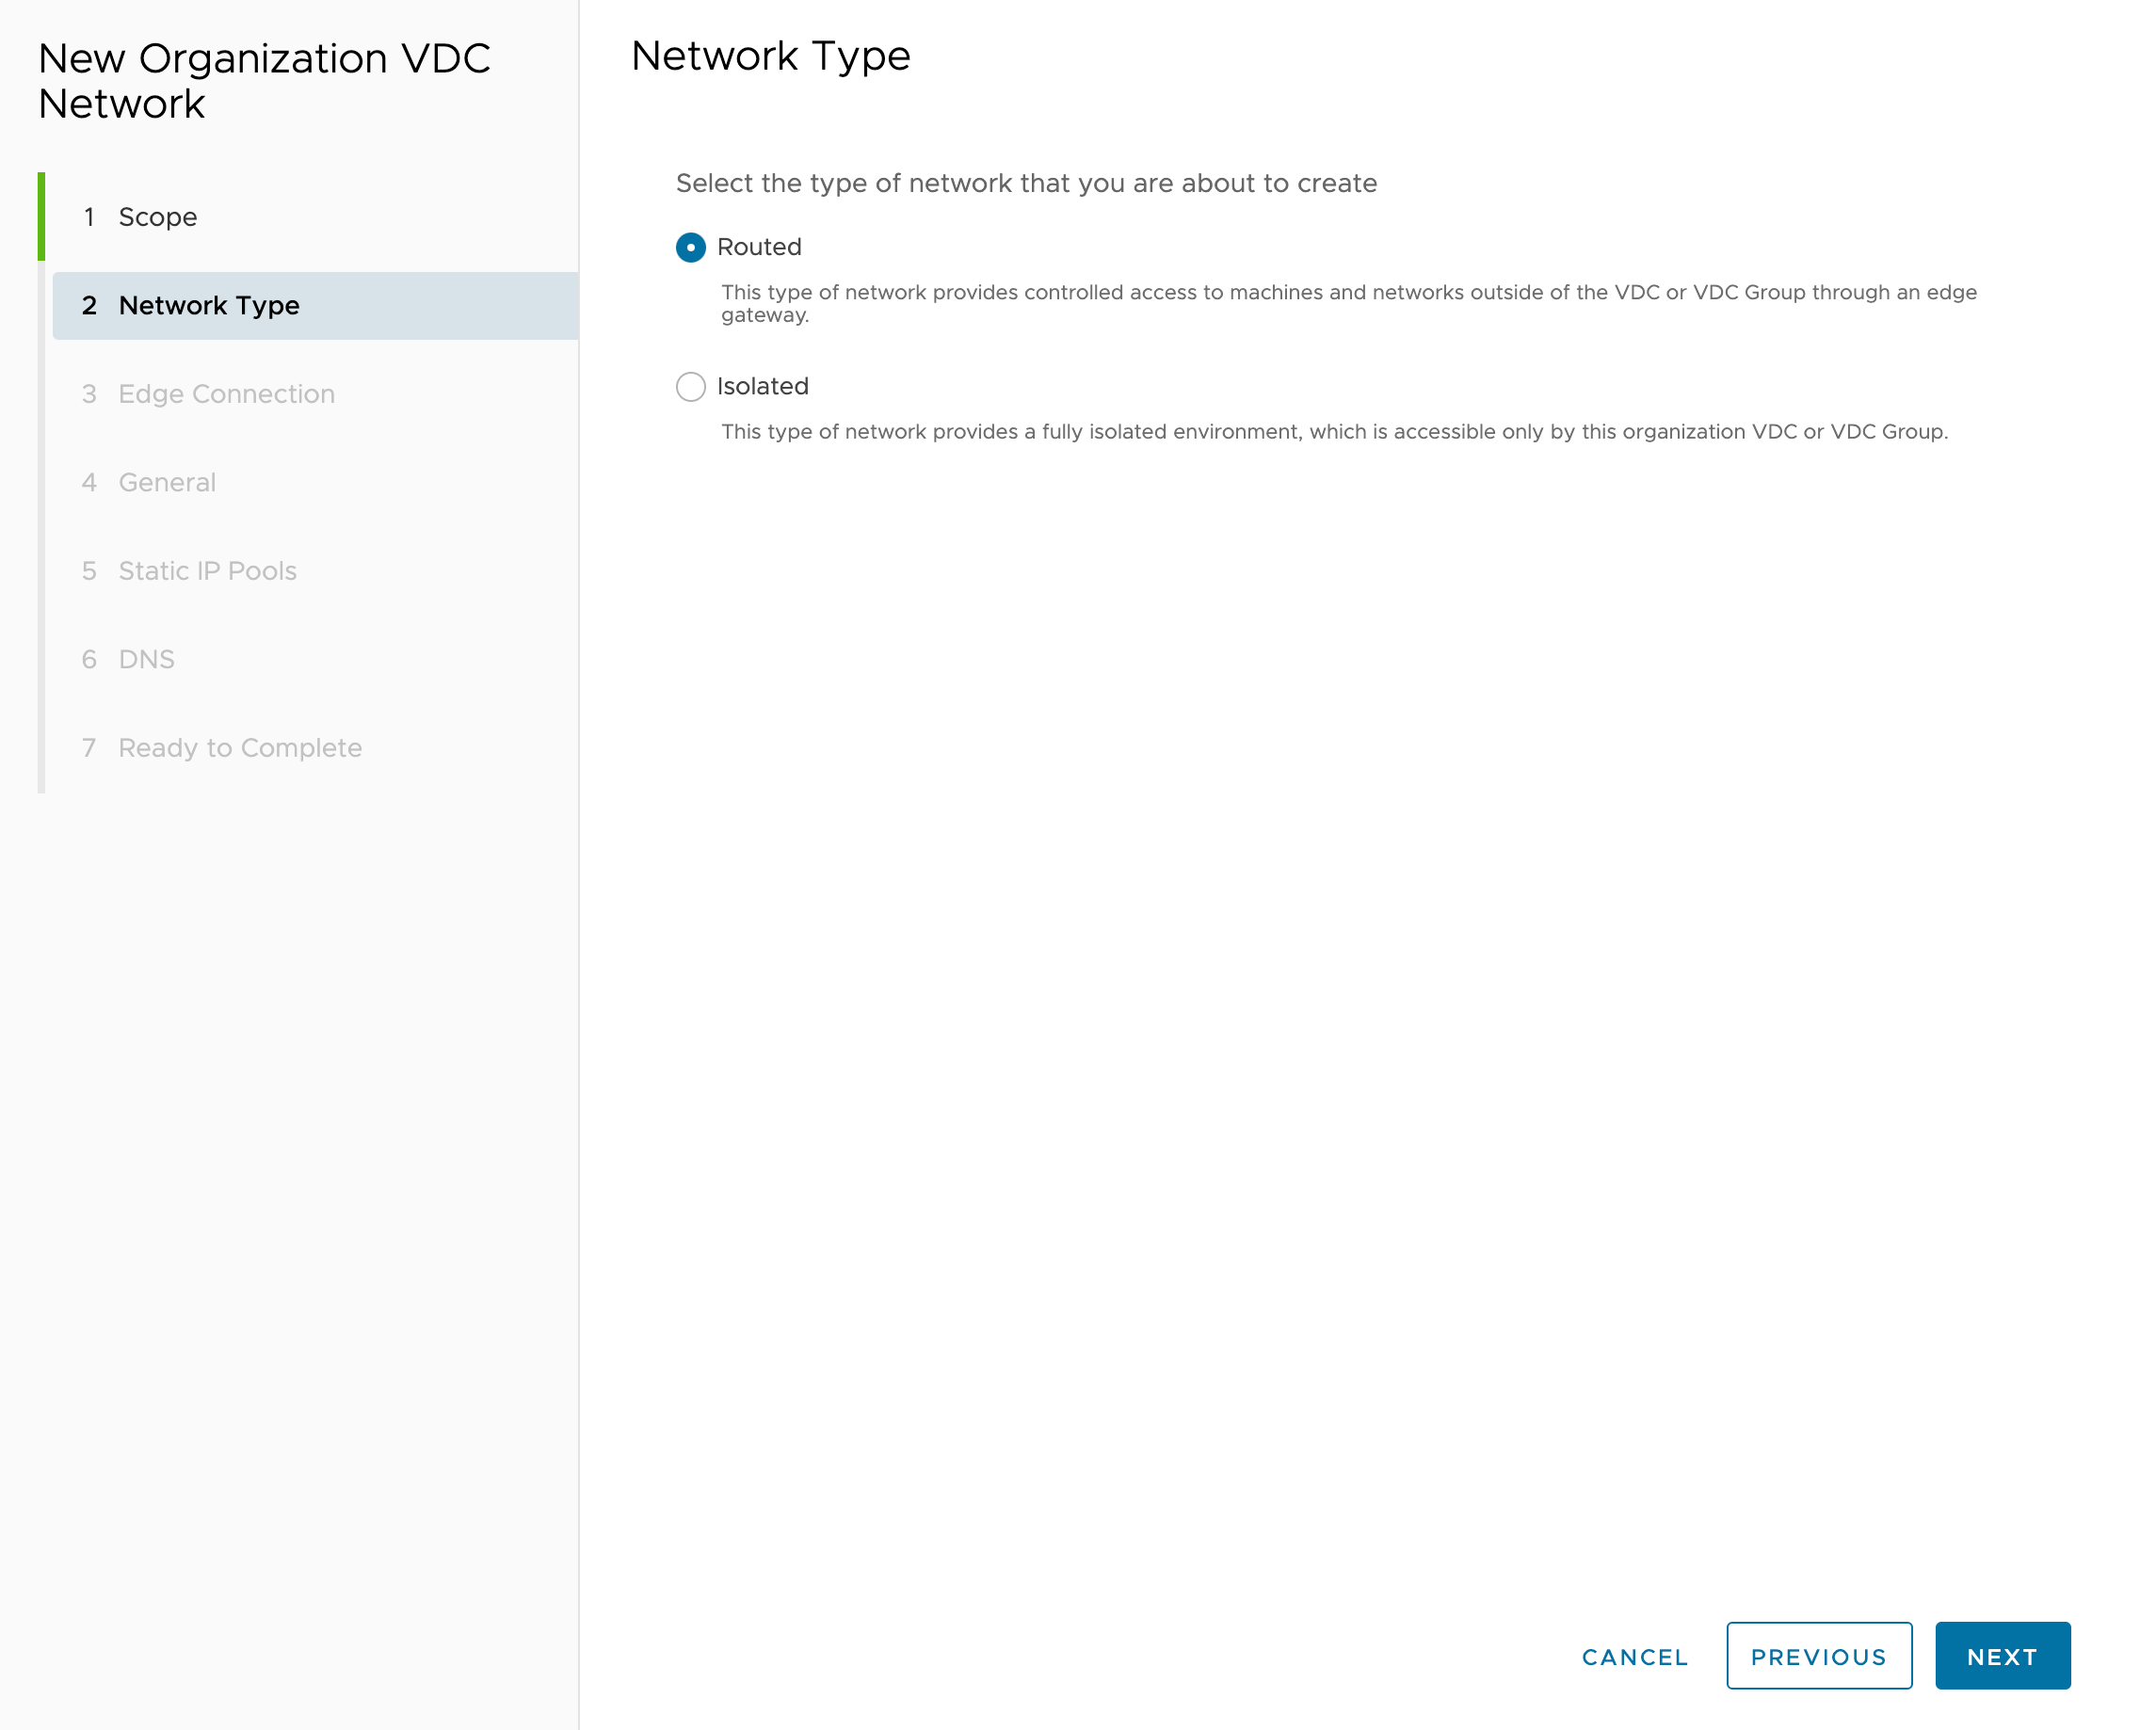
In the “Network type” step, select “Routed”:
-
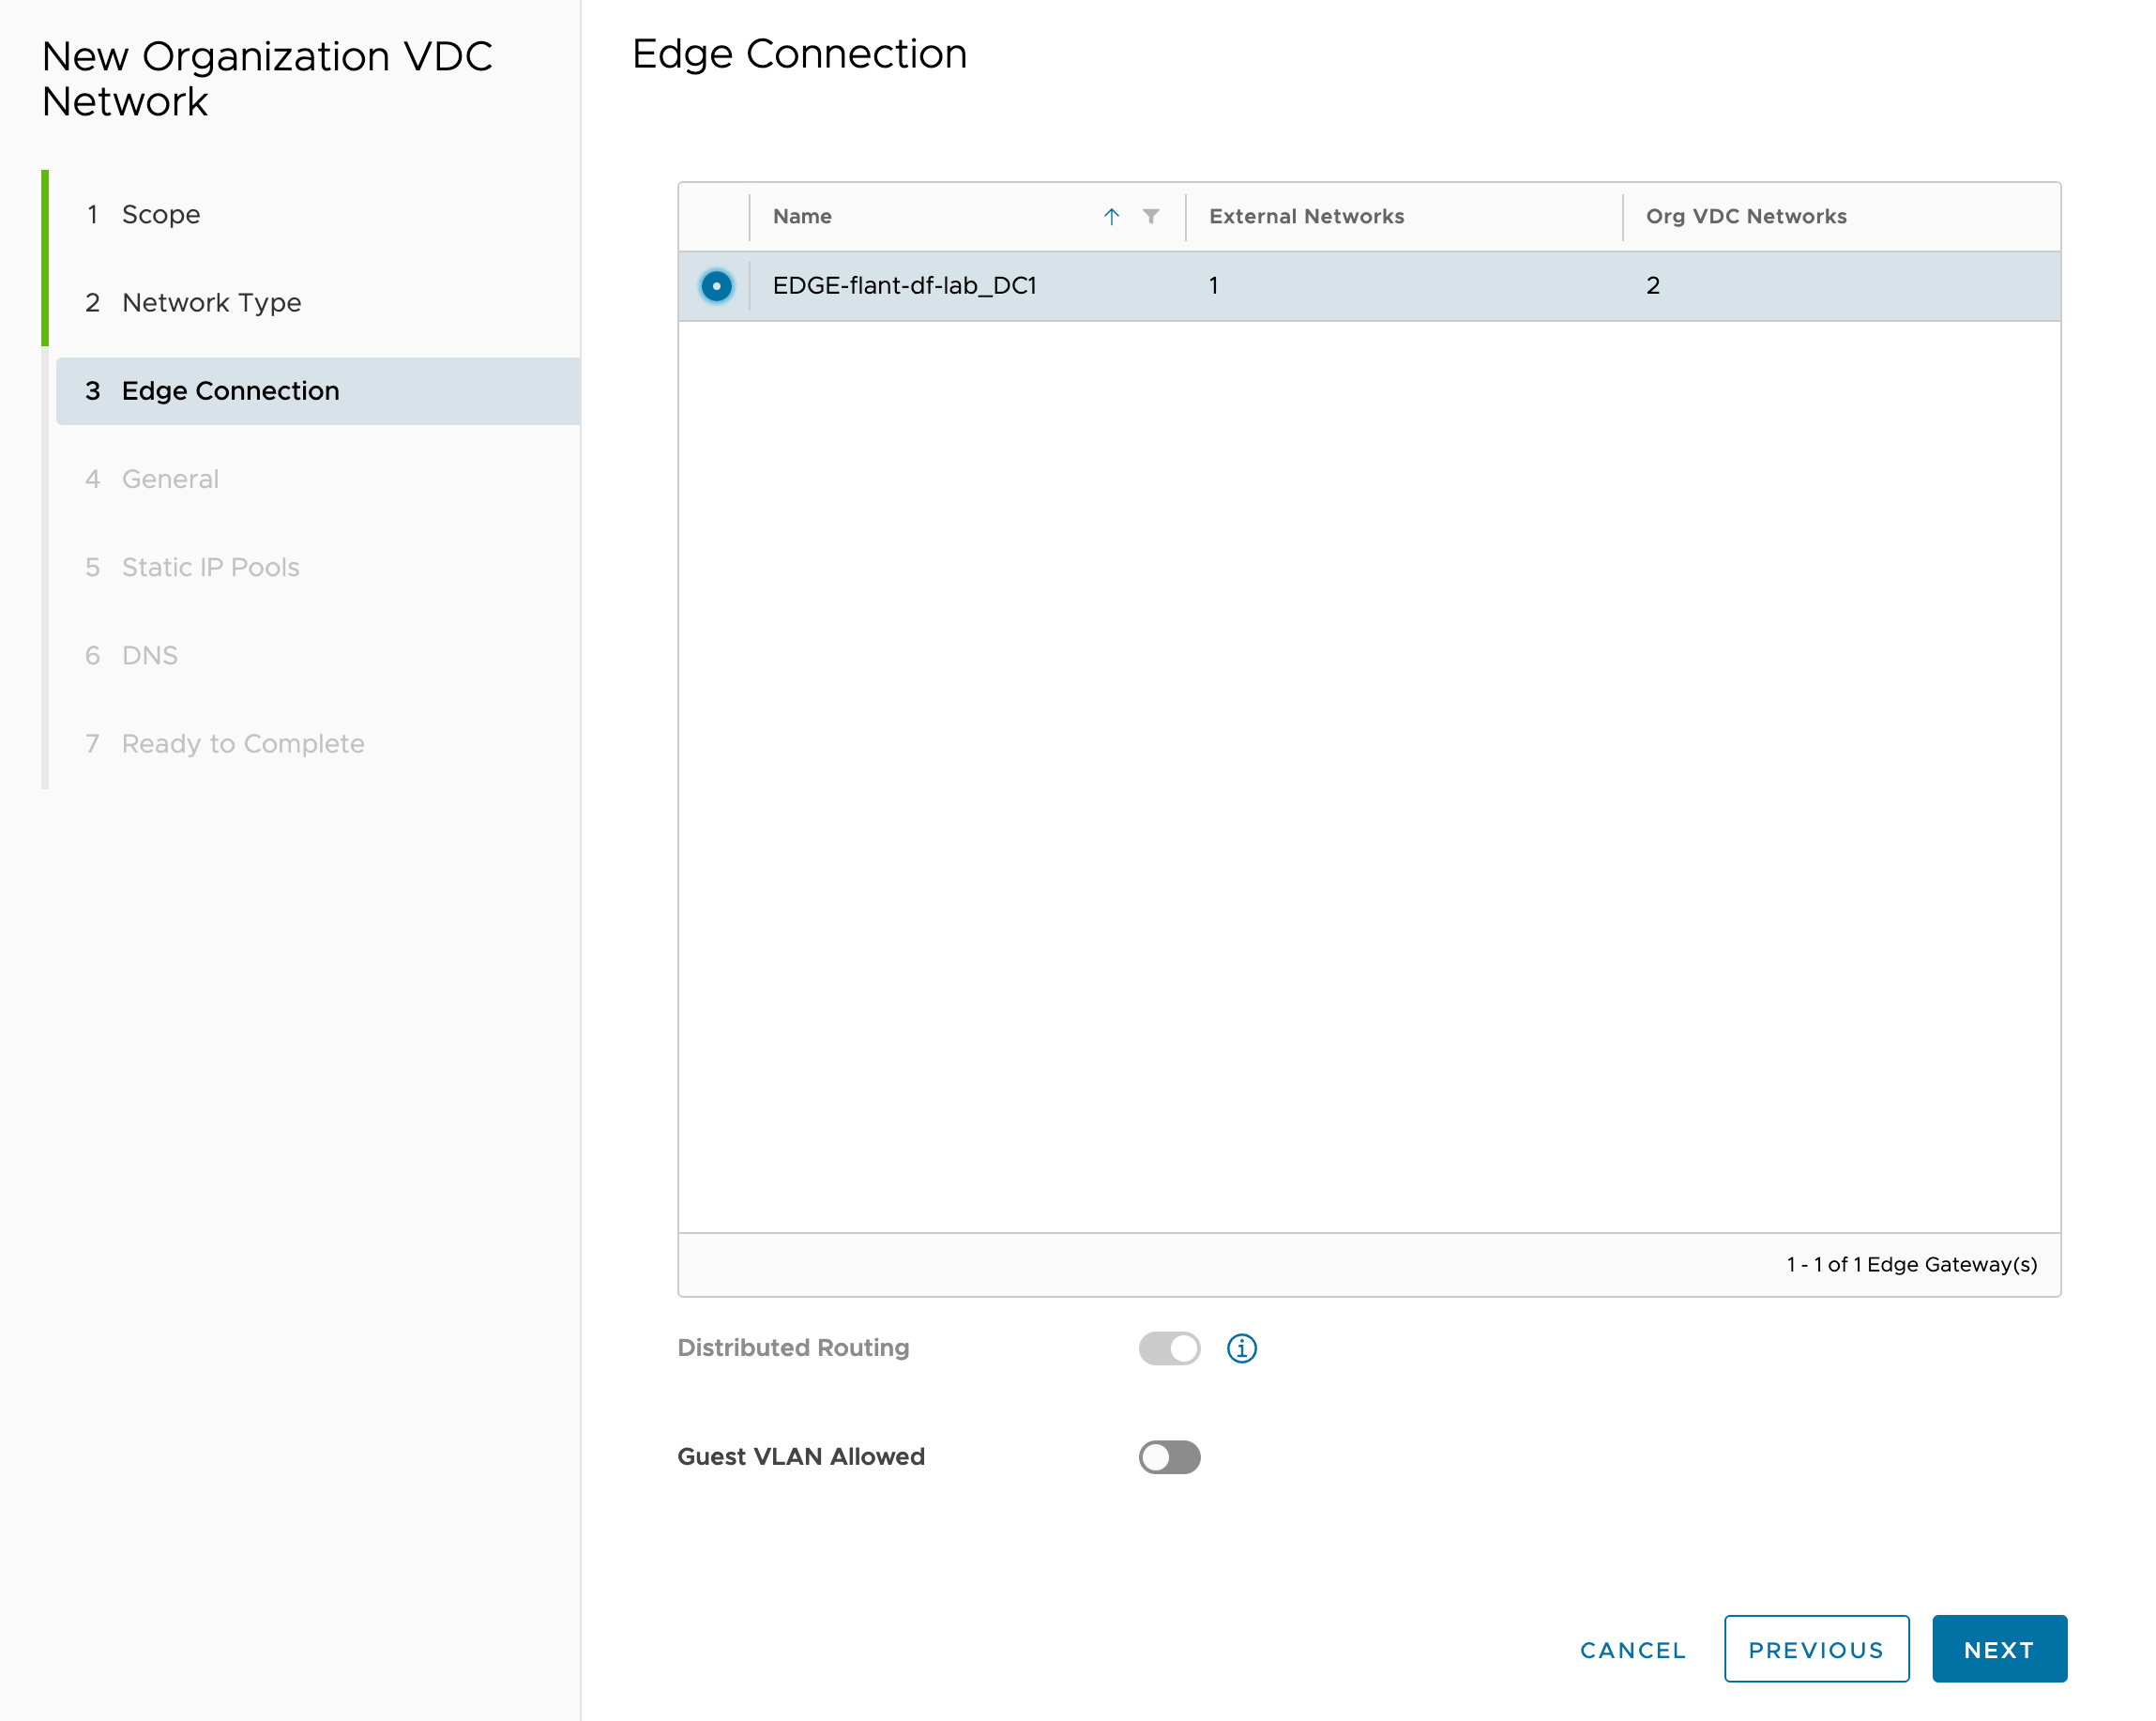
Connect the “EdgeRouter” to the network:
-
Specify the network name and CIDR:
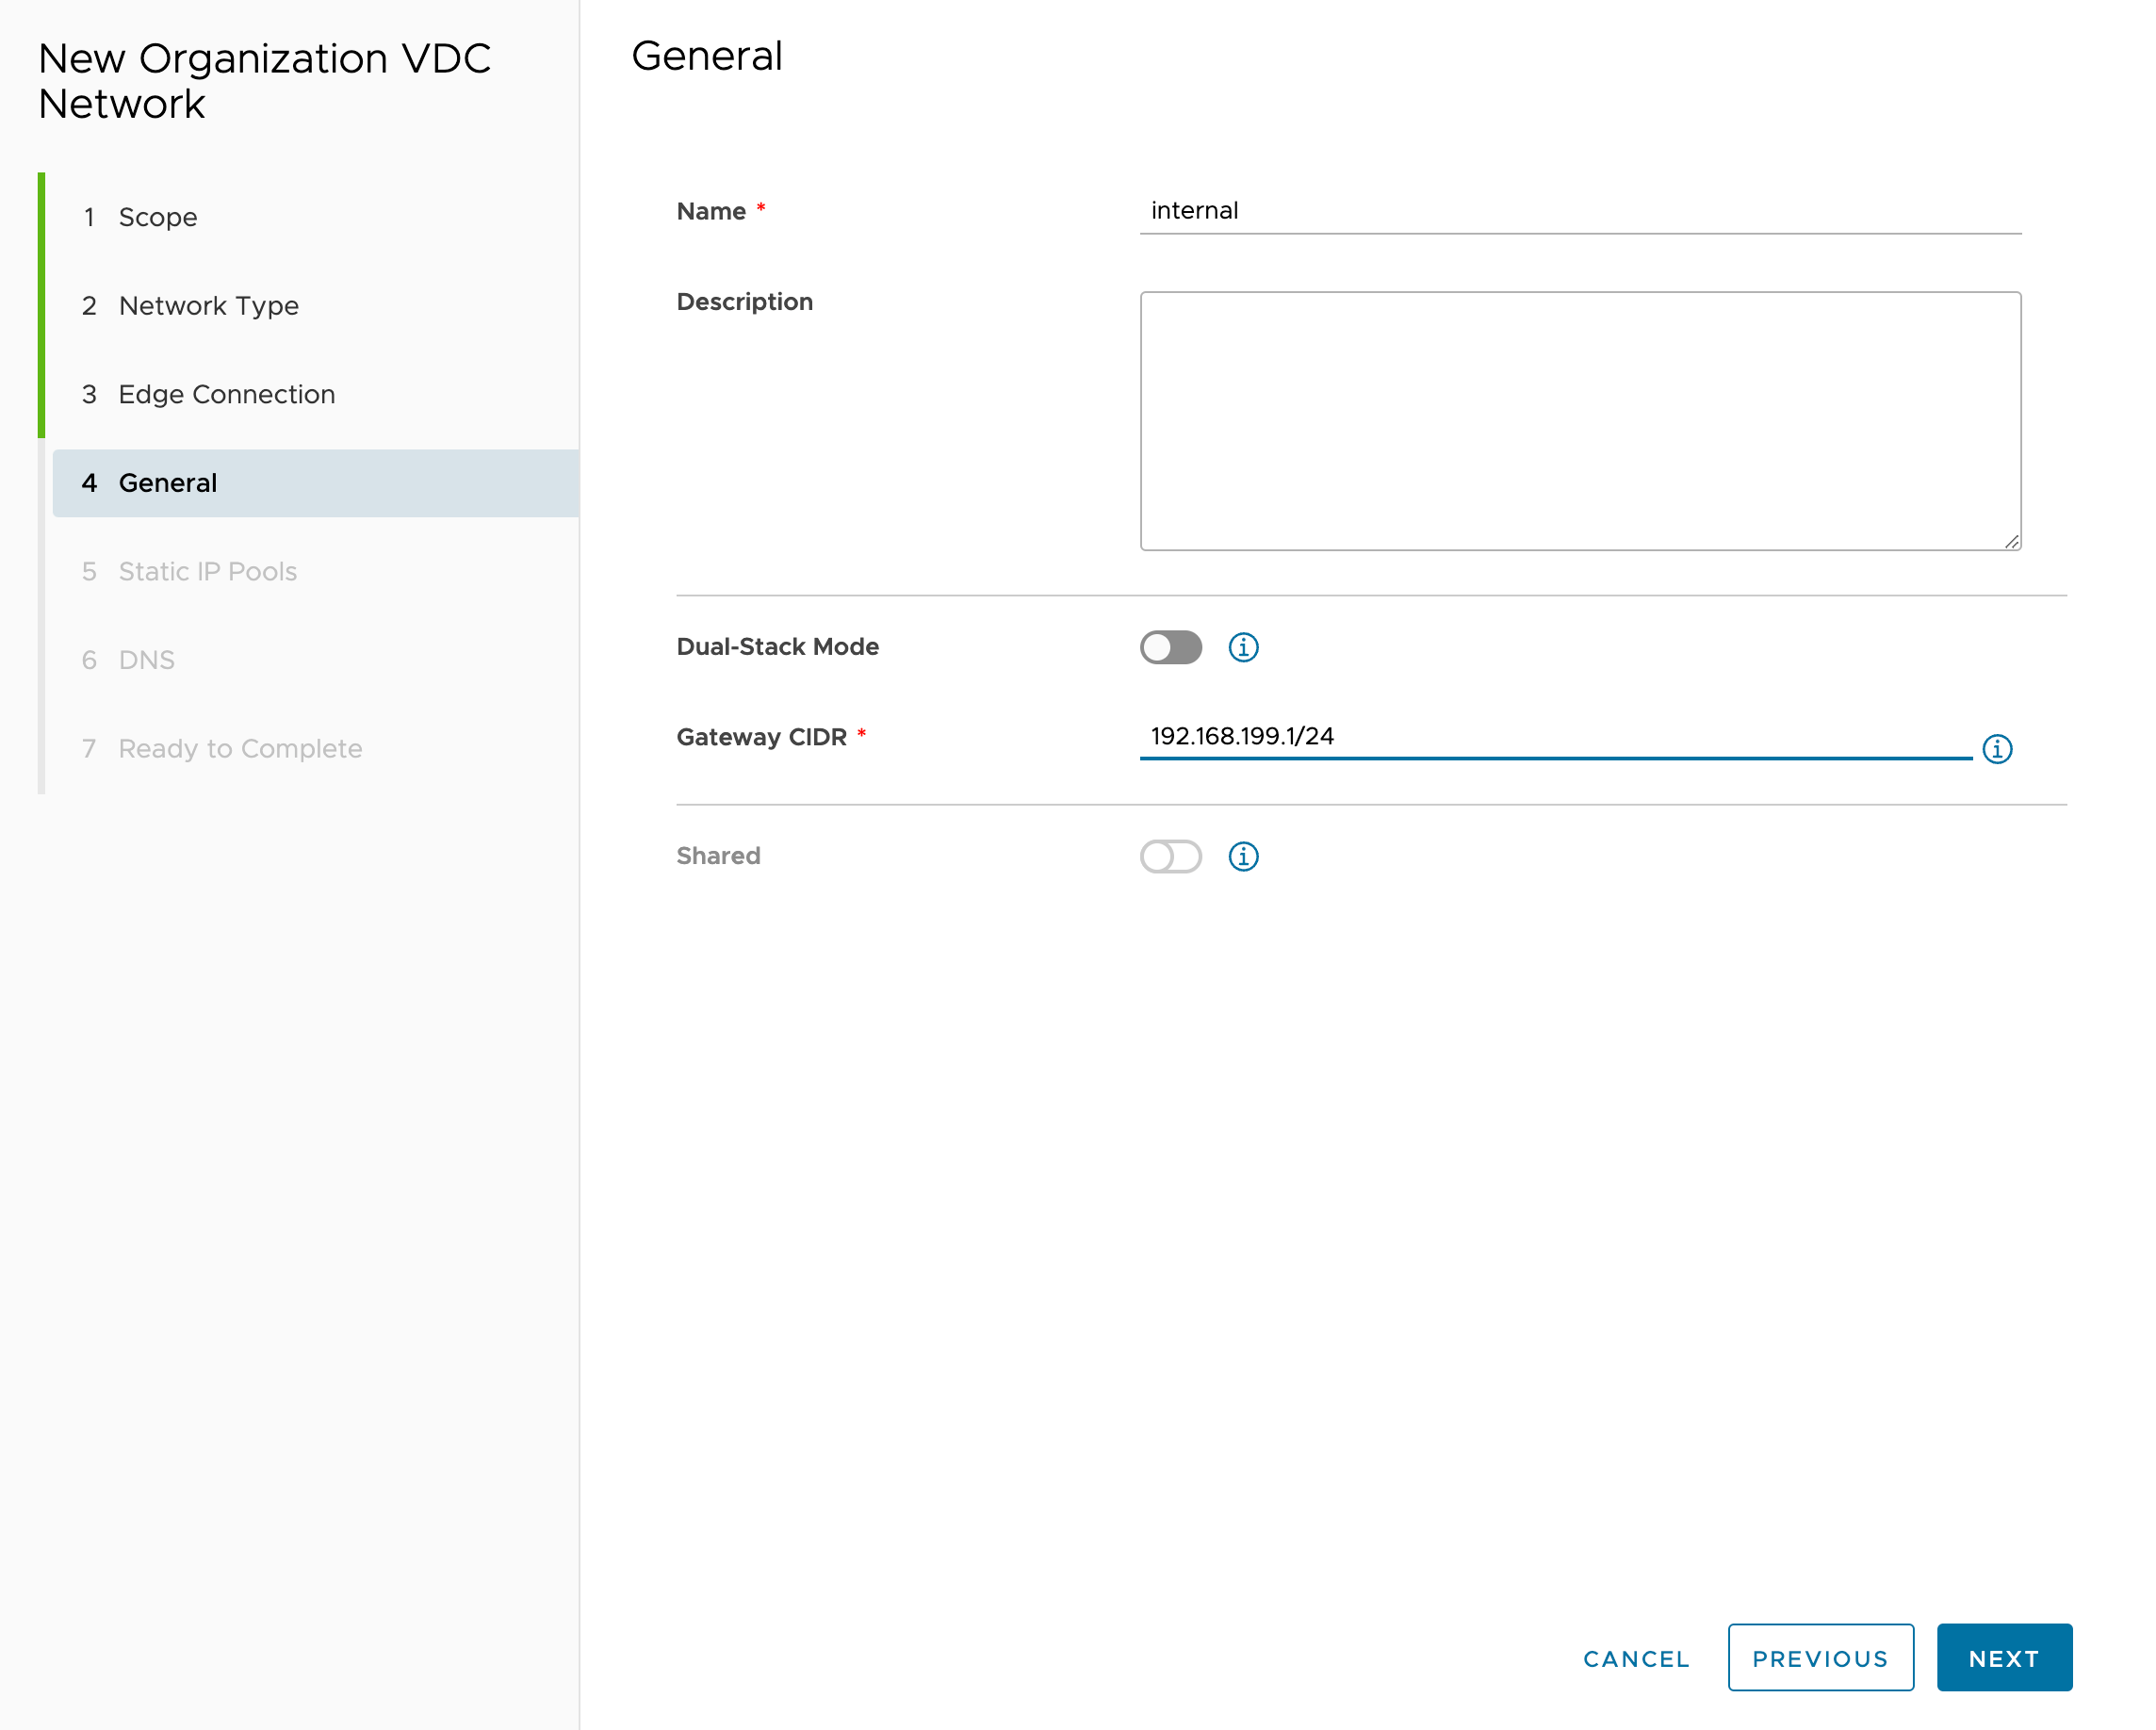
-
Do not add “Static IP Pools” since DHCP will be used:
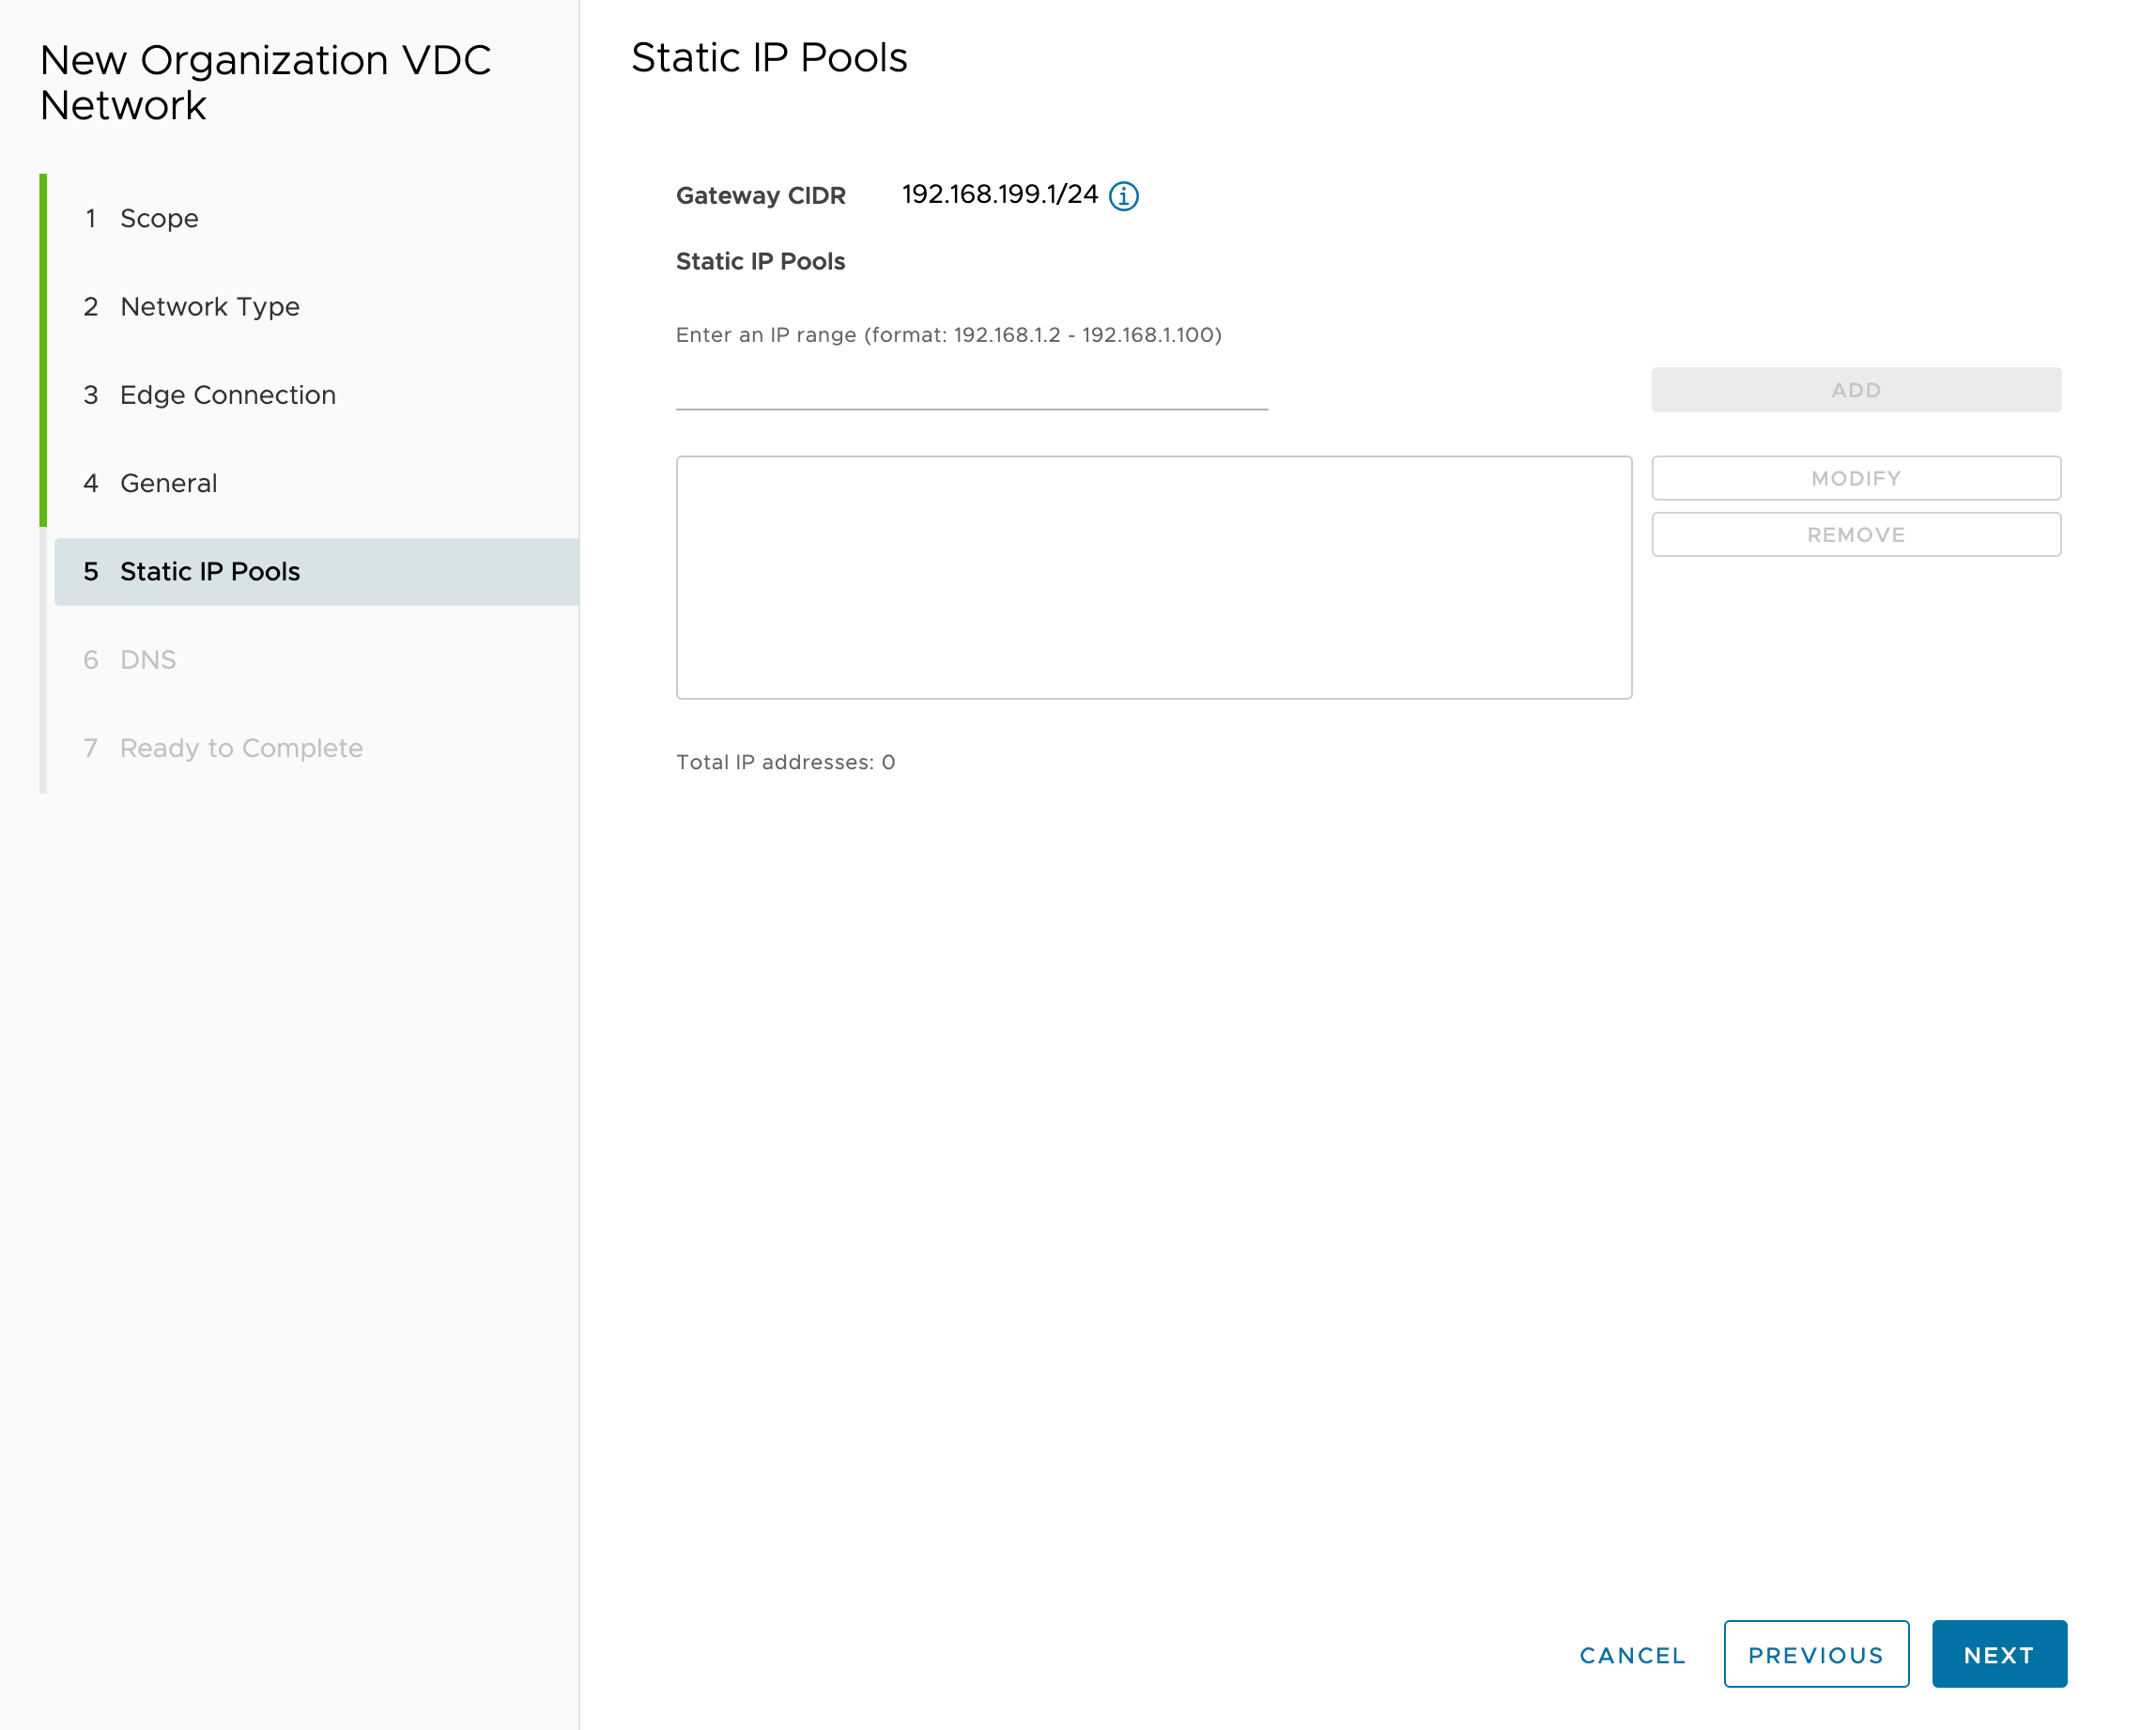
-
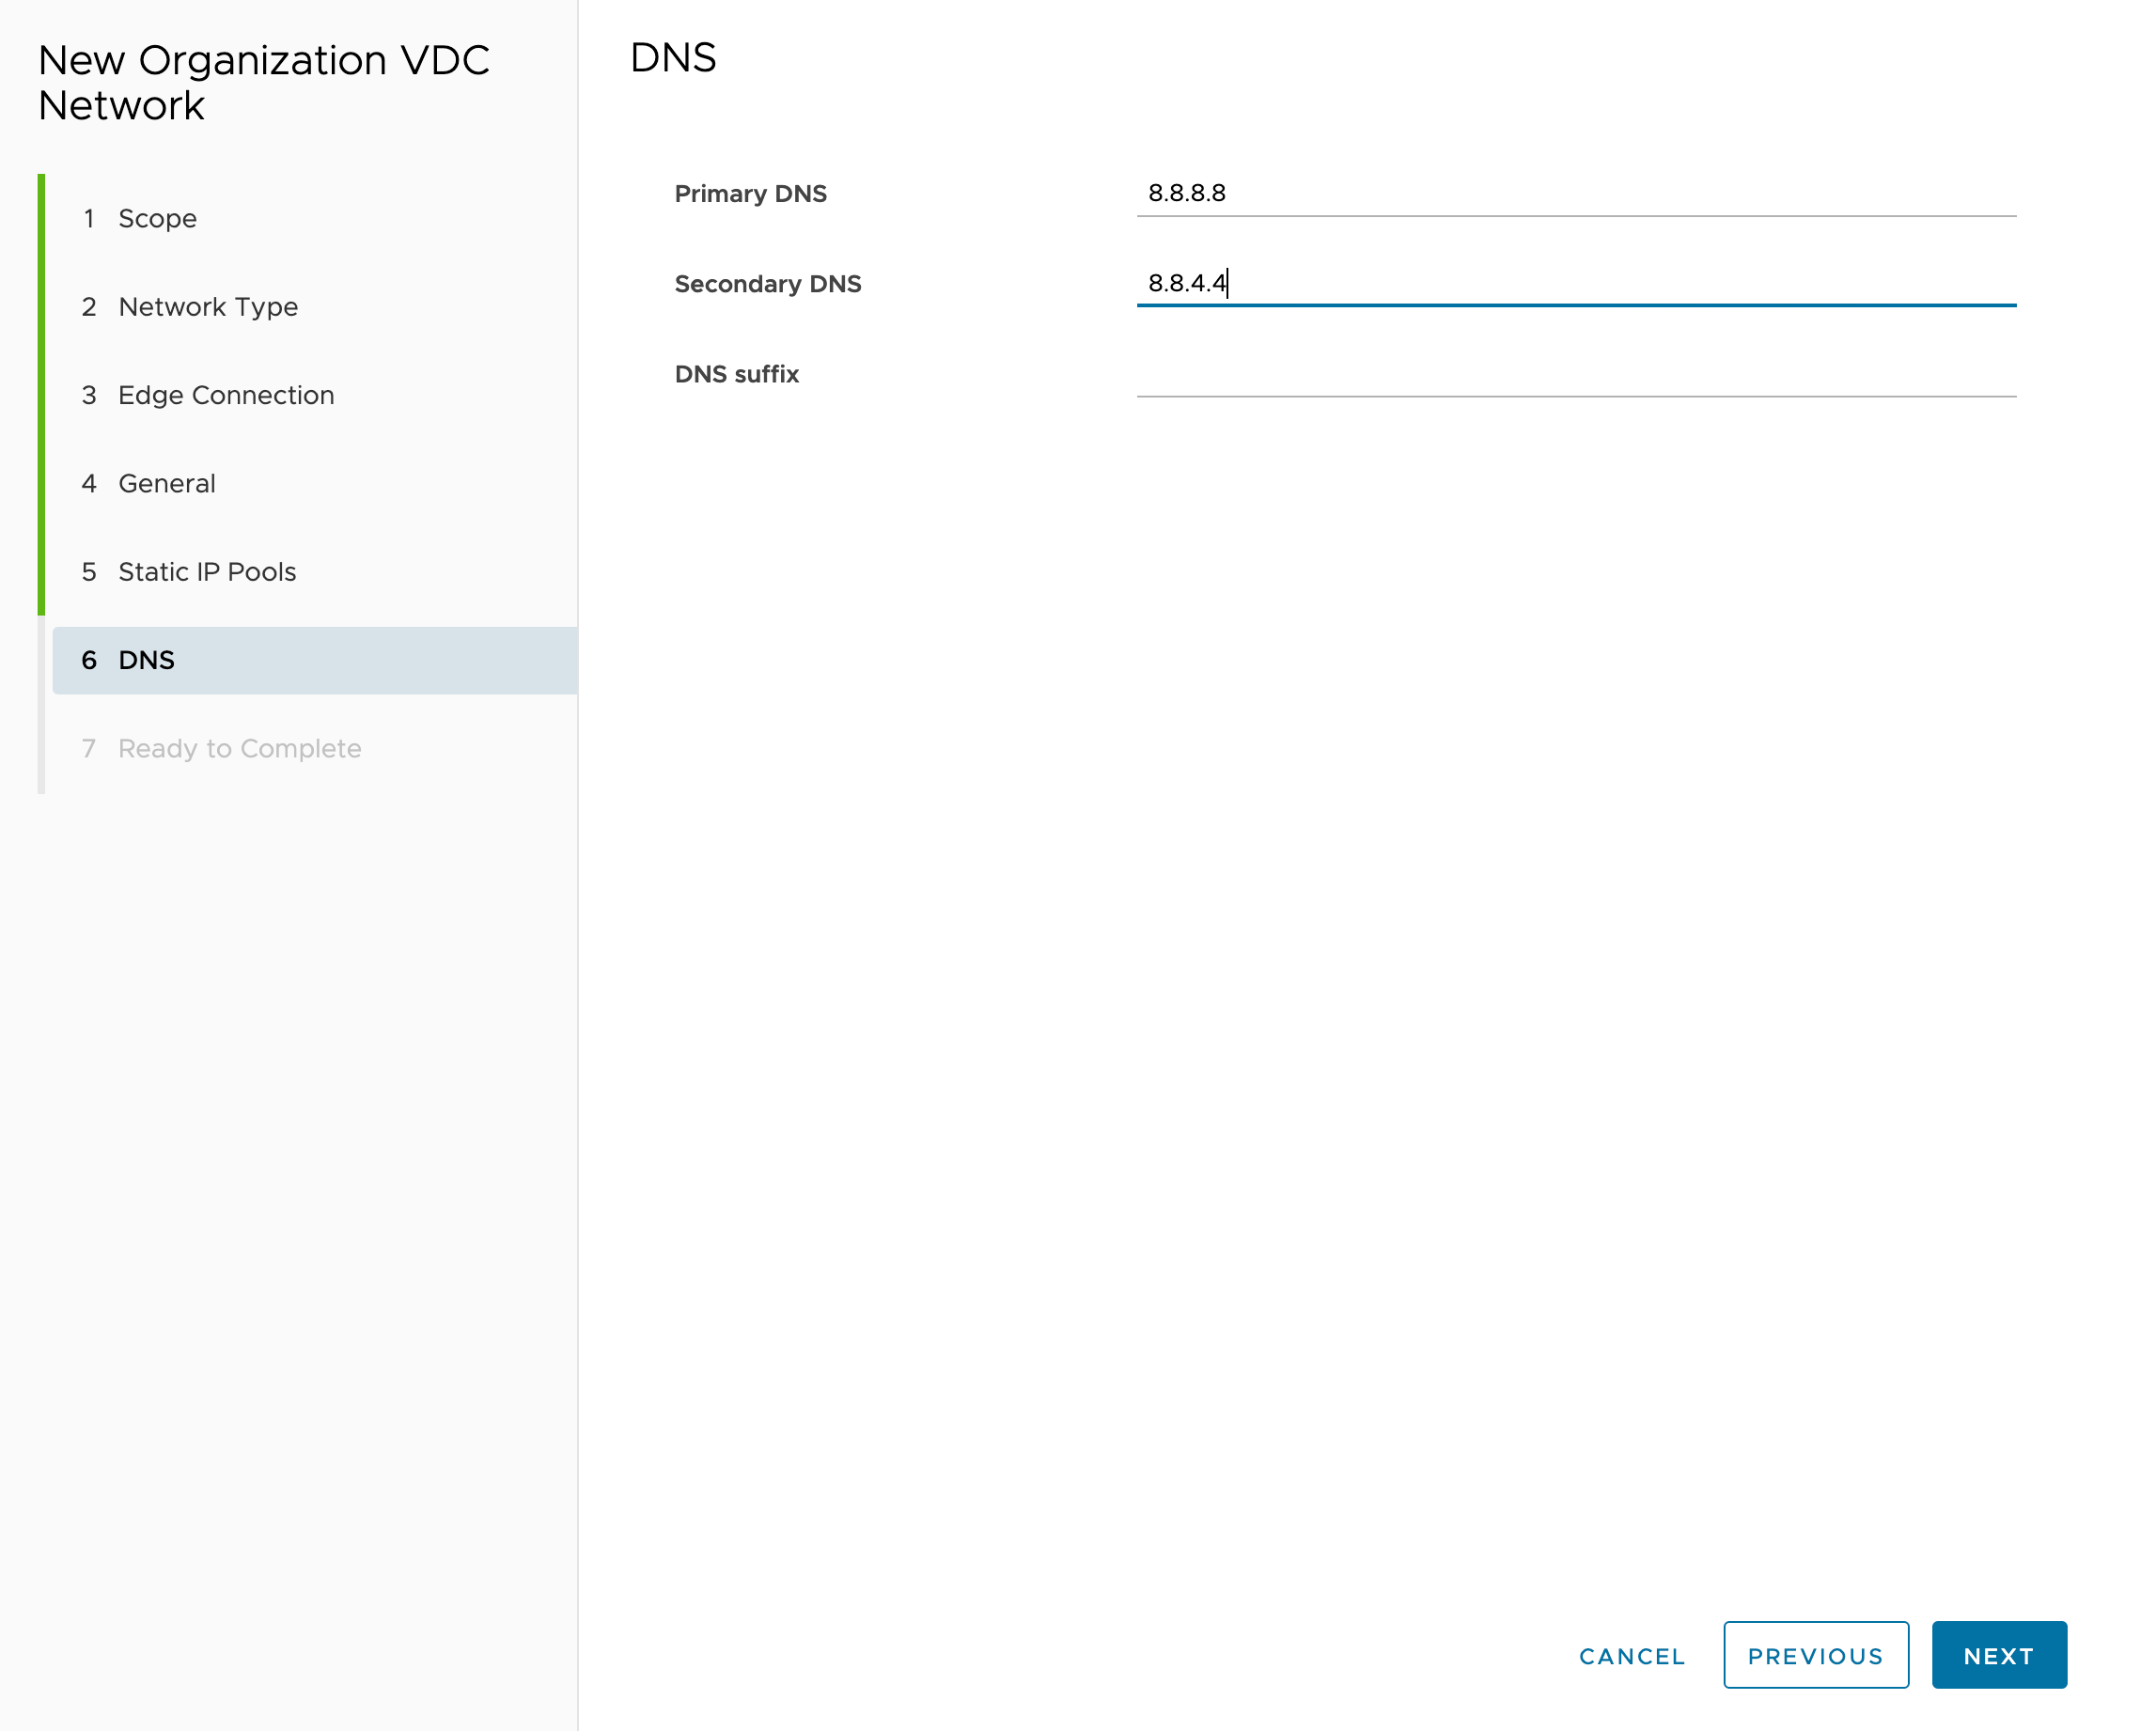
Specify DNS server addresses:
DHCP setup
This instruction applies only to the “Standard” placement scheme.
To dynamically provision nodes, enable the DHCP server for the internal network.
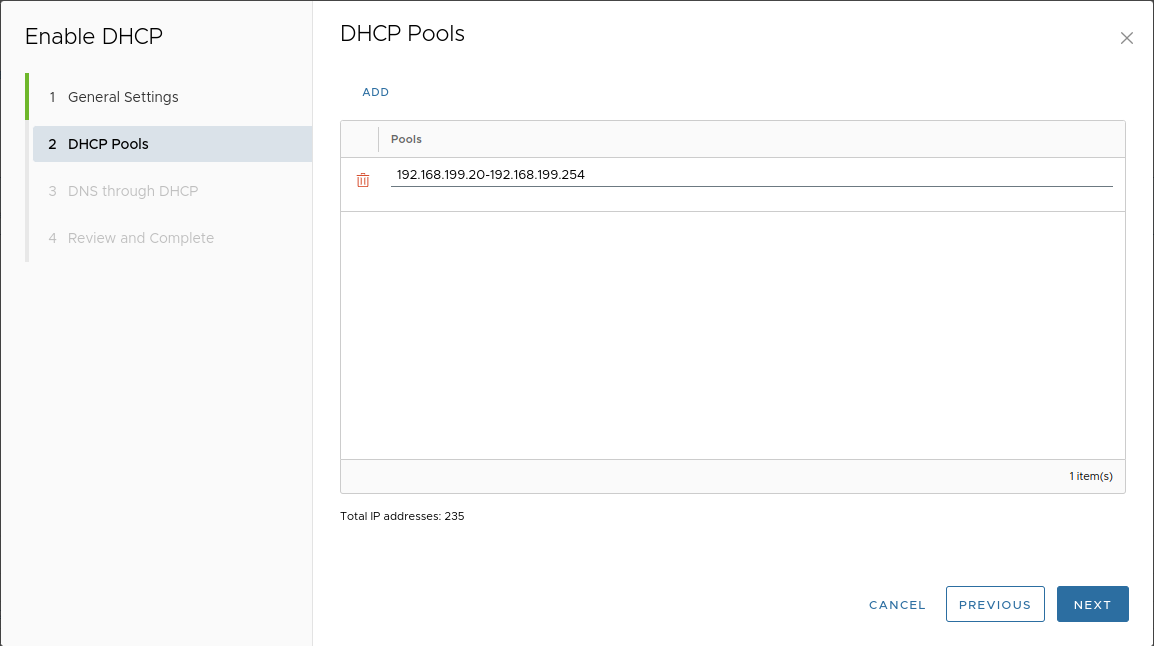
We recommend reserving the beginning of the address range for system workloads (control plane, frontend nodes, system nodes), and using the rest for the DHCP pool.
For example, for a “/24” network, reserving 20 addresses for system workloads is sufficient.
-
Go to the “Networking” tab and open the created network:
-
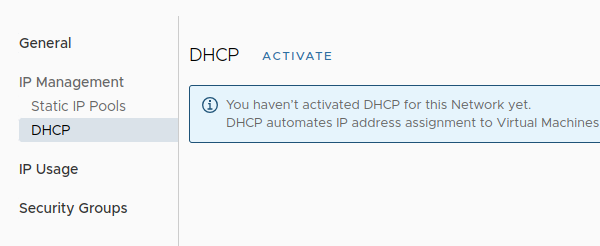
In the opened window, select “IP Management” → “DHCP” → “Activate”:
-
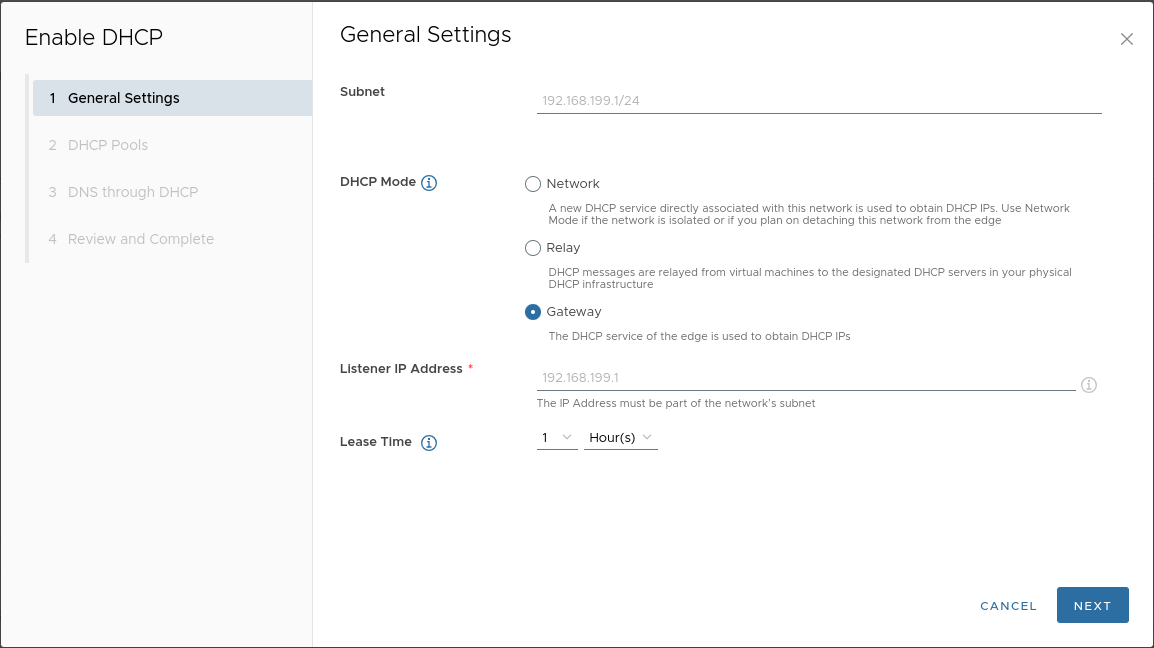
In the “General settings” tab, configure parameters as shown in the example:
-
Add a pool:
-
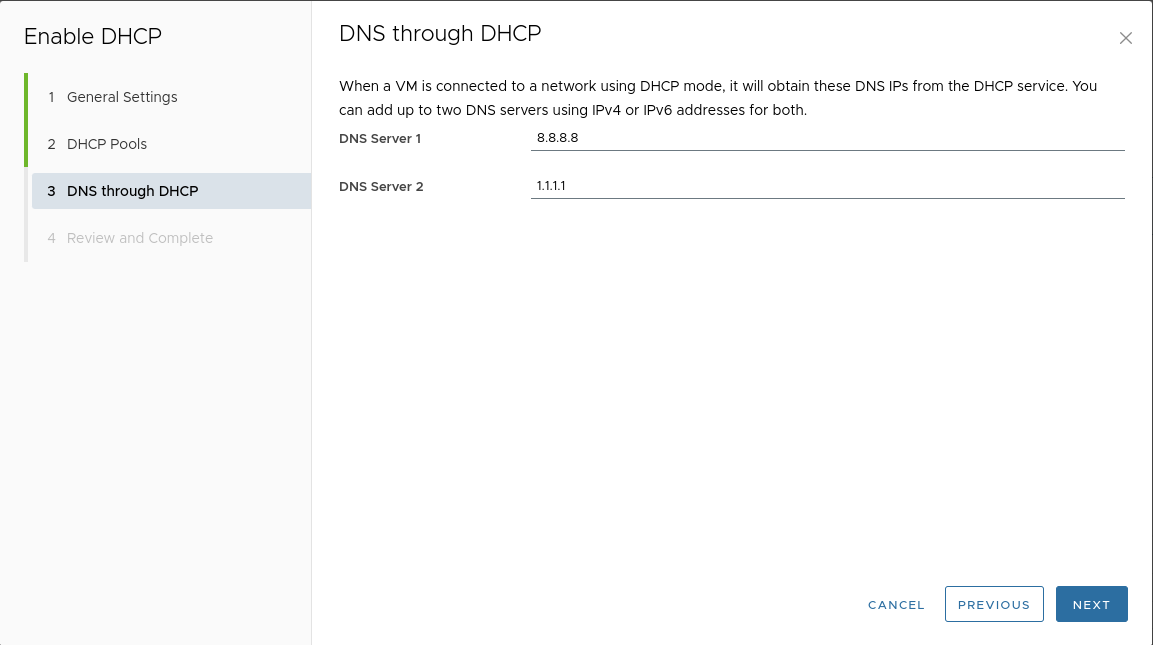
Specify DNS server addresses:
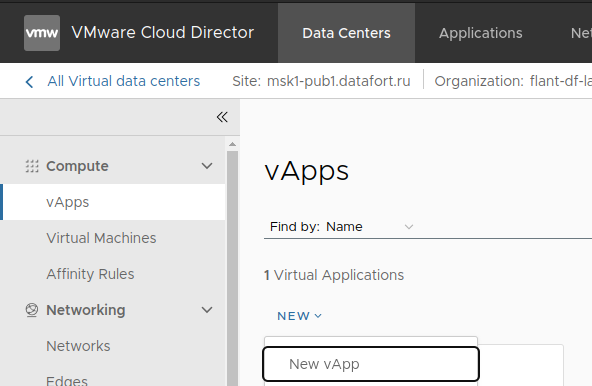
Adding a vApp
This instruction applies only to the “Standard” placement scheme.
-
Go to “Data Centers” → “vApps” → “NEW” → “New vApp”:
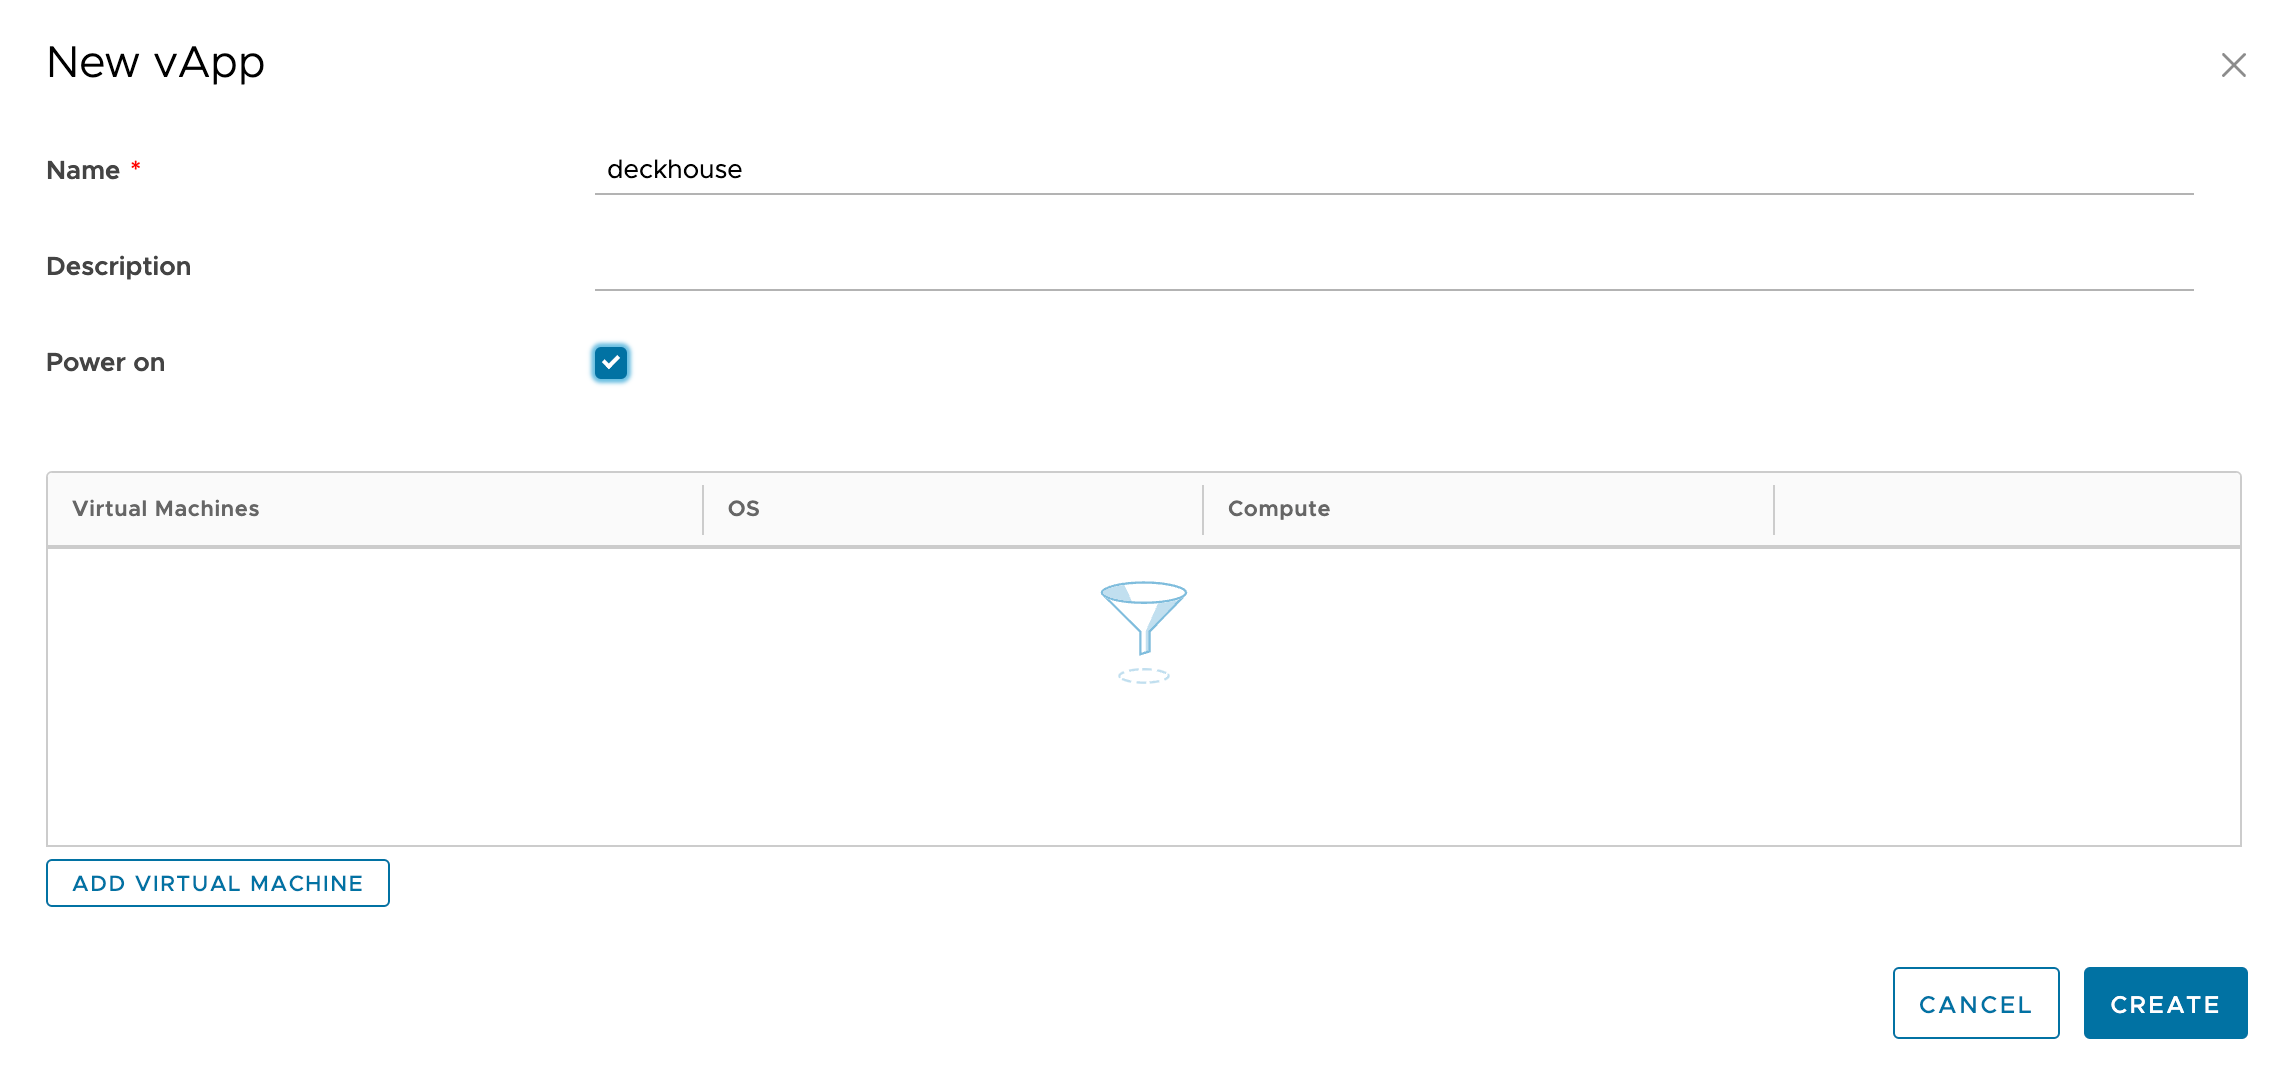
-
Specify a name and enable the vApp:
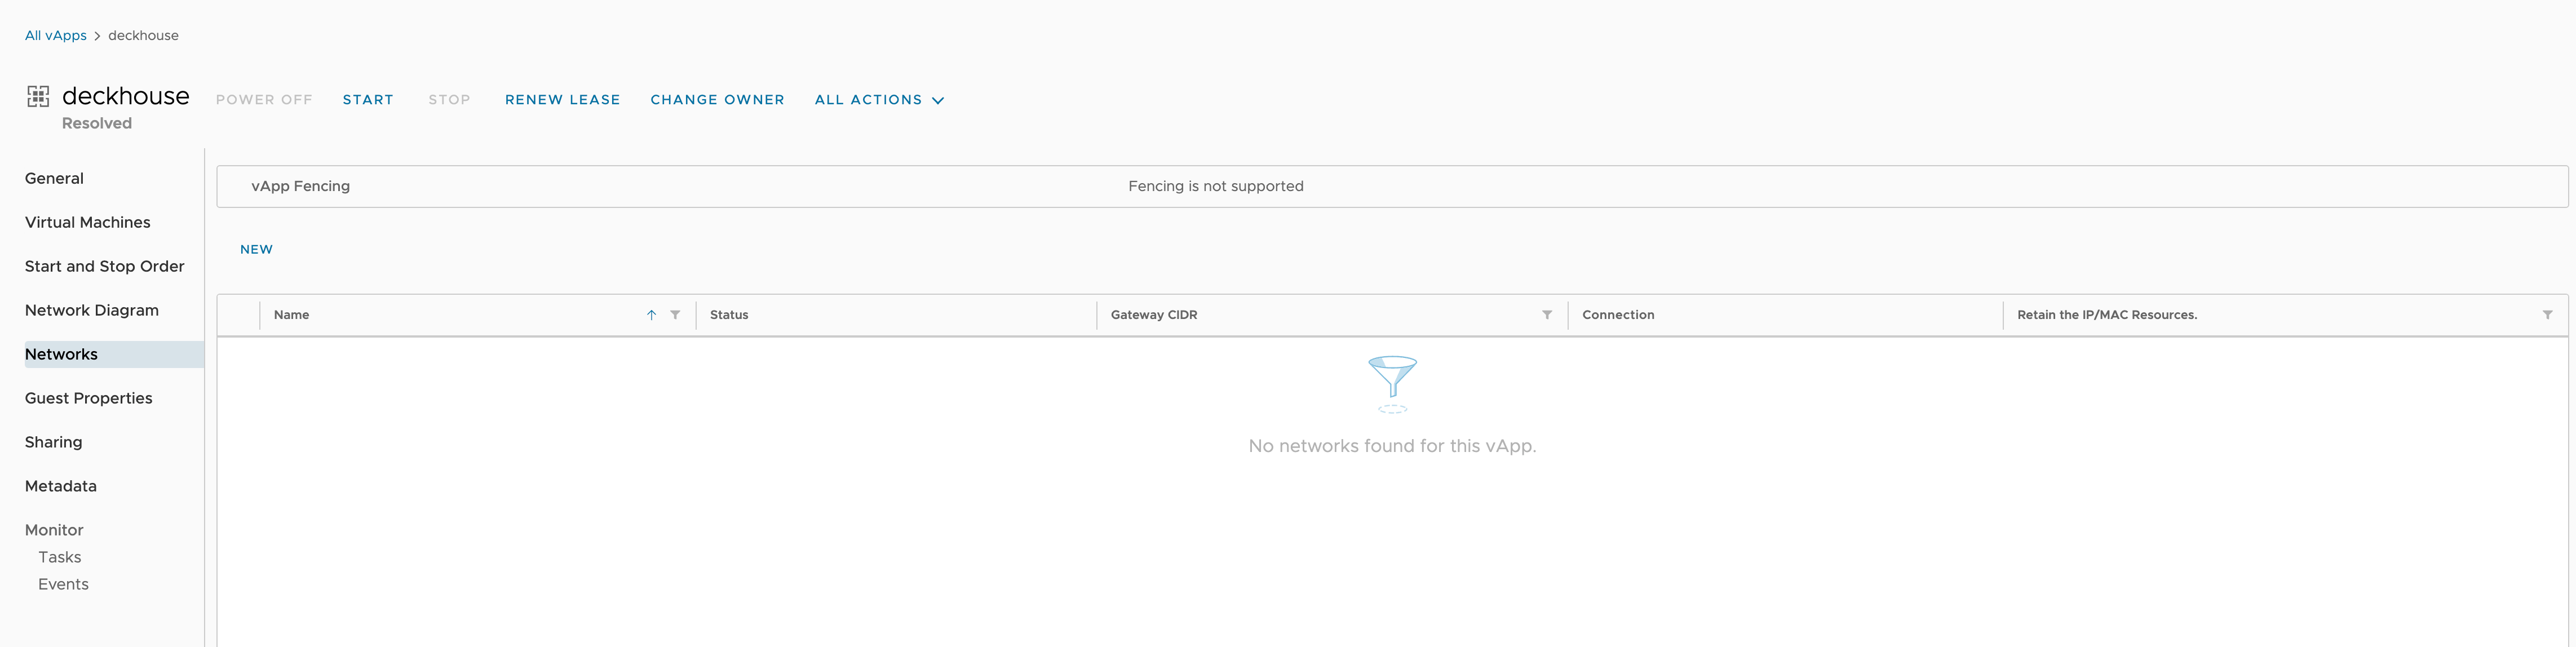
Adding a network to a vApp
This instruction applies only to the “Standard” placement scheme.
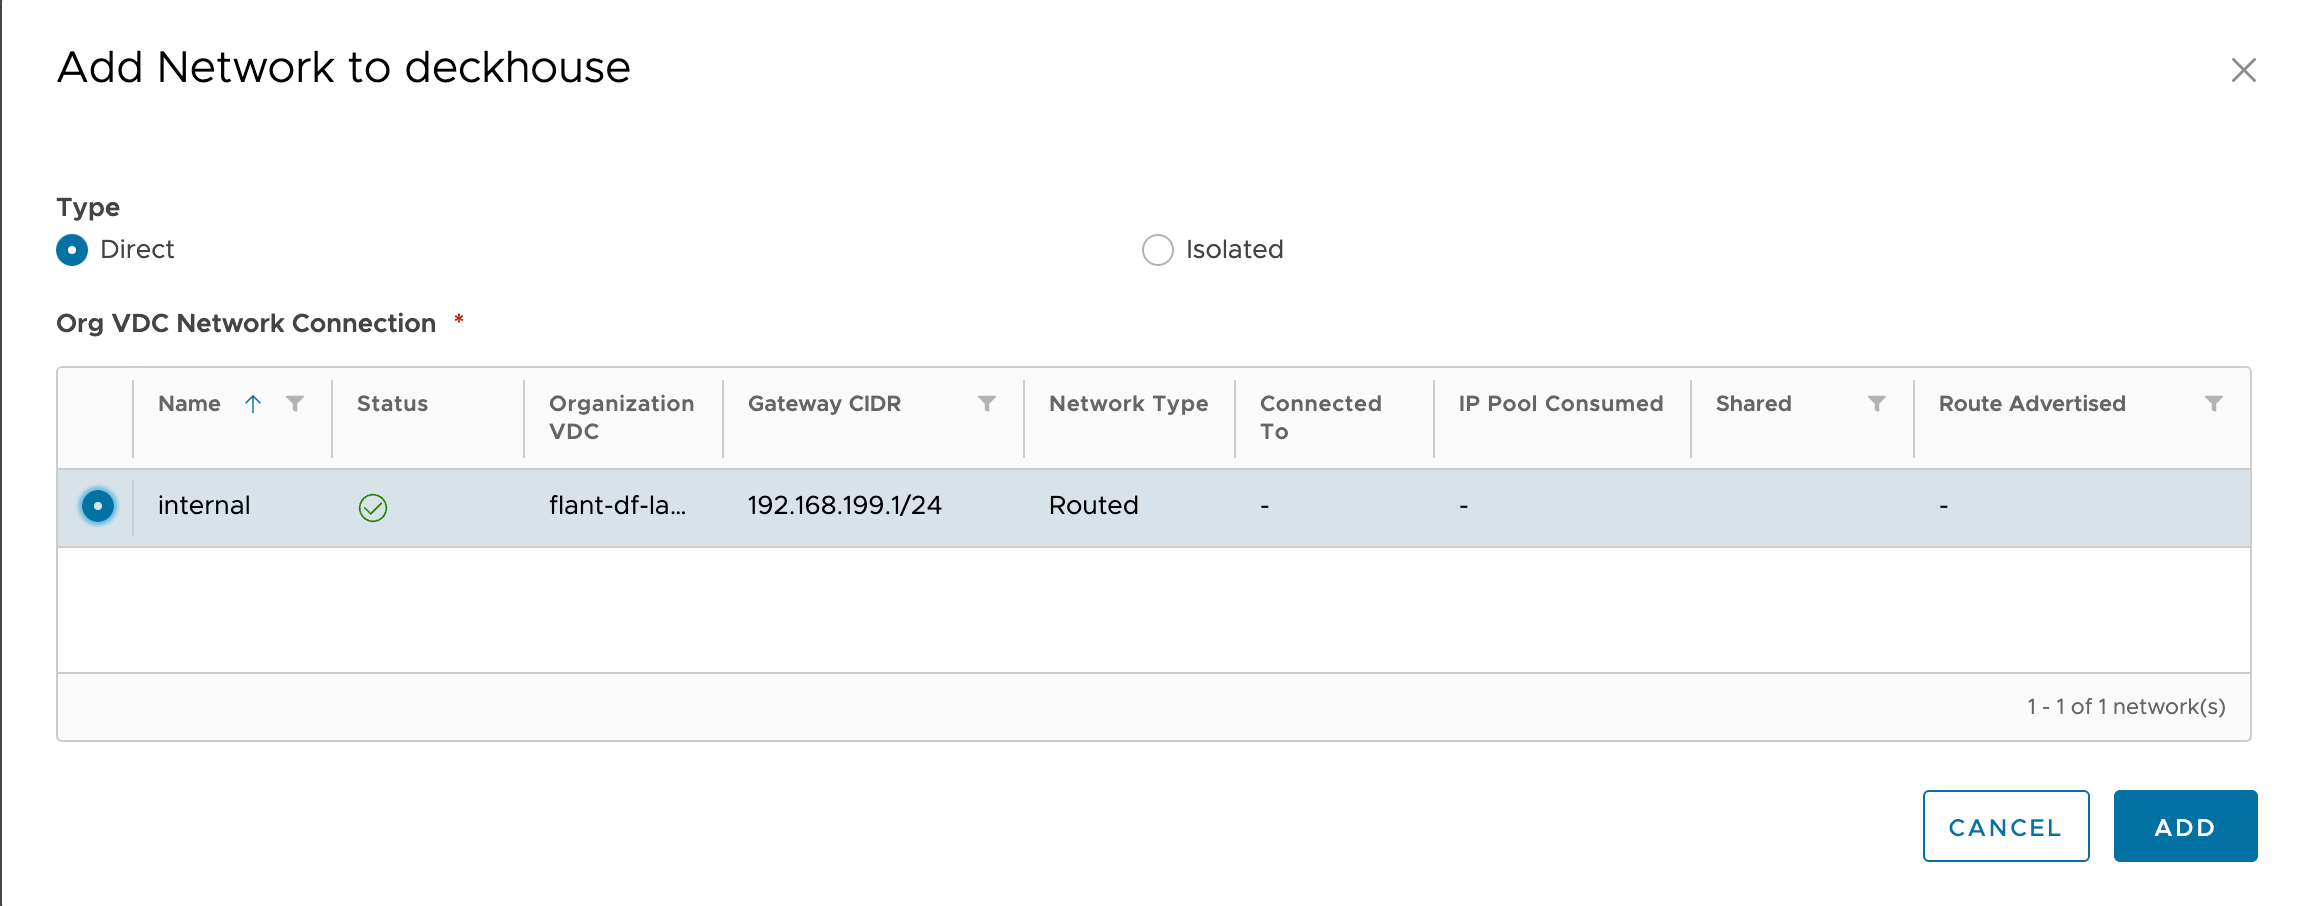
After creating the vApp, attach the created internal network to it.
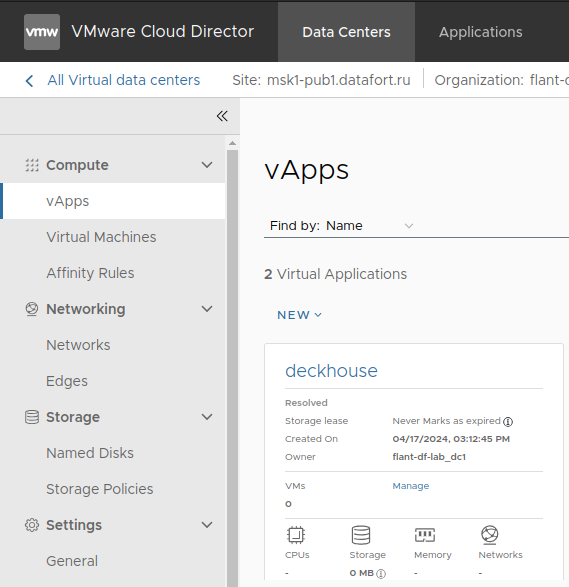
-
Go to “Data Centers” → “vApps” and open the desired vApp:
-
Go to the “Networks” tab and click “NEW”:
-
In the pop-up window, select “Direct” type and choose the network:
Incoming traffic
Incoming traffic must be directed to the edge router (ports “80”, “443”) using DNAT rules to the allocated address in the internal network.
This address is managed by MetalLB in L2 mode on dedicated frontend nodes.
Configuring DNAT/SNAT rules on the Edge Gateway
-
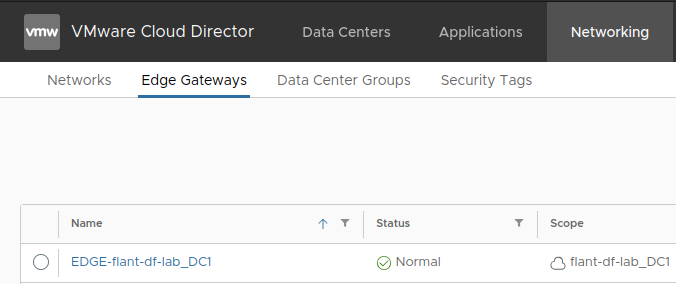
Go to “Networking” → “Edge Gateways”, open the edge gateway:
-
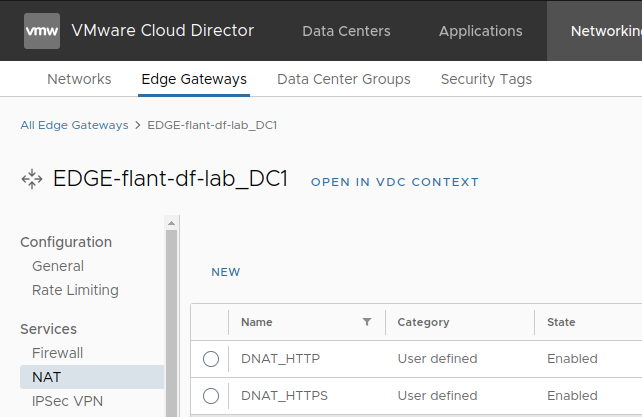
Go to “Services” → “NAT”:
-
Add the following rules:

The first two rules are for incoming traffic, and the third is for SSH access to the control plane node (required for installation).
-
To allow virtual machines to access the internet, configure SNAT rules as in the example:

This rule allows VMs from the “192.168.199.0/24” subnet to access the internet.
Firewall setup
This instruction applies only to the “Standard” placement scheme.
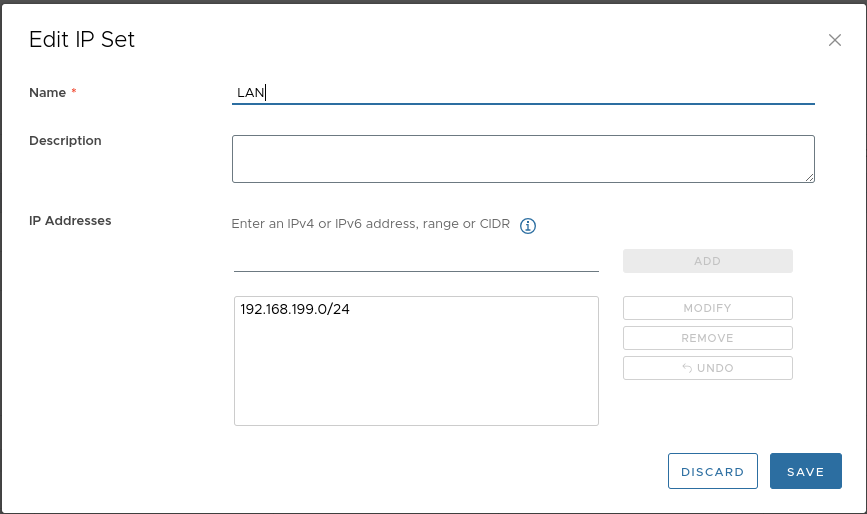
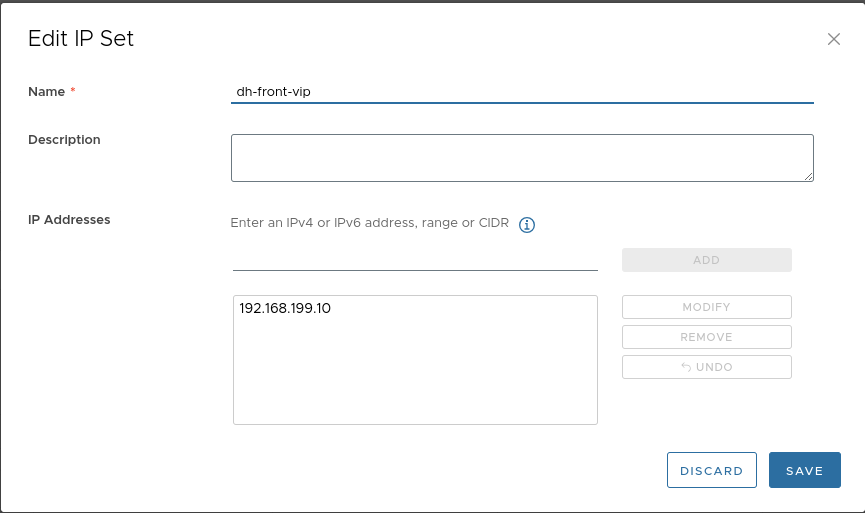
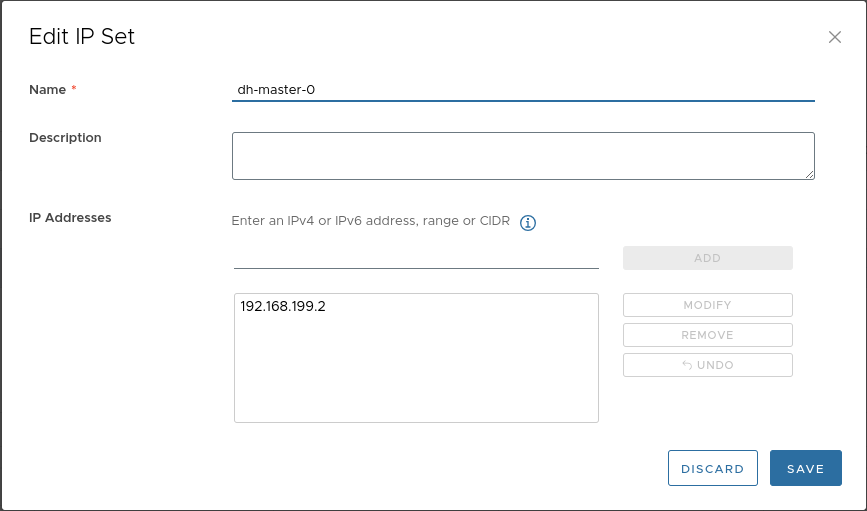
After configuring DNAT, configure the firewall. Start by setting up IP sets.
-
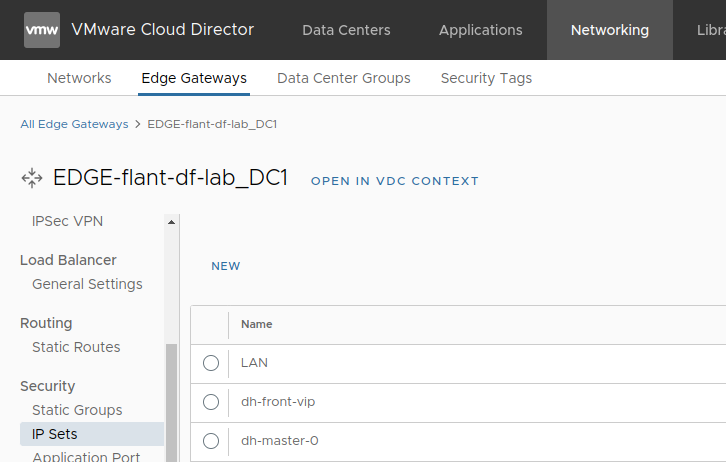
Go to “Security” → “IP Sets”:
-
Create the following IP set (assuming the MetalLB address will be “.10” and the control plane node “.2”):
-
Add the following firewall rules:

Virtual machine template
The provider has been tested only with virtual machine templates based on “Ubuntu 22.04”.
The cloud-init package must be installed on the VMs.
After the virtual machine is started, the following services associated with this package must be started:
cloud-config.service;cloud-final.service;cloud-init.service.
In the example, an “OVA” file provided by Ubuntu is used, with two modifications.
These modifications are required for proper provisioning of CloudPermanent nodes and to allow attaching disks created by CSI.
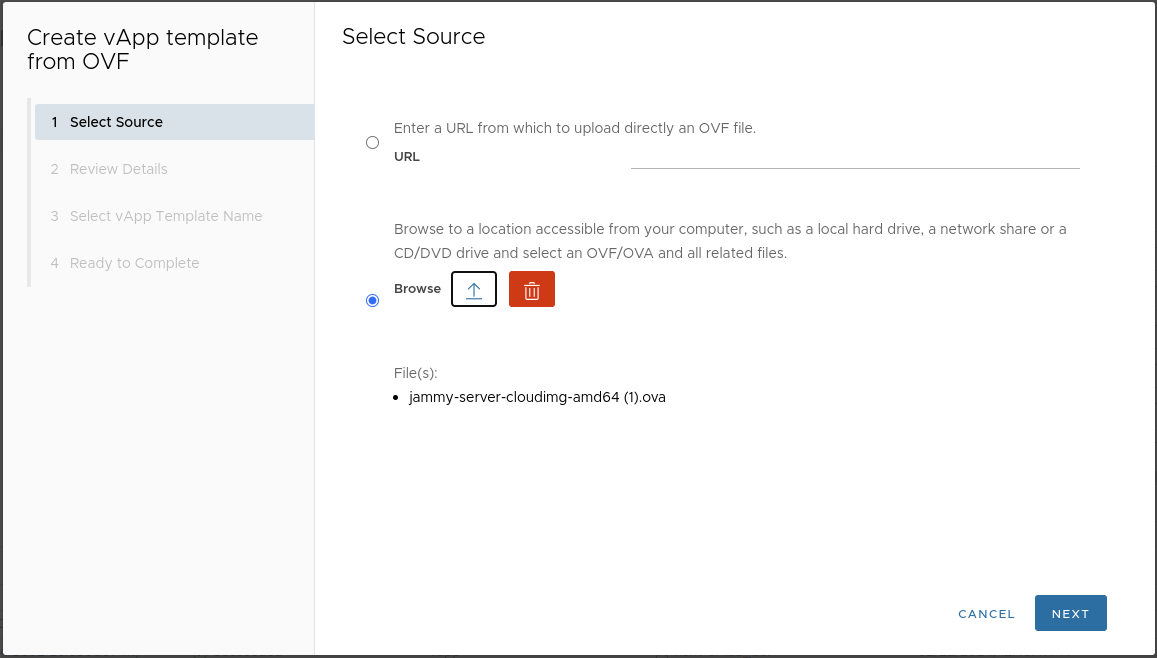
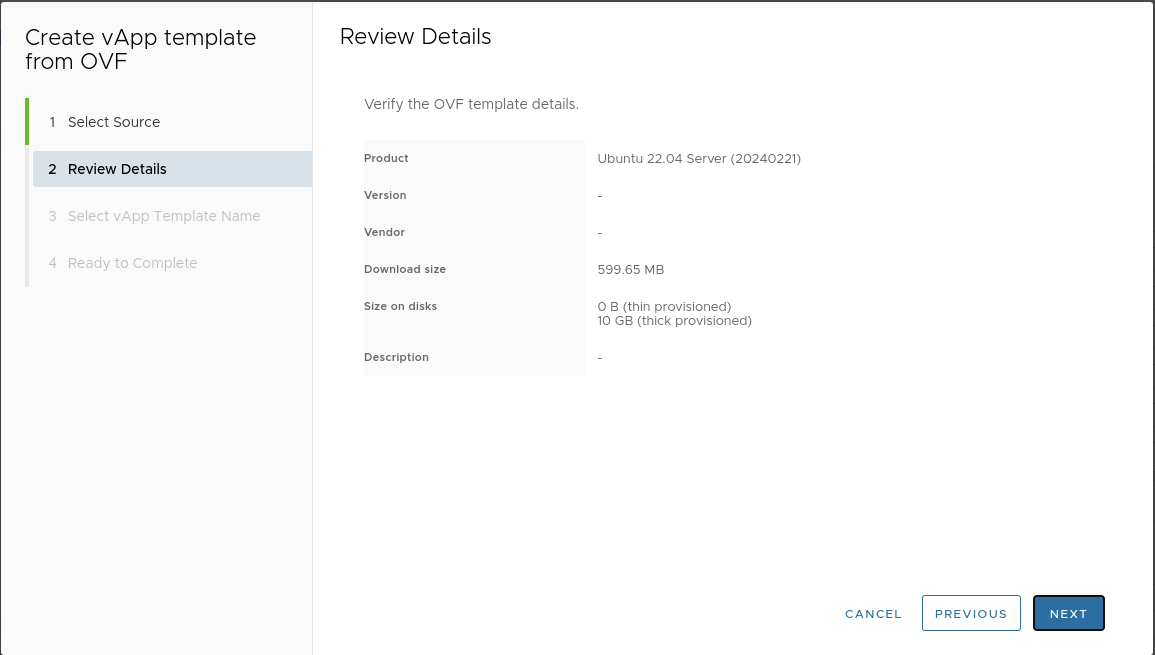
Preparing the template from an OVA file
-
Download the OVA file:

-
Go to “Libraries” → “Catalogs” → “Organization Catalog”:
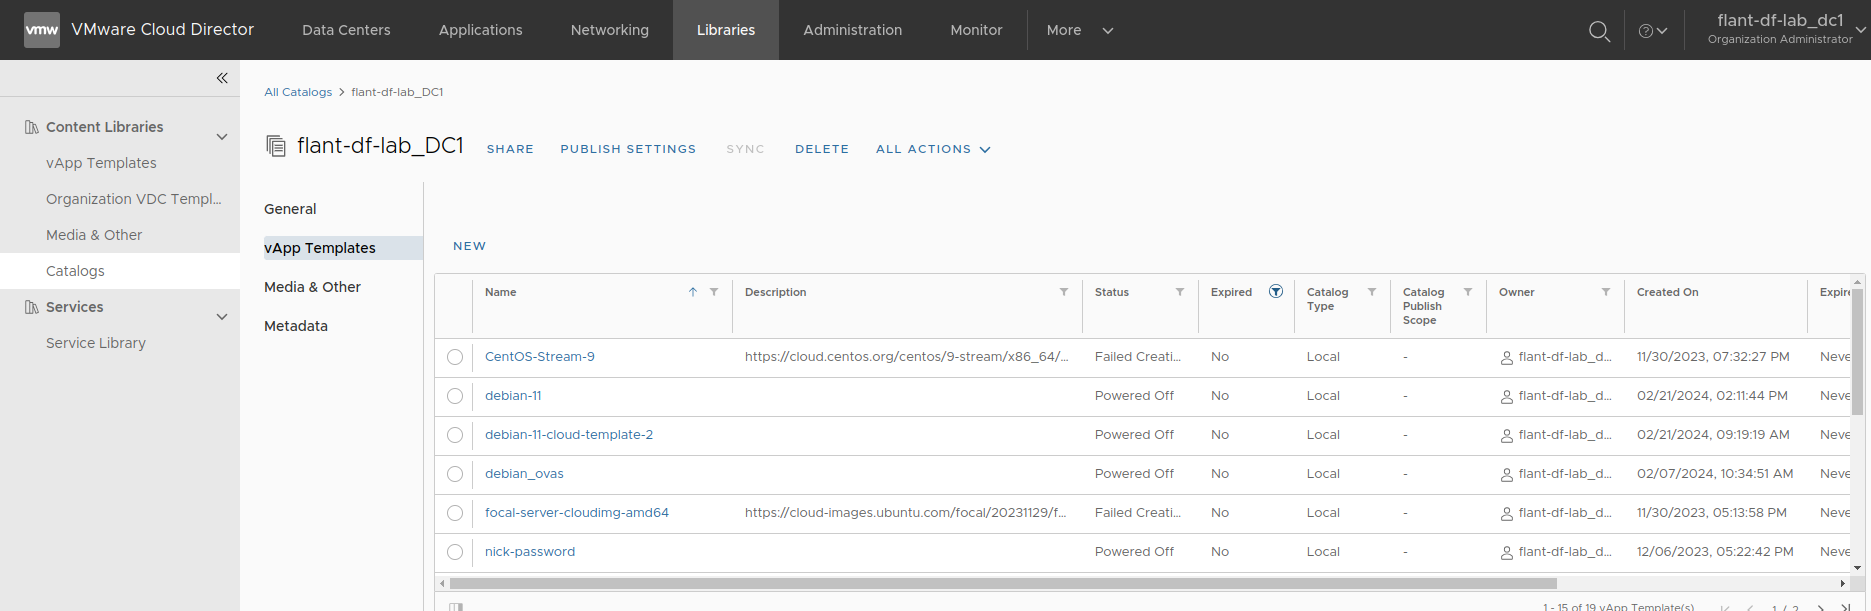
-
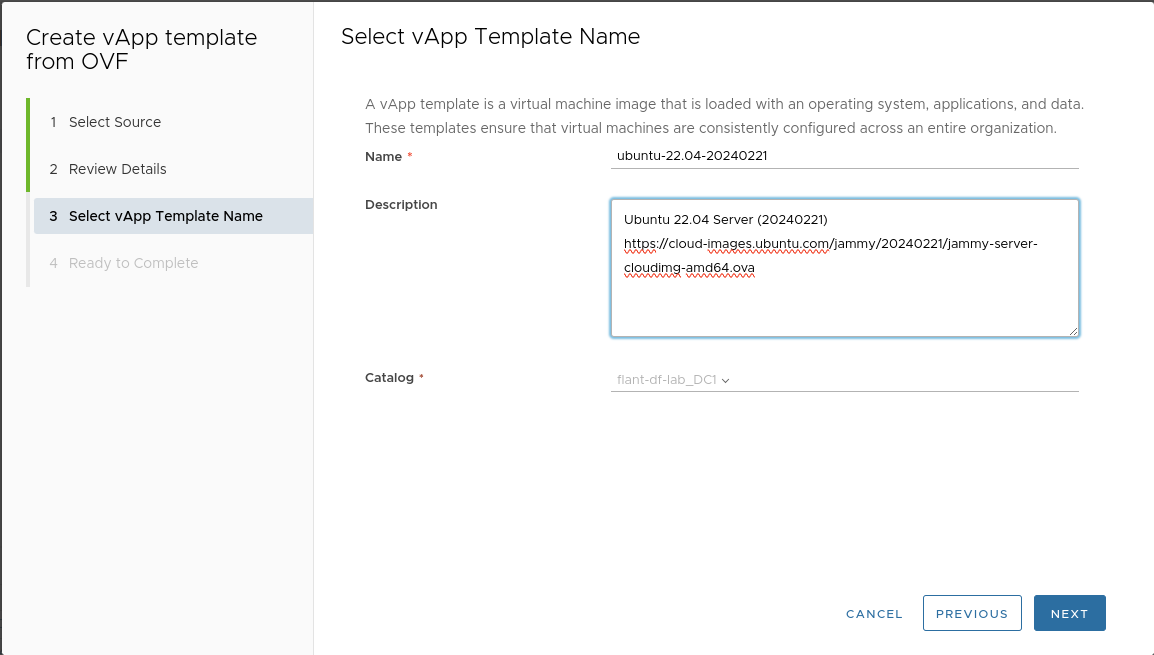
Upload the downloaded template to the catalog:
-
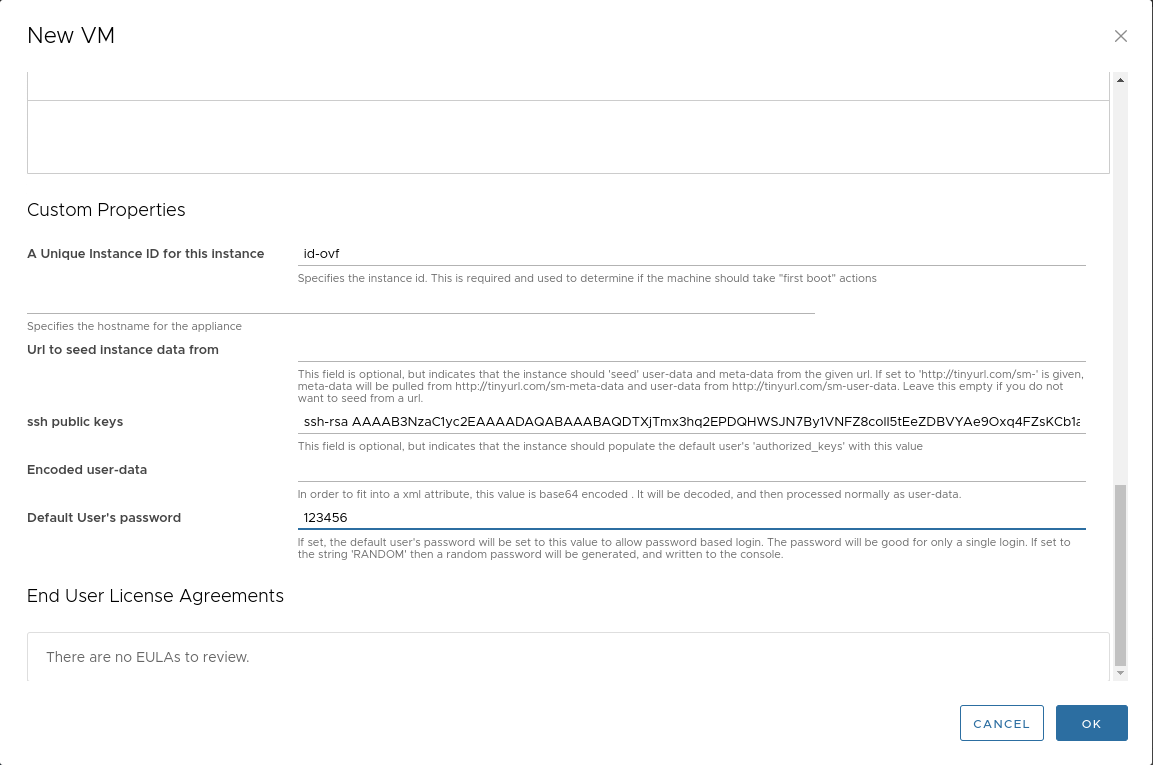
Create a VM from the template:
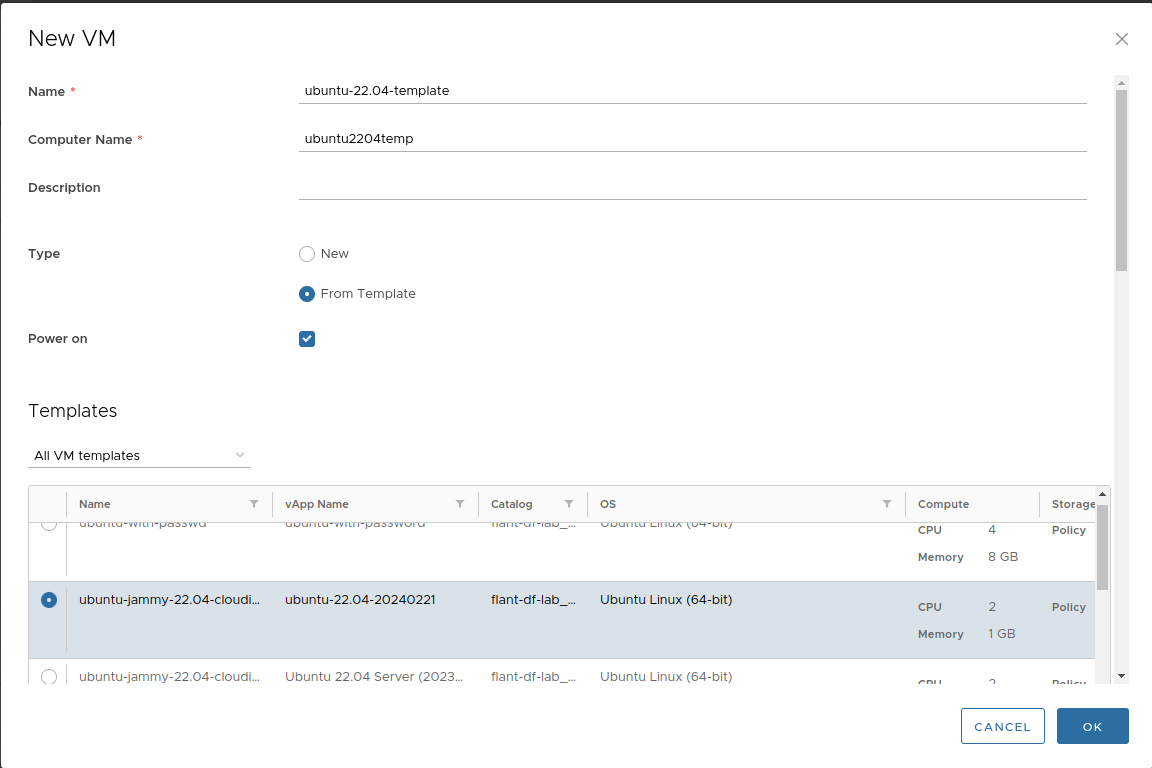
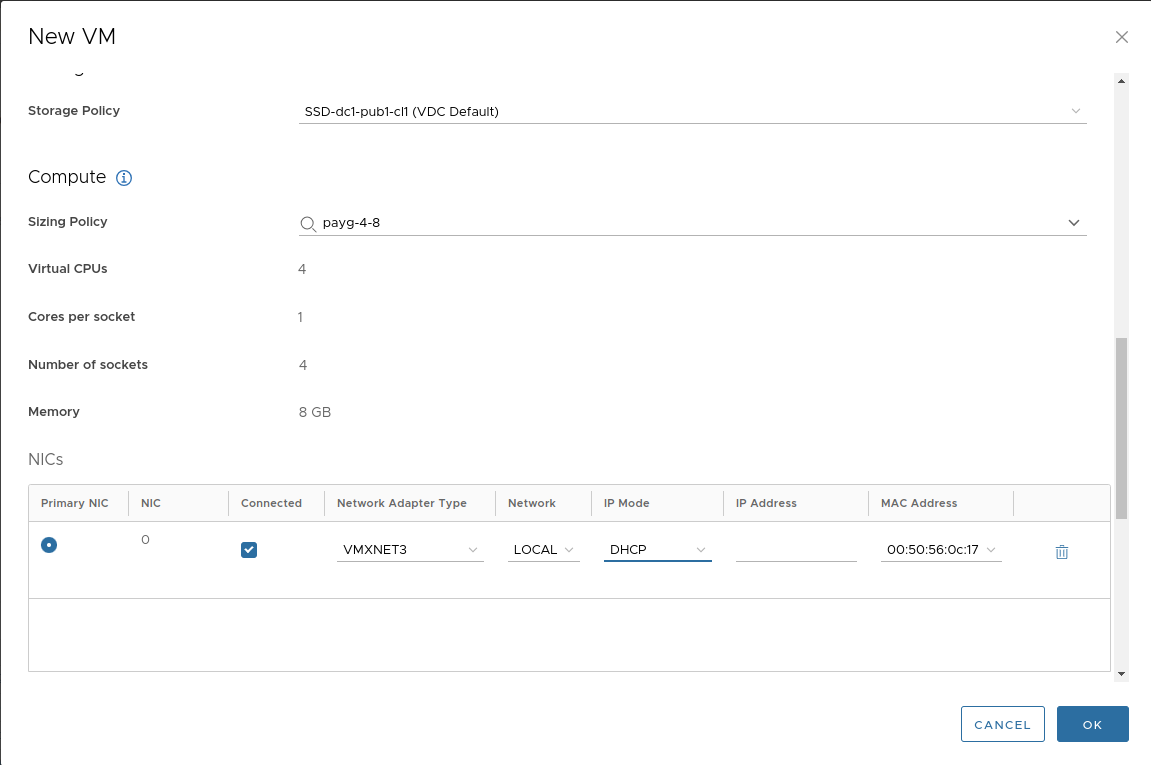
Set a default password and public key. These will be needed to log into the VM console.
To connect to the VM:
- Start the VM.
- Wait until it gets an IP address.
-
Forward port “22” to the VM:
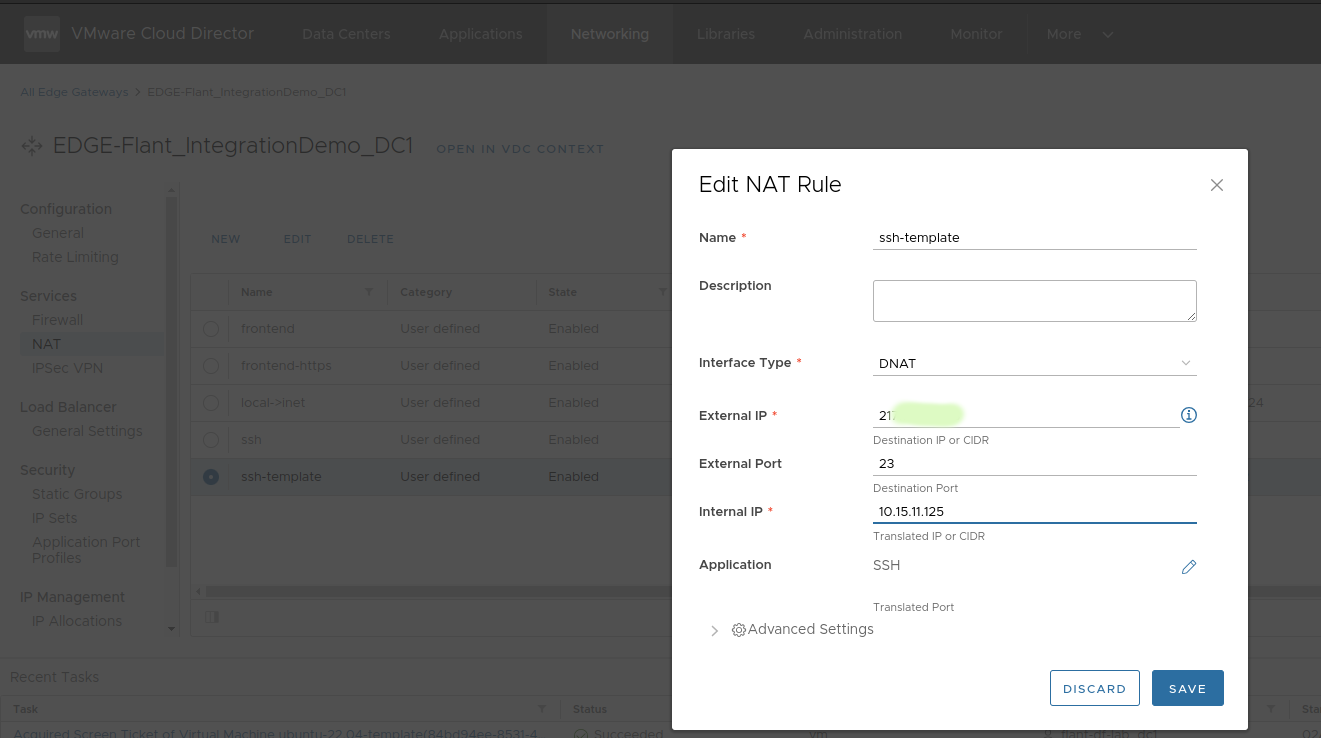
Log into the VM via SSH and run:
rm /etc/netplan/99-netcfg-vmware.yaml
echo -e '\n[deployPkg]\nwait-cloudinit-timeout=1800\n' >> /etc/vmware-tools/tools.conf
echo 'disable_vmware_customization: true' > /etc/cloud/cloud.cfg.d/91_vmware_cust.cfg
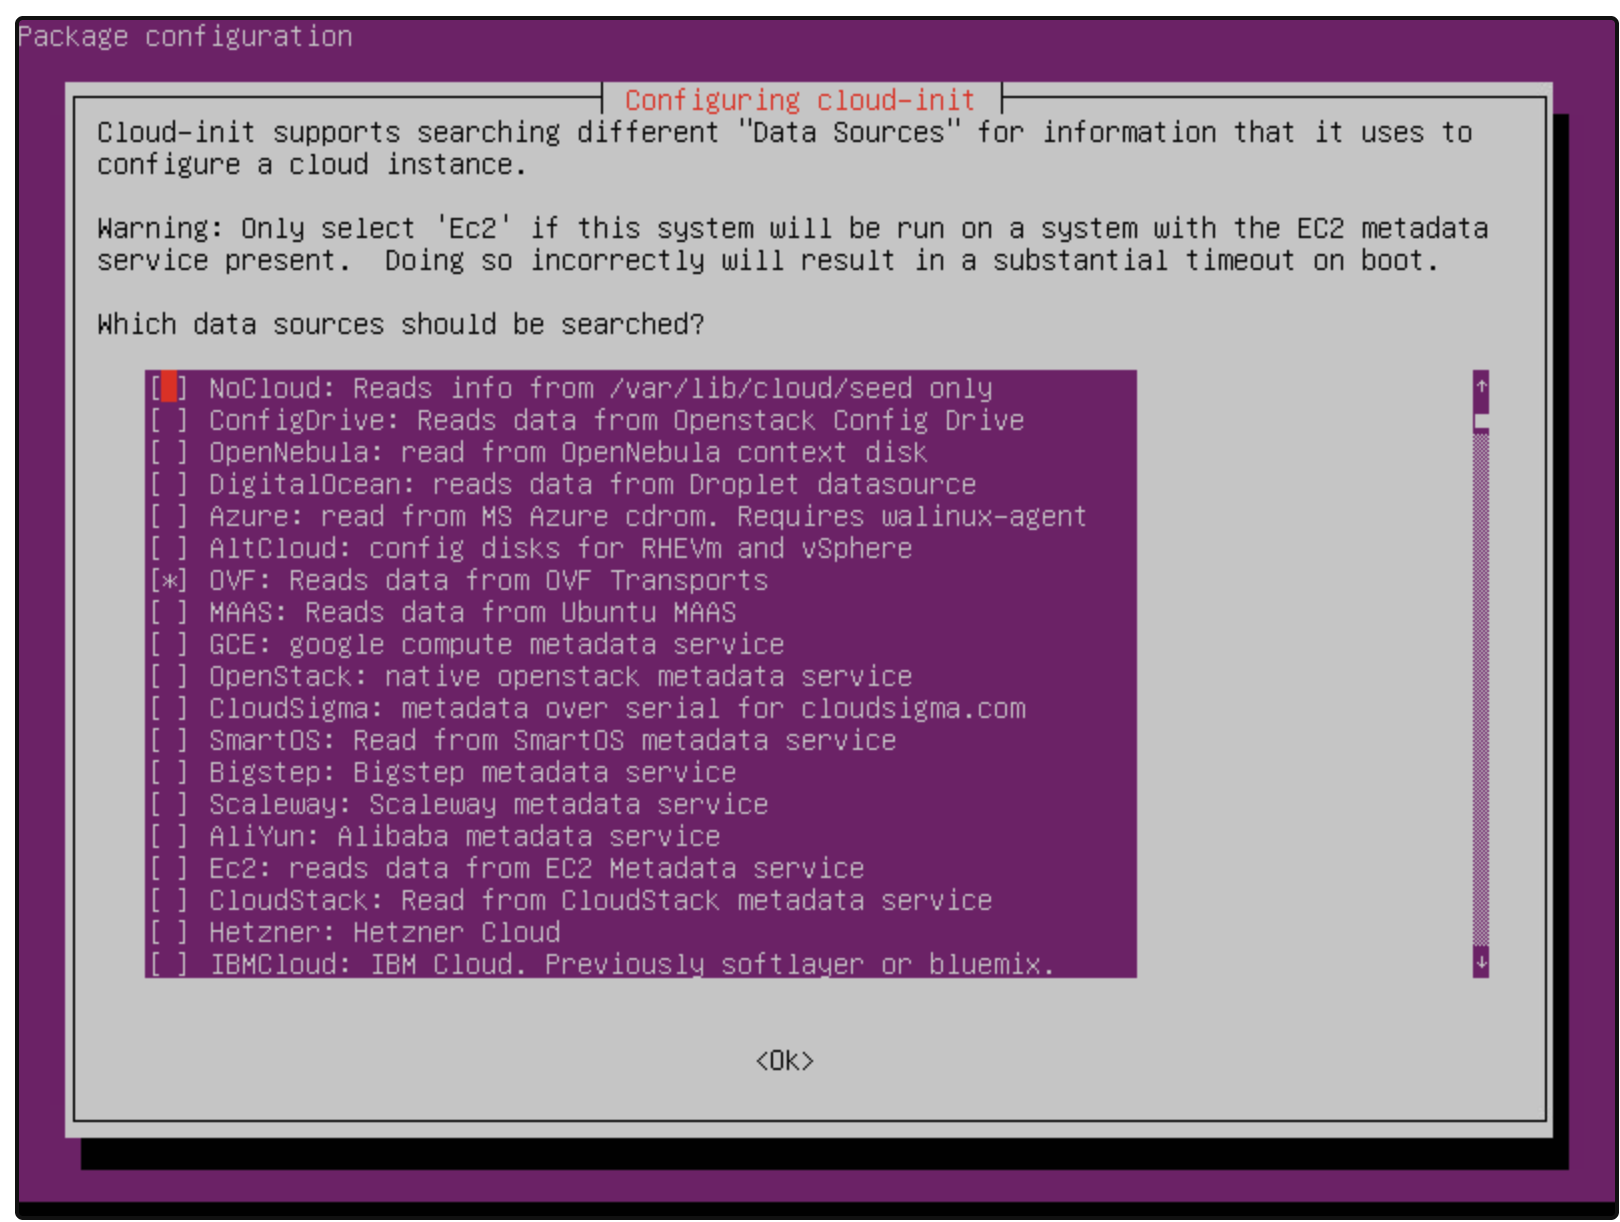
dpkg-reconfigure cloud-init
In the dialog window, leave only the checkbox for OVF: Reads data from OVF transports. Disable all other options:
Make sure that the datasource_list parameter is specified in the cloud-init configuration. You can verify this using the following command:
cat /etc/cloud/cloud.cfg.d/90_dpkg.cfg
If the output is empty, execute the following command:
echo "datasource_list: [ OVF, VMware, None ]" > /etc/cloud/cloud.cfg.d/90_dpkg.cfg
Run the remaining commands:
truncate -s 0 /etc/machine-id
rm /var/lib/dbus/machine-id
ln -s /etc/machine-id /var/lib/dbus/machine-id
cloud-init clean --logs --seed
passwd -d ubuntu
passwd -d root
rm /home/ubuntu/.ssh/authorized_keys
history -c

shutdown -P now
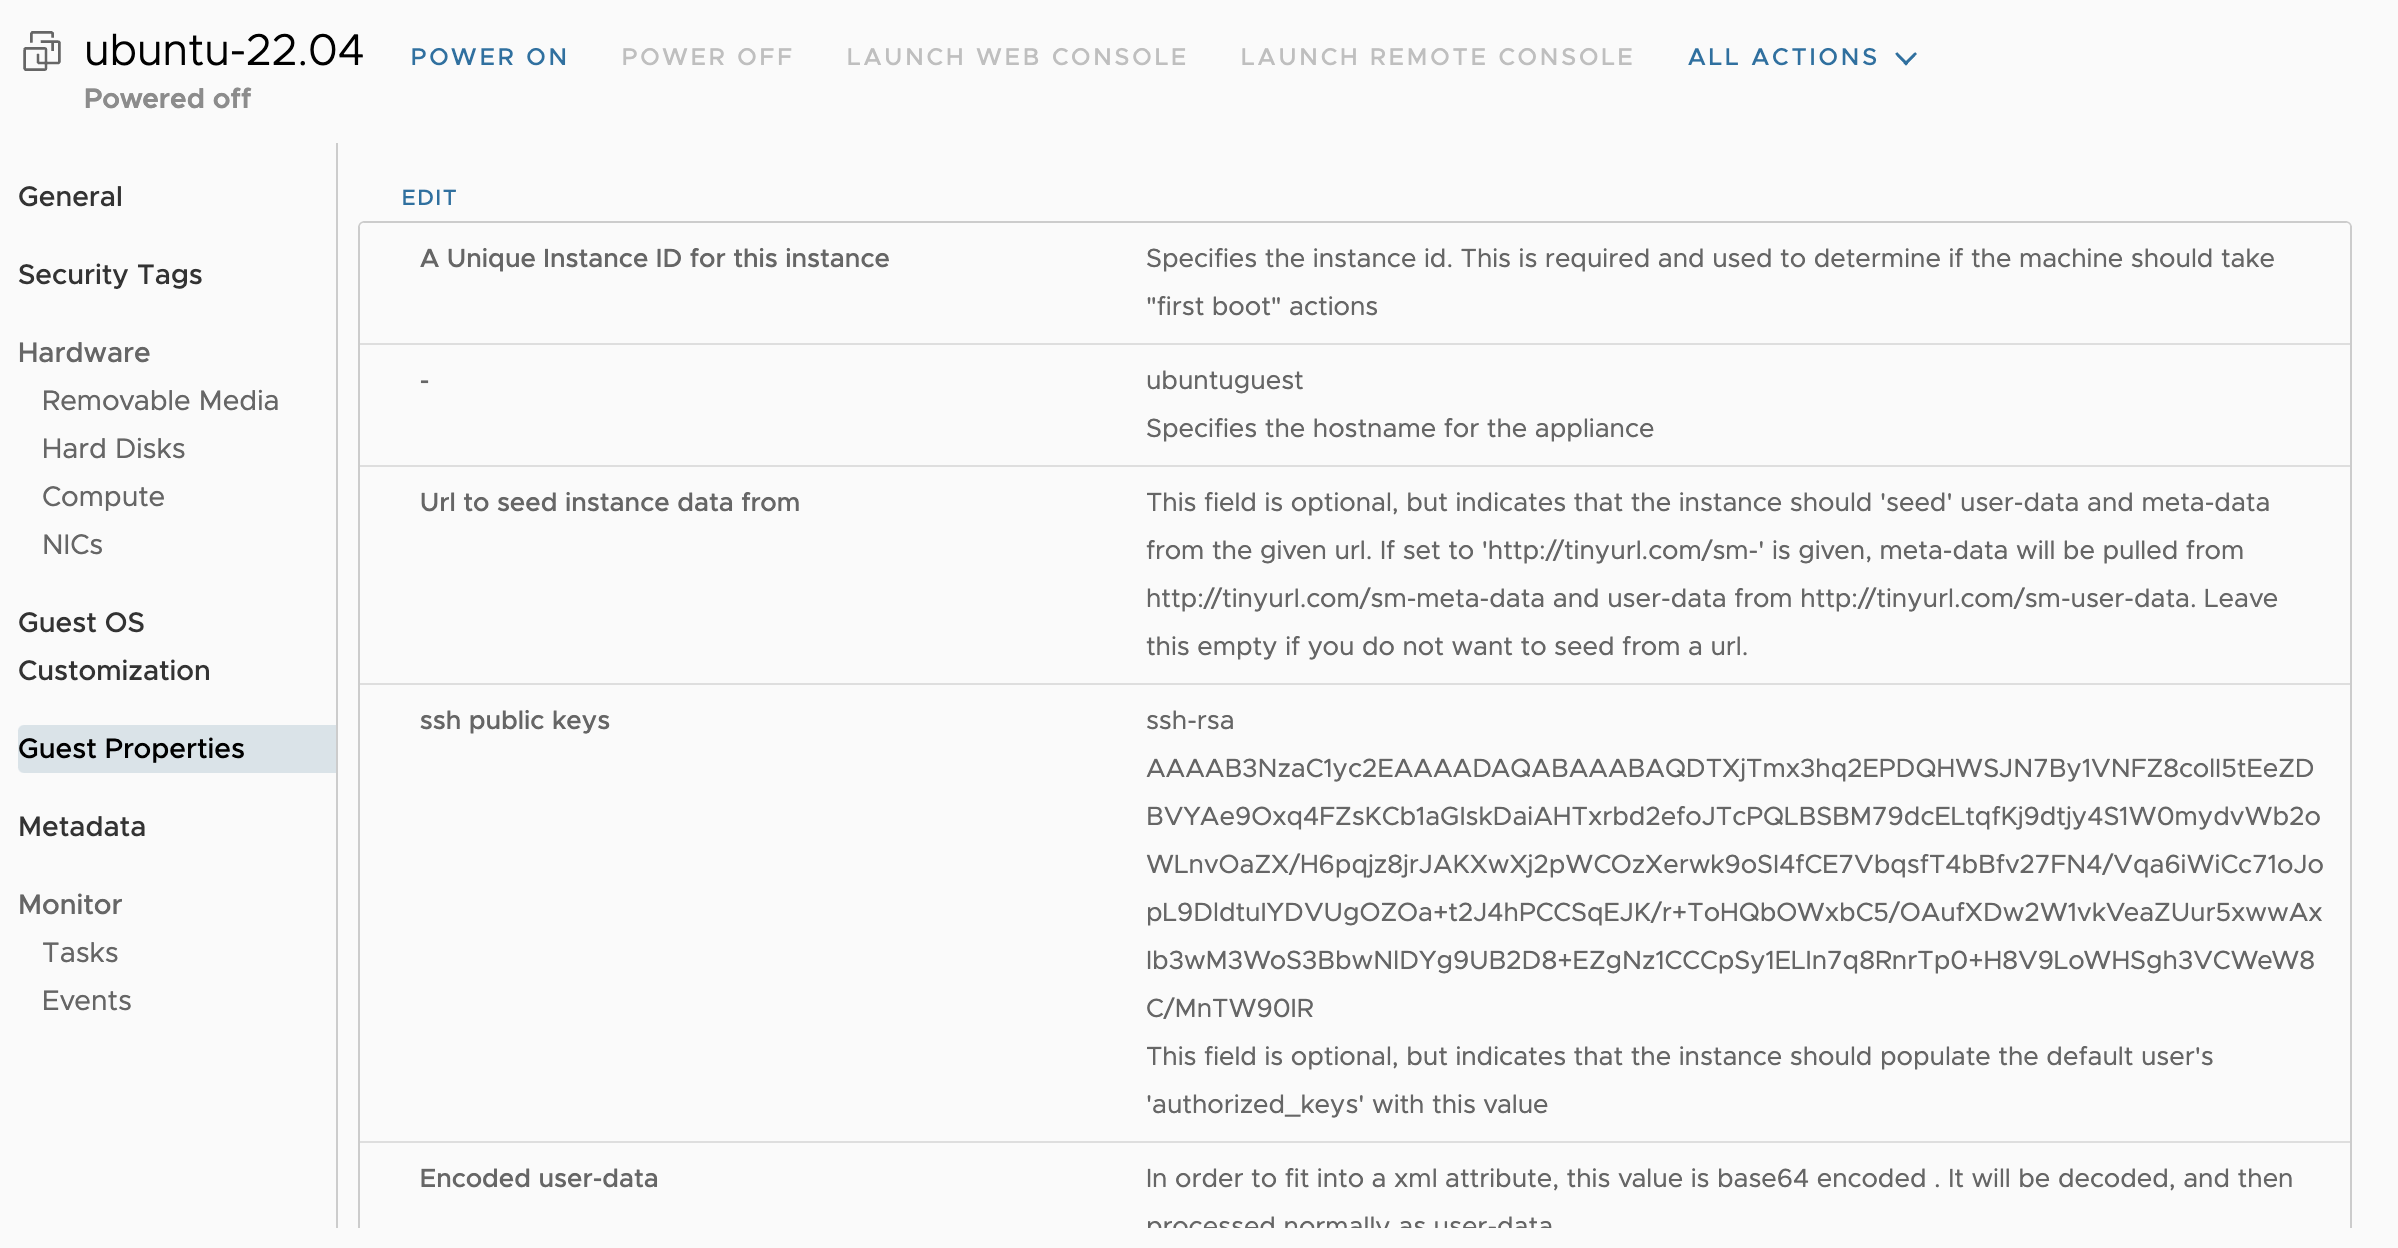
Configuring the template in VCD
-
Power off the virtual machine and delete all filled “Guest Properties” fields:

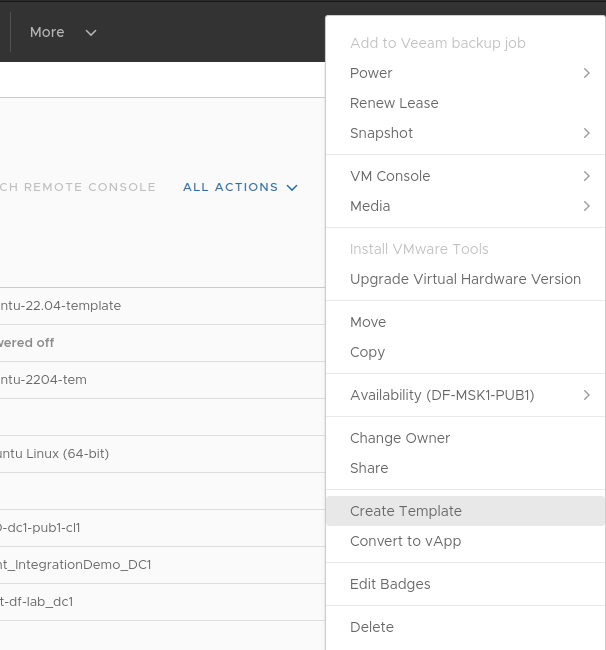
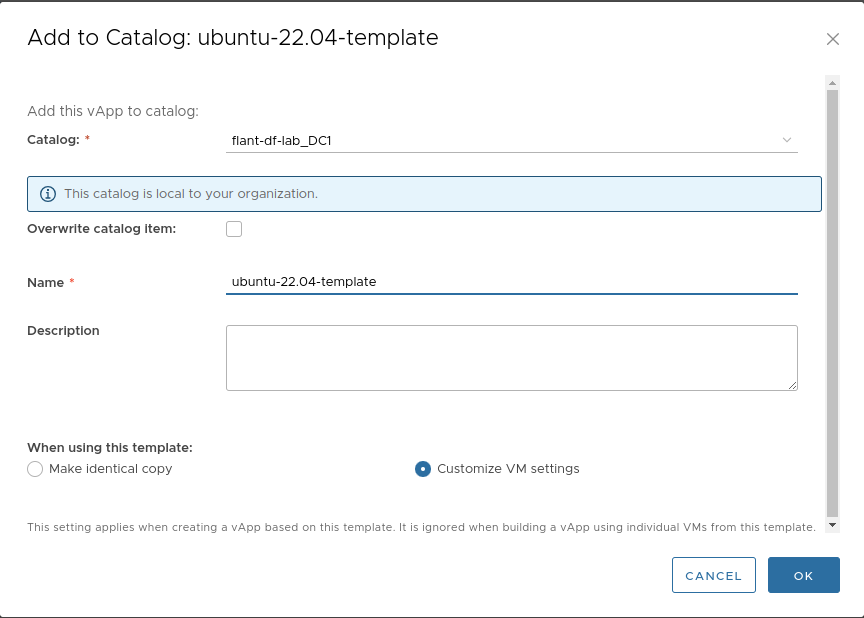
-
Create a virtual machine template:
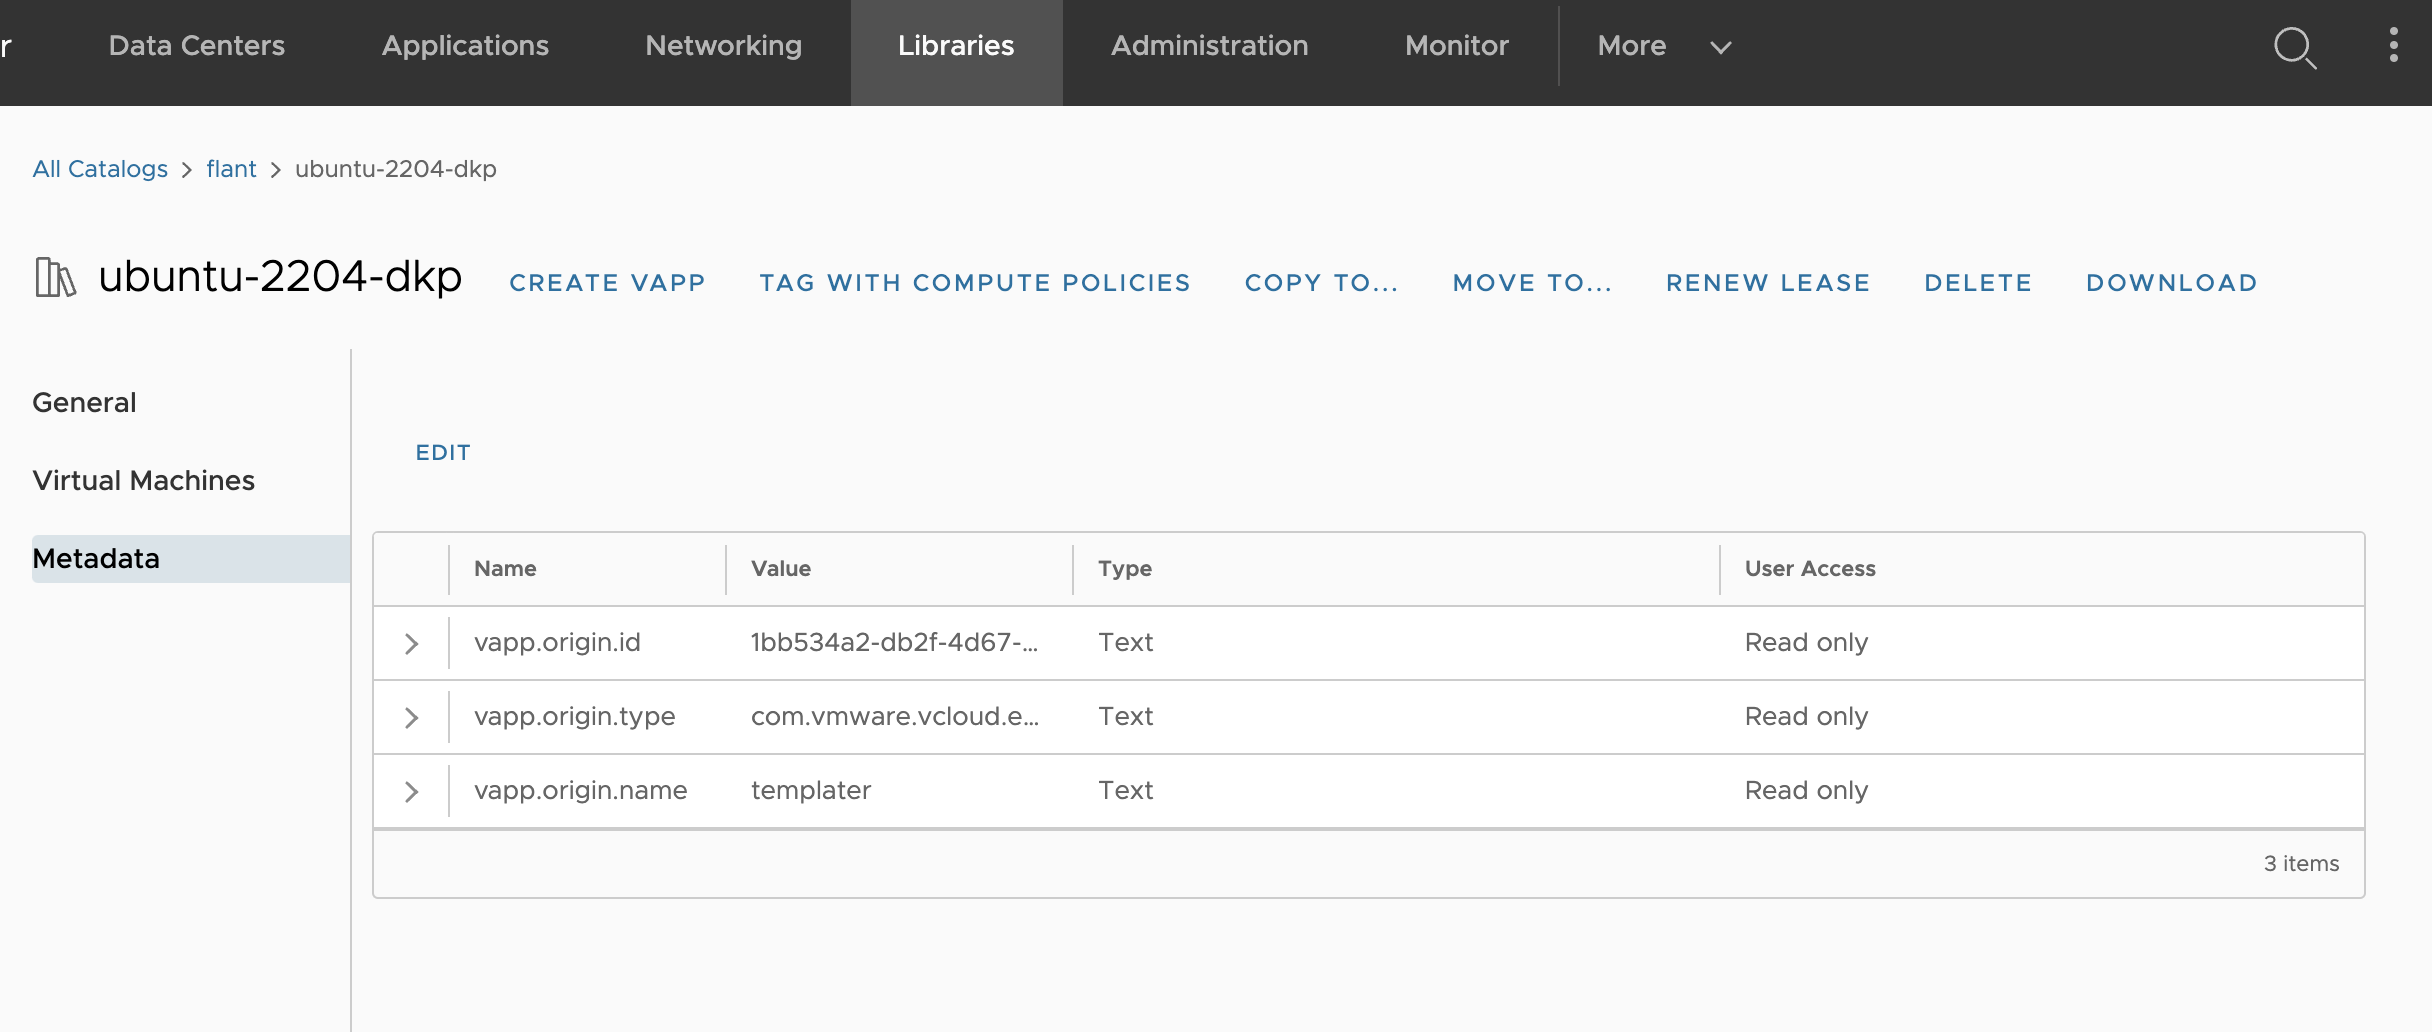
-
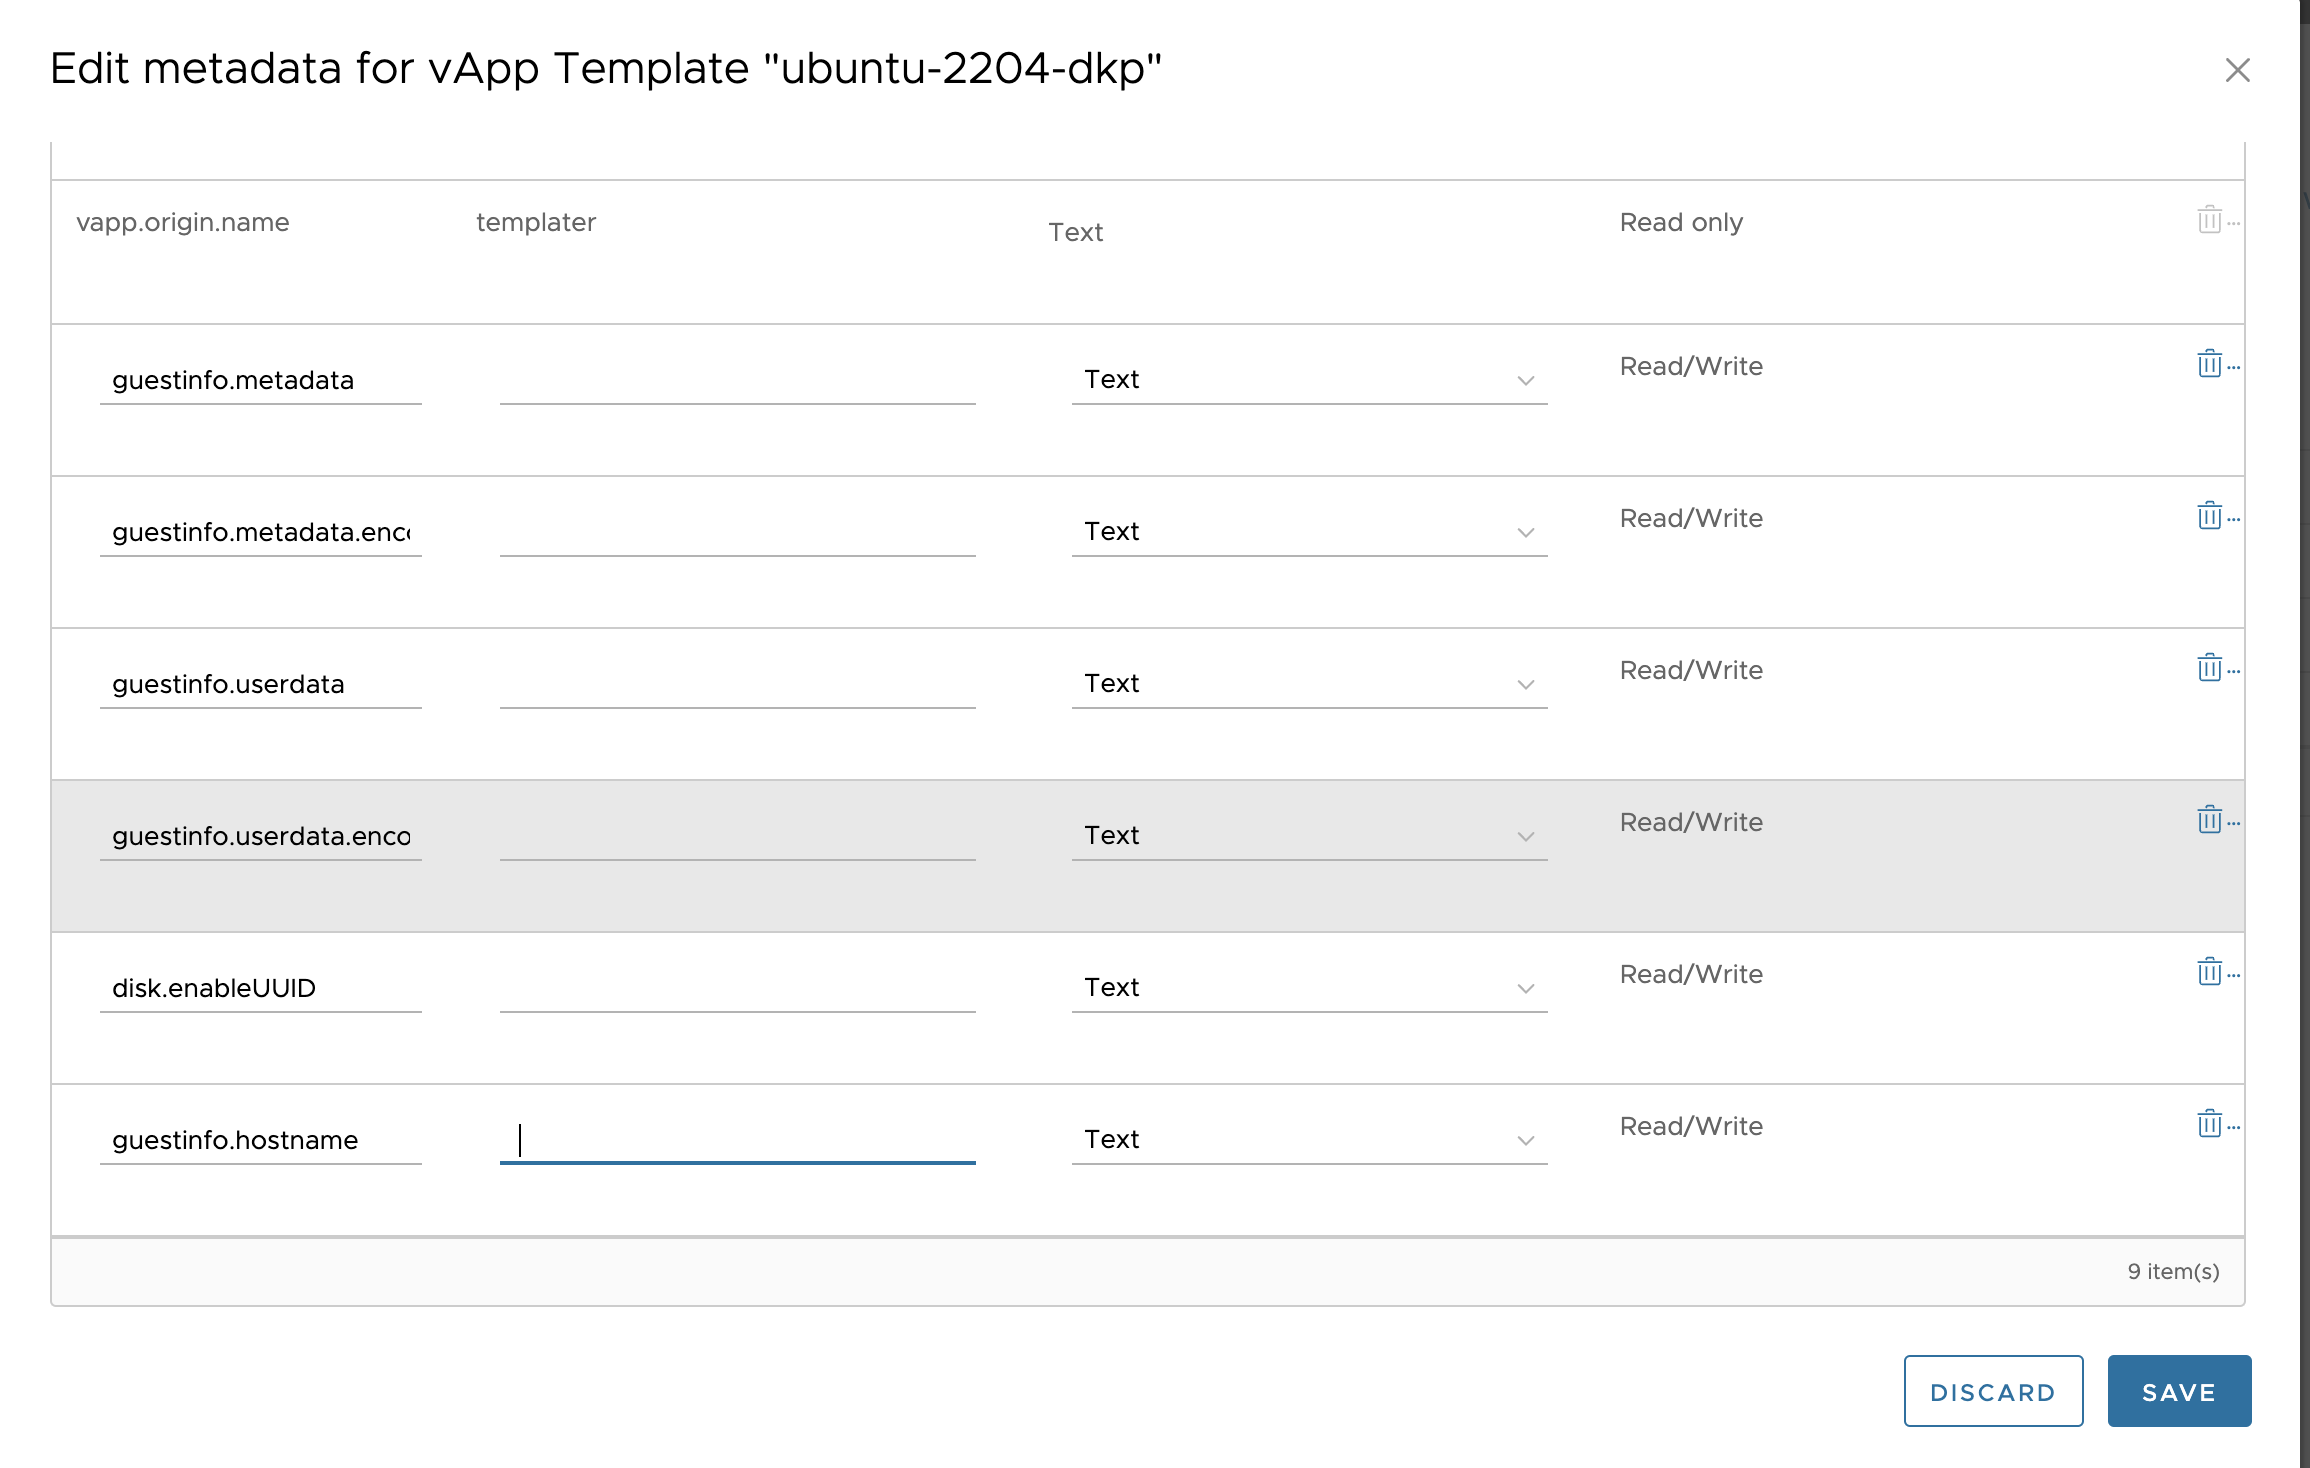
In the created template, go to the “Metadata” tab and add six fields:
guestinfo.metadataguestinfo.metadata.encodingguestinfo.userdataguestinfo.userdata.encodingdisk.enableUUIDguestinfo.hostname
-
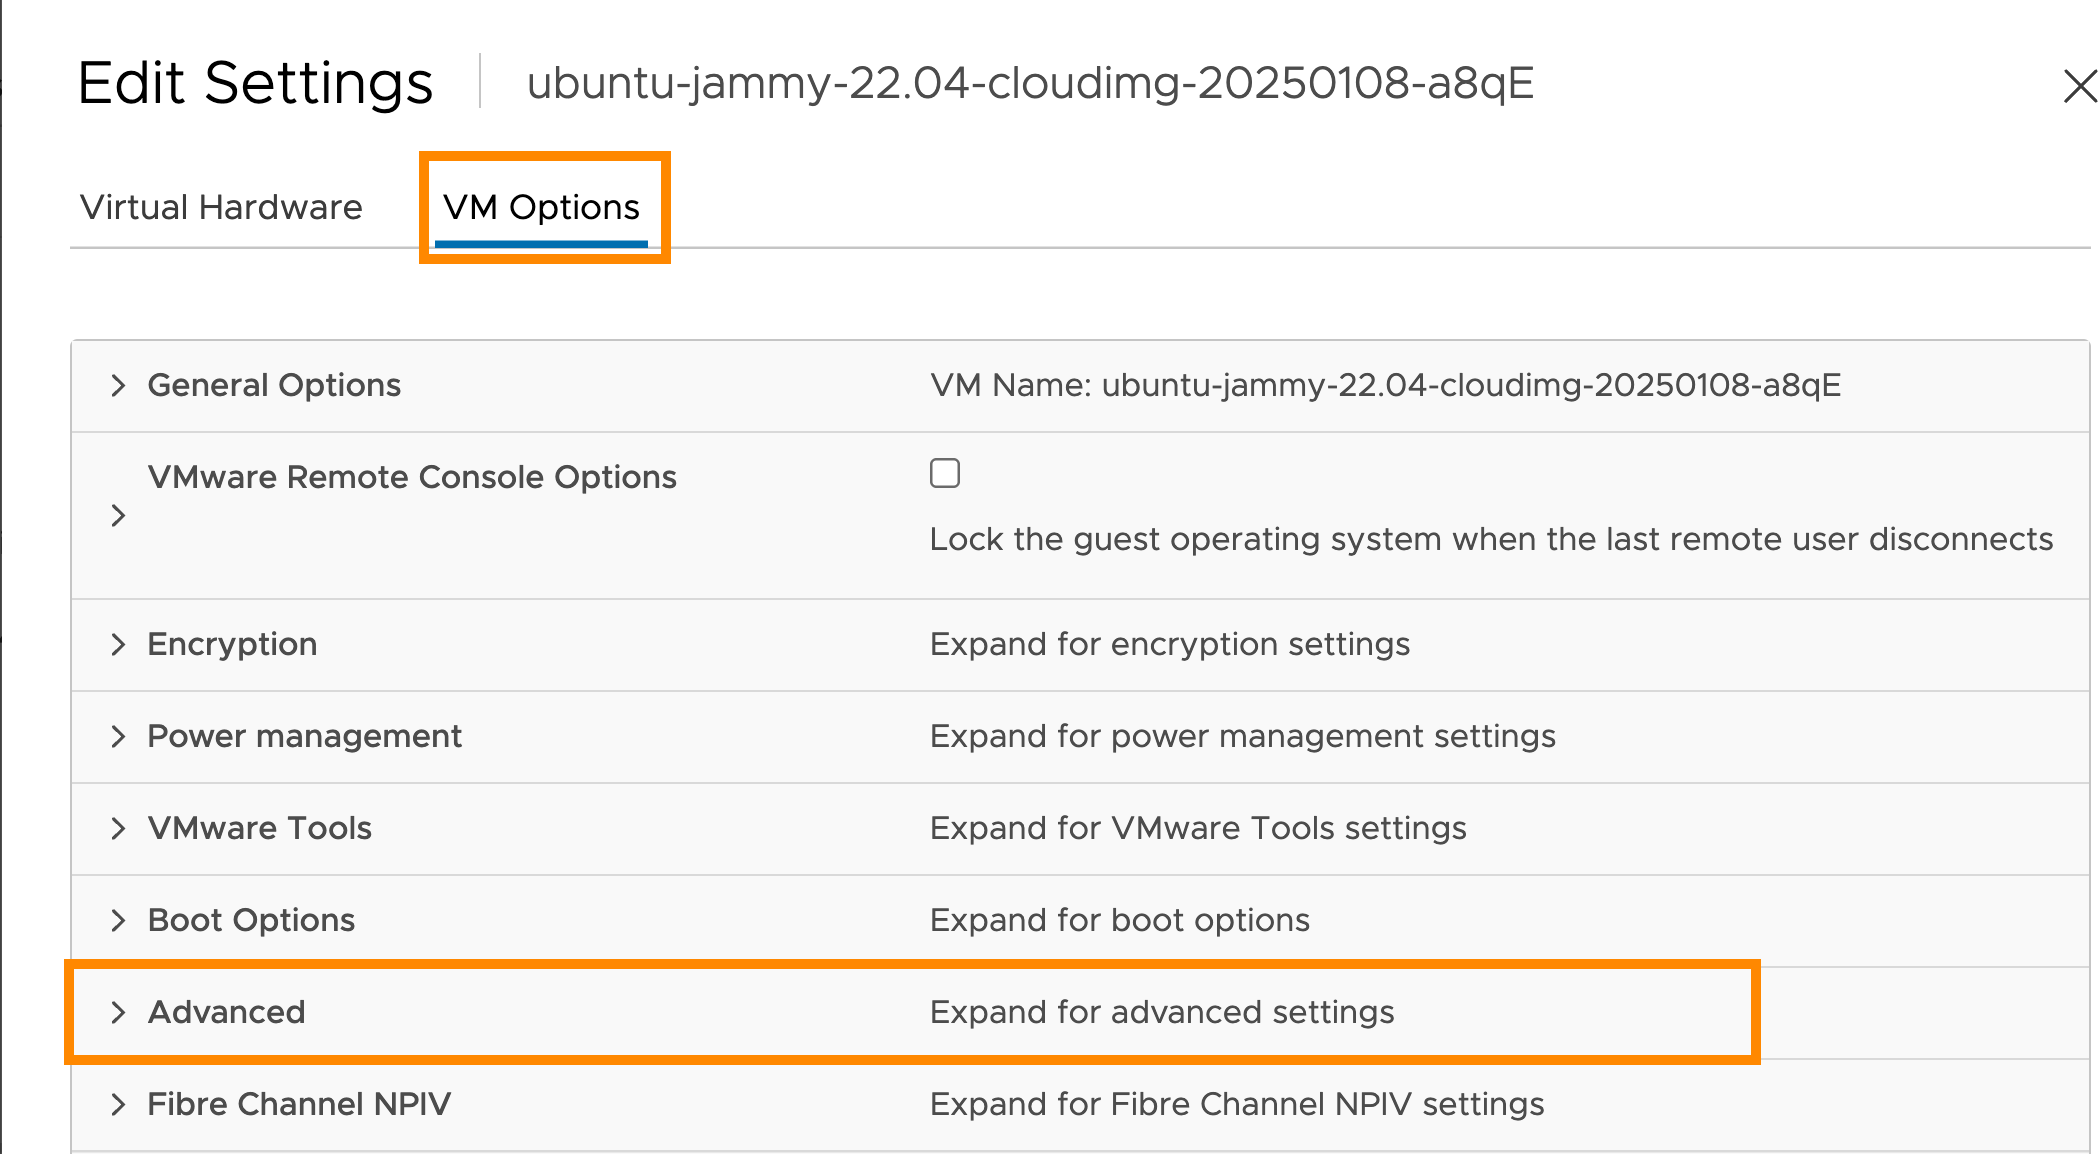
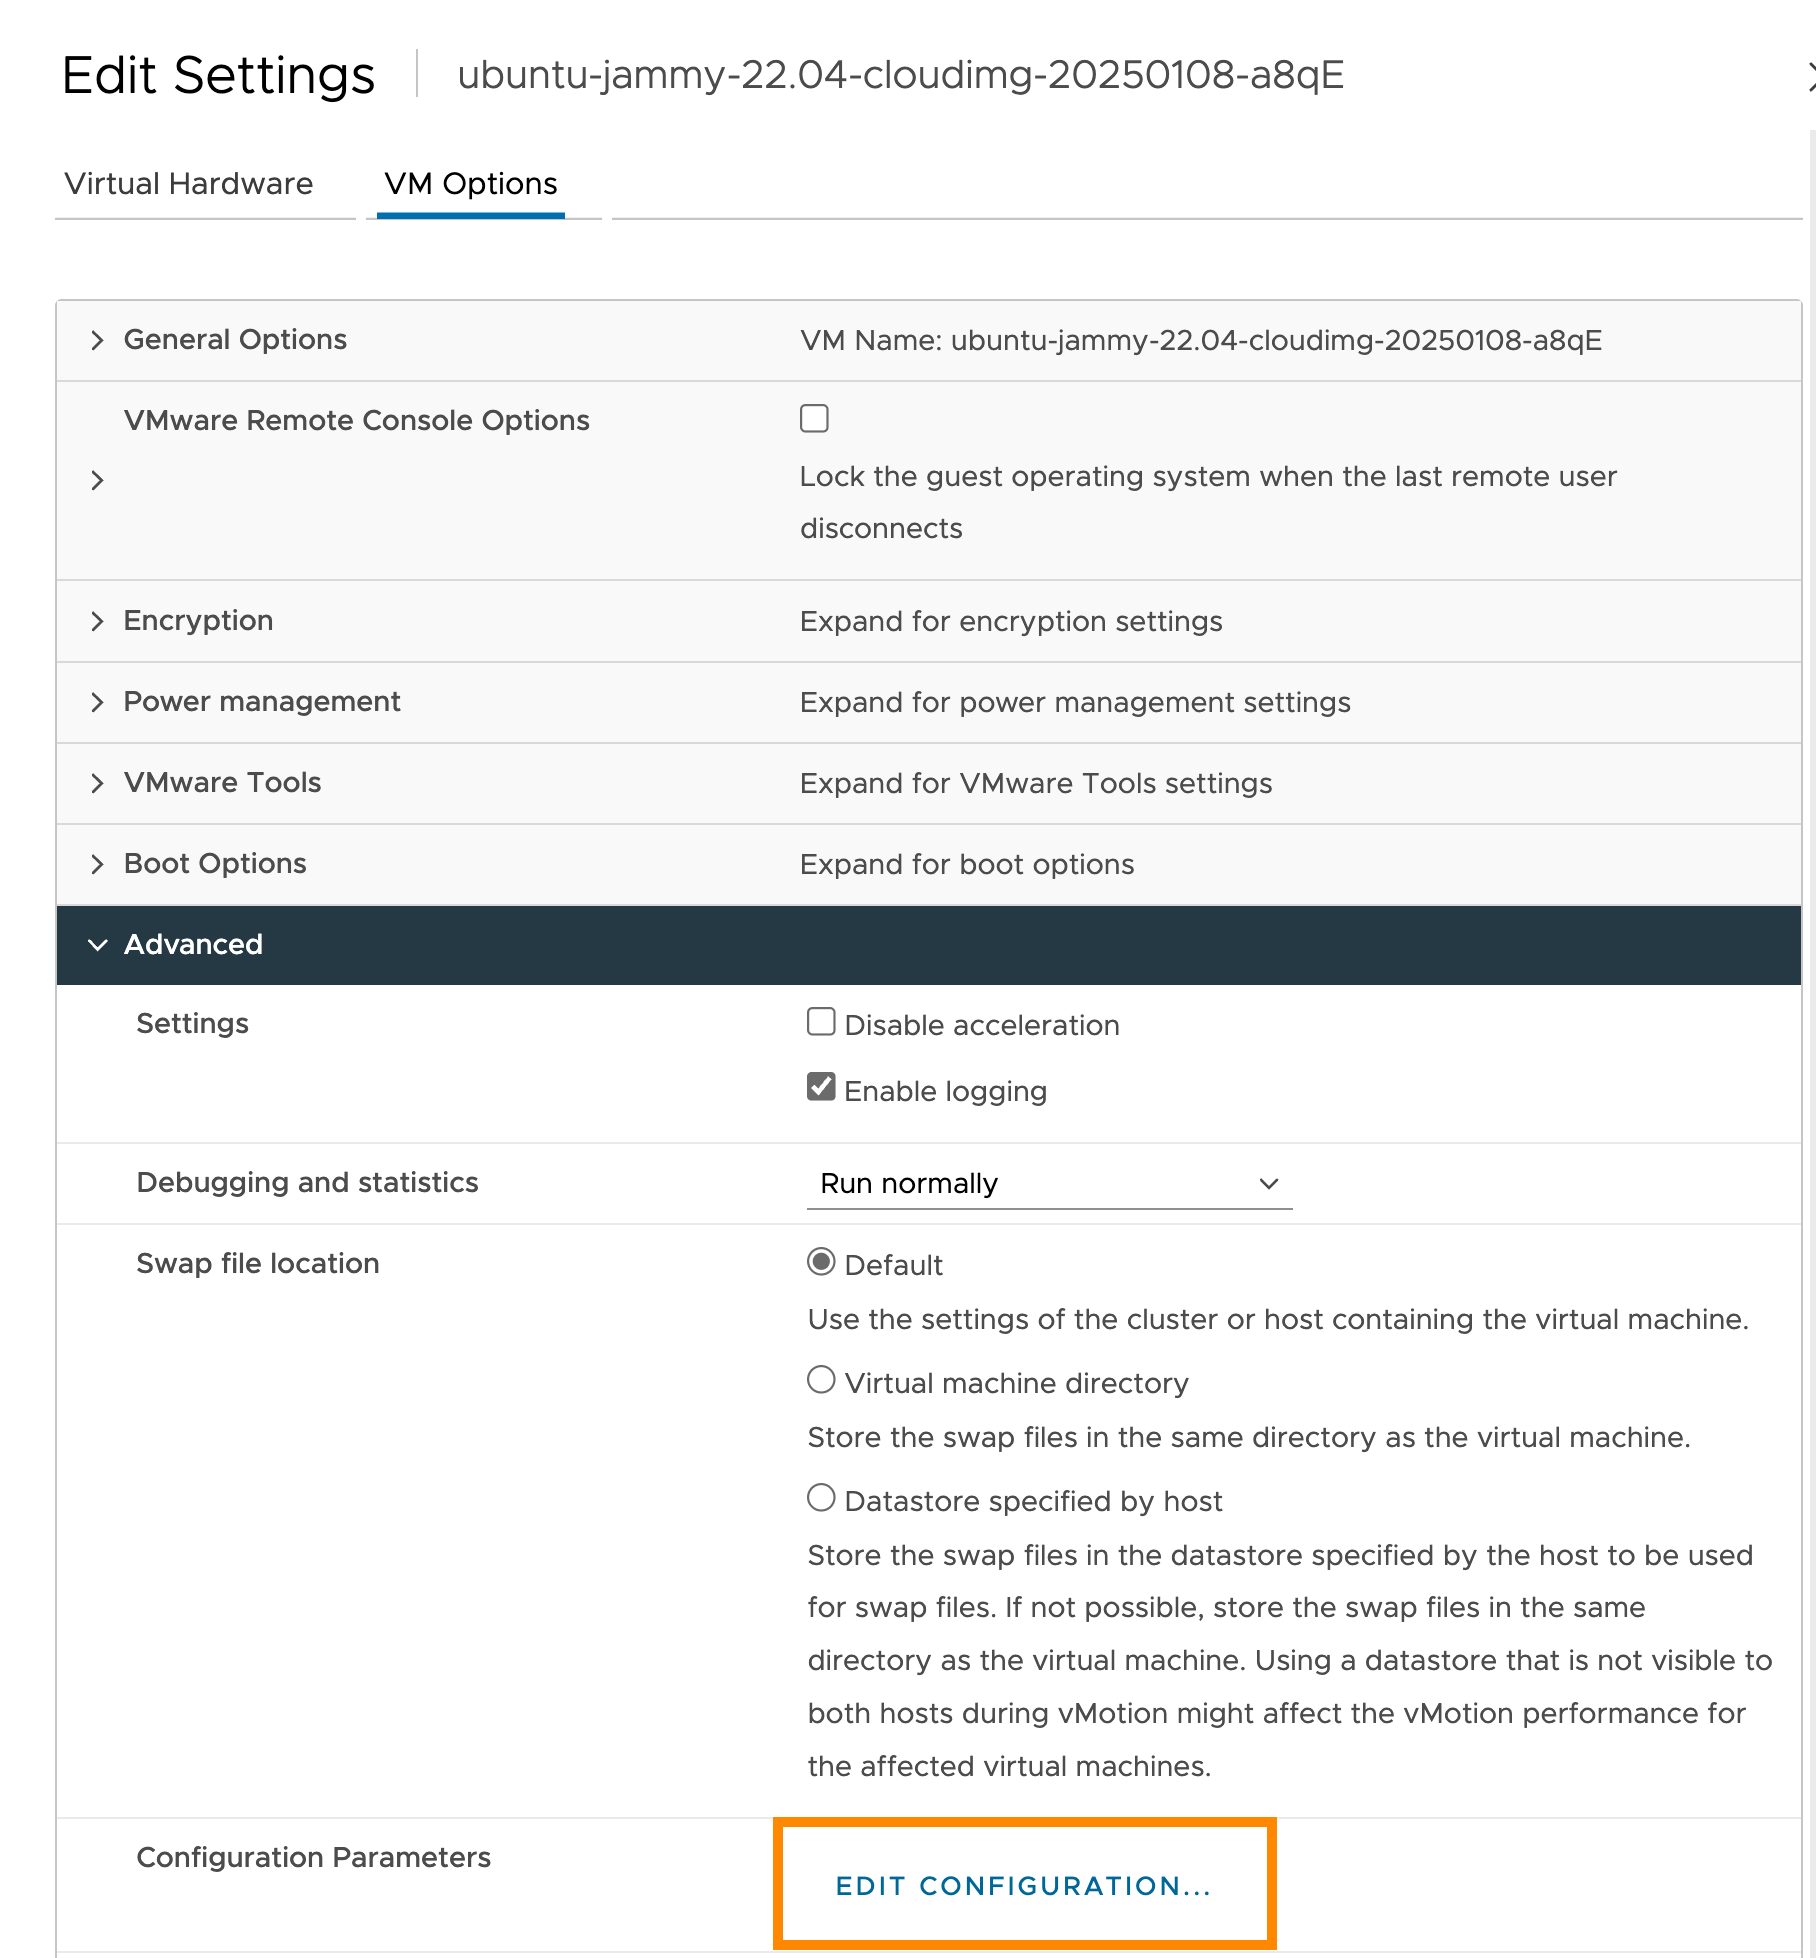
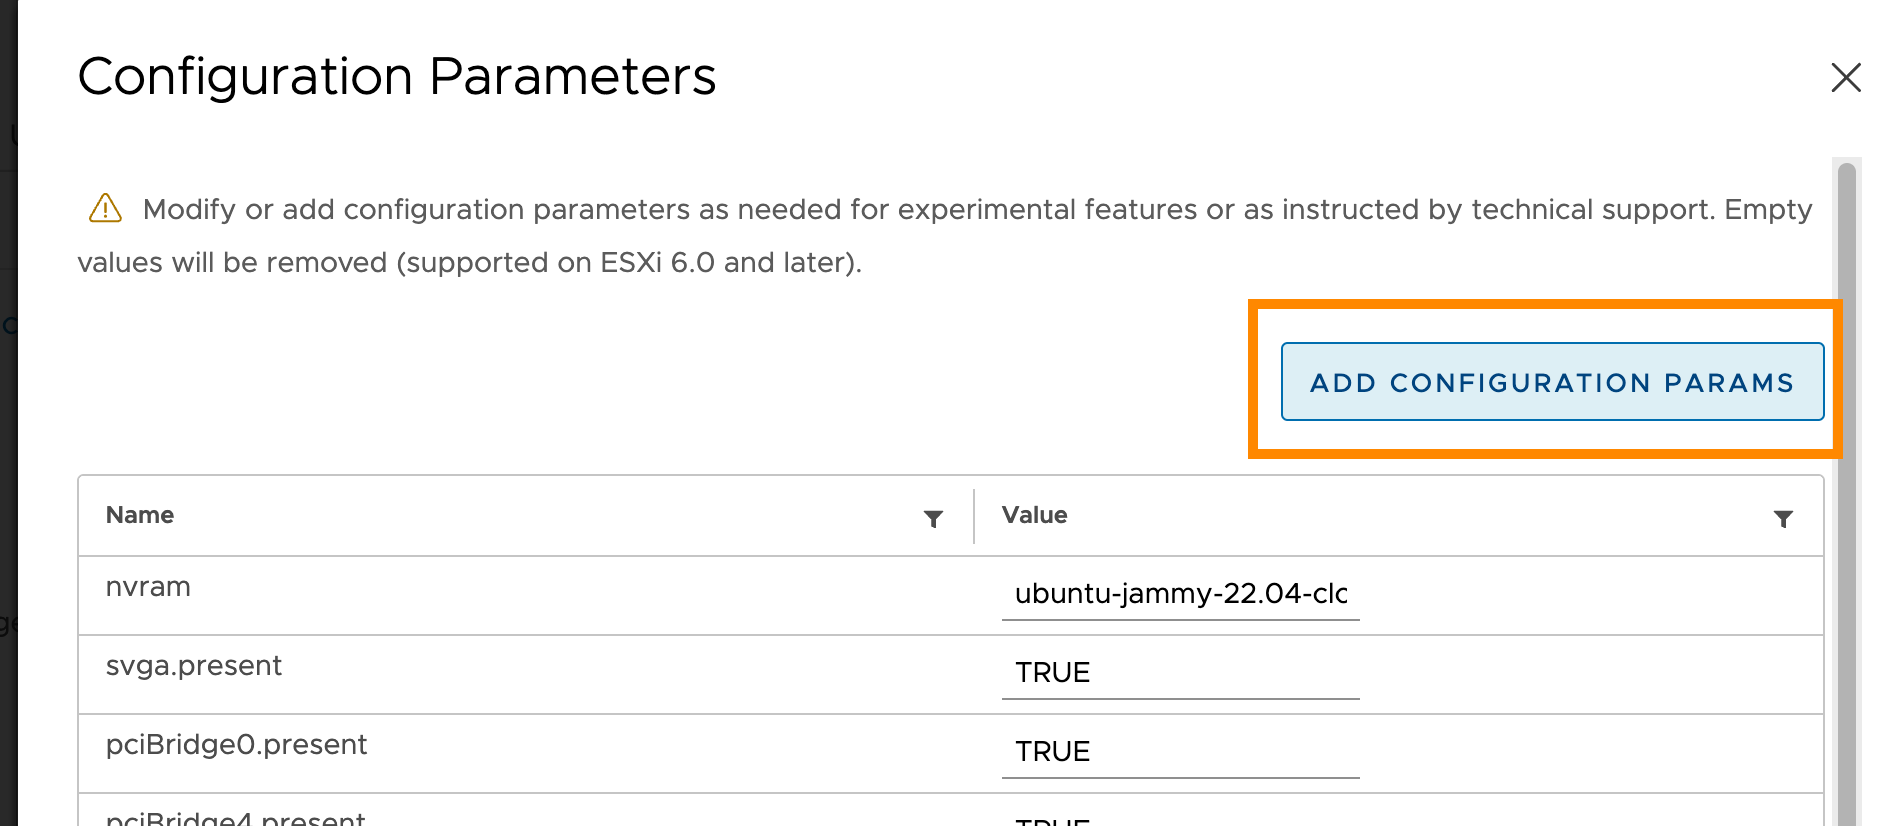
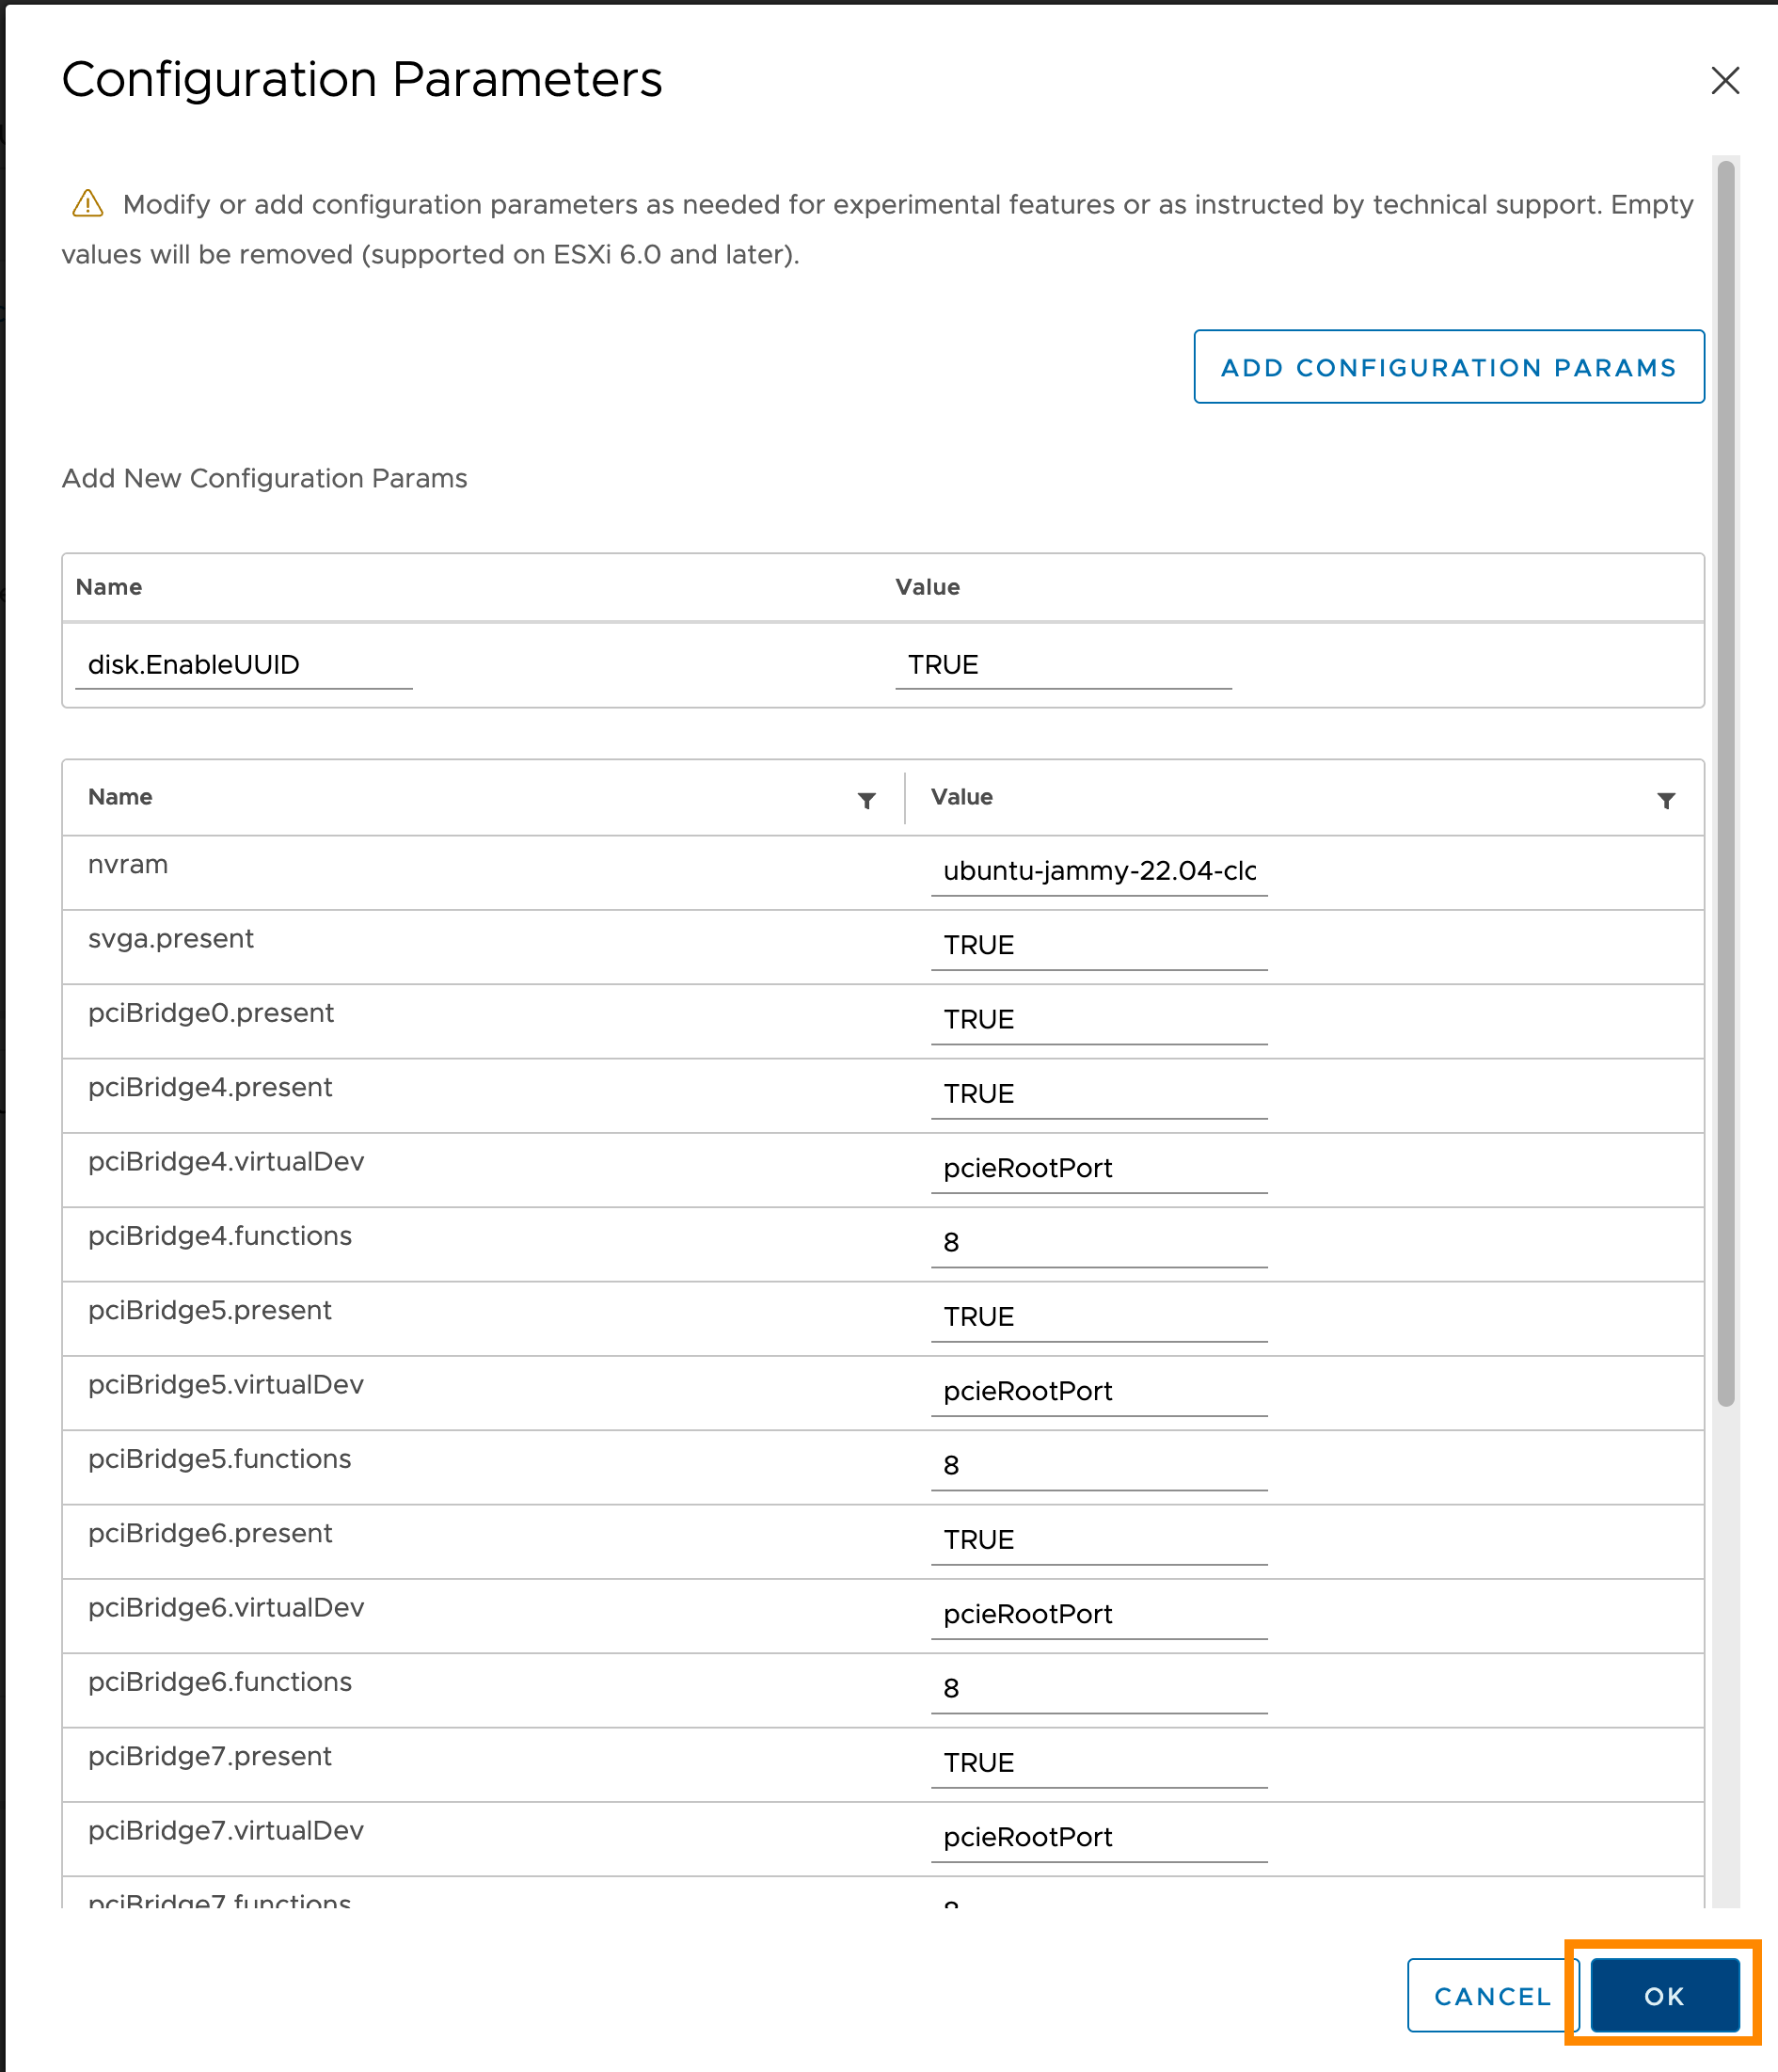
In the vCenter management panel, enable the
disk.EnableUUIDparameter for the template: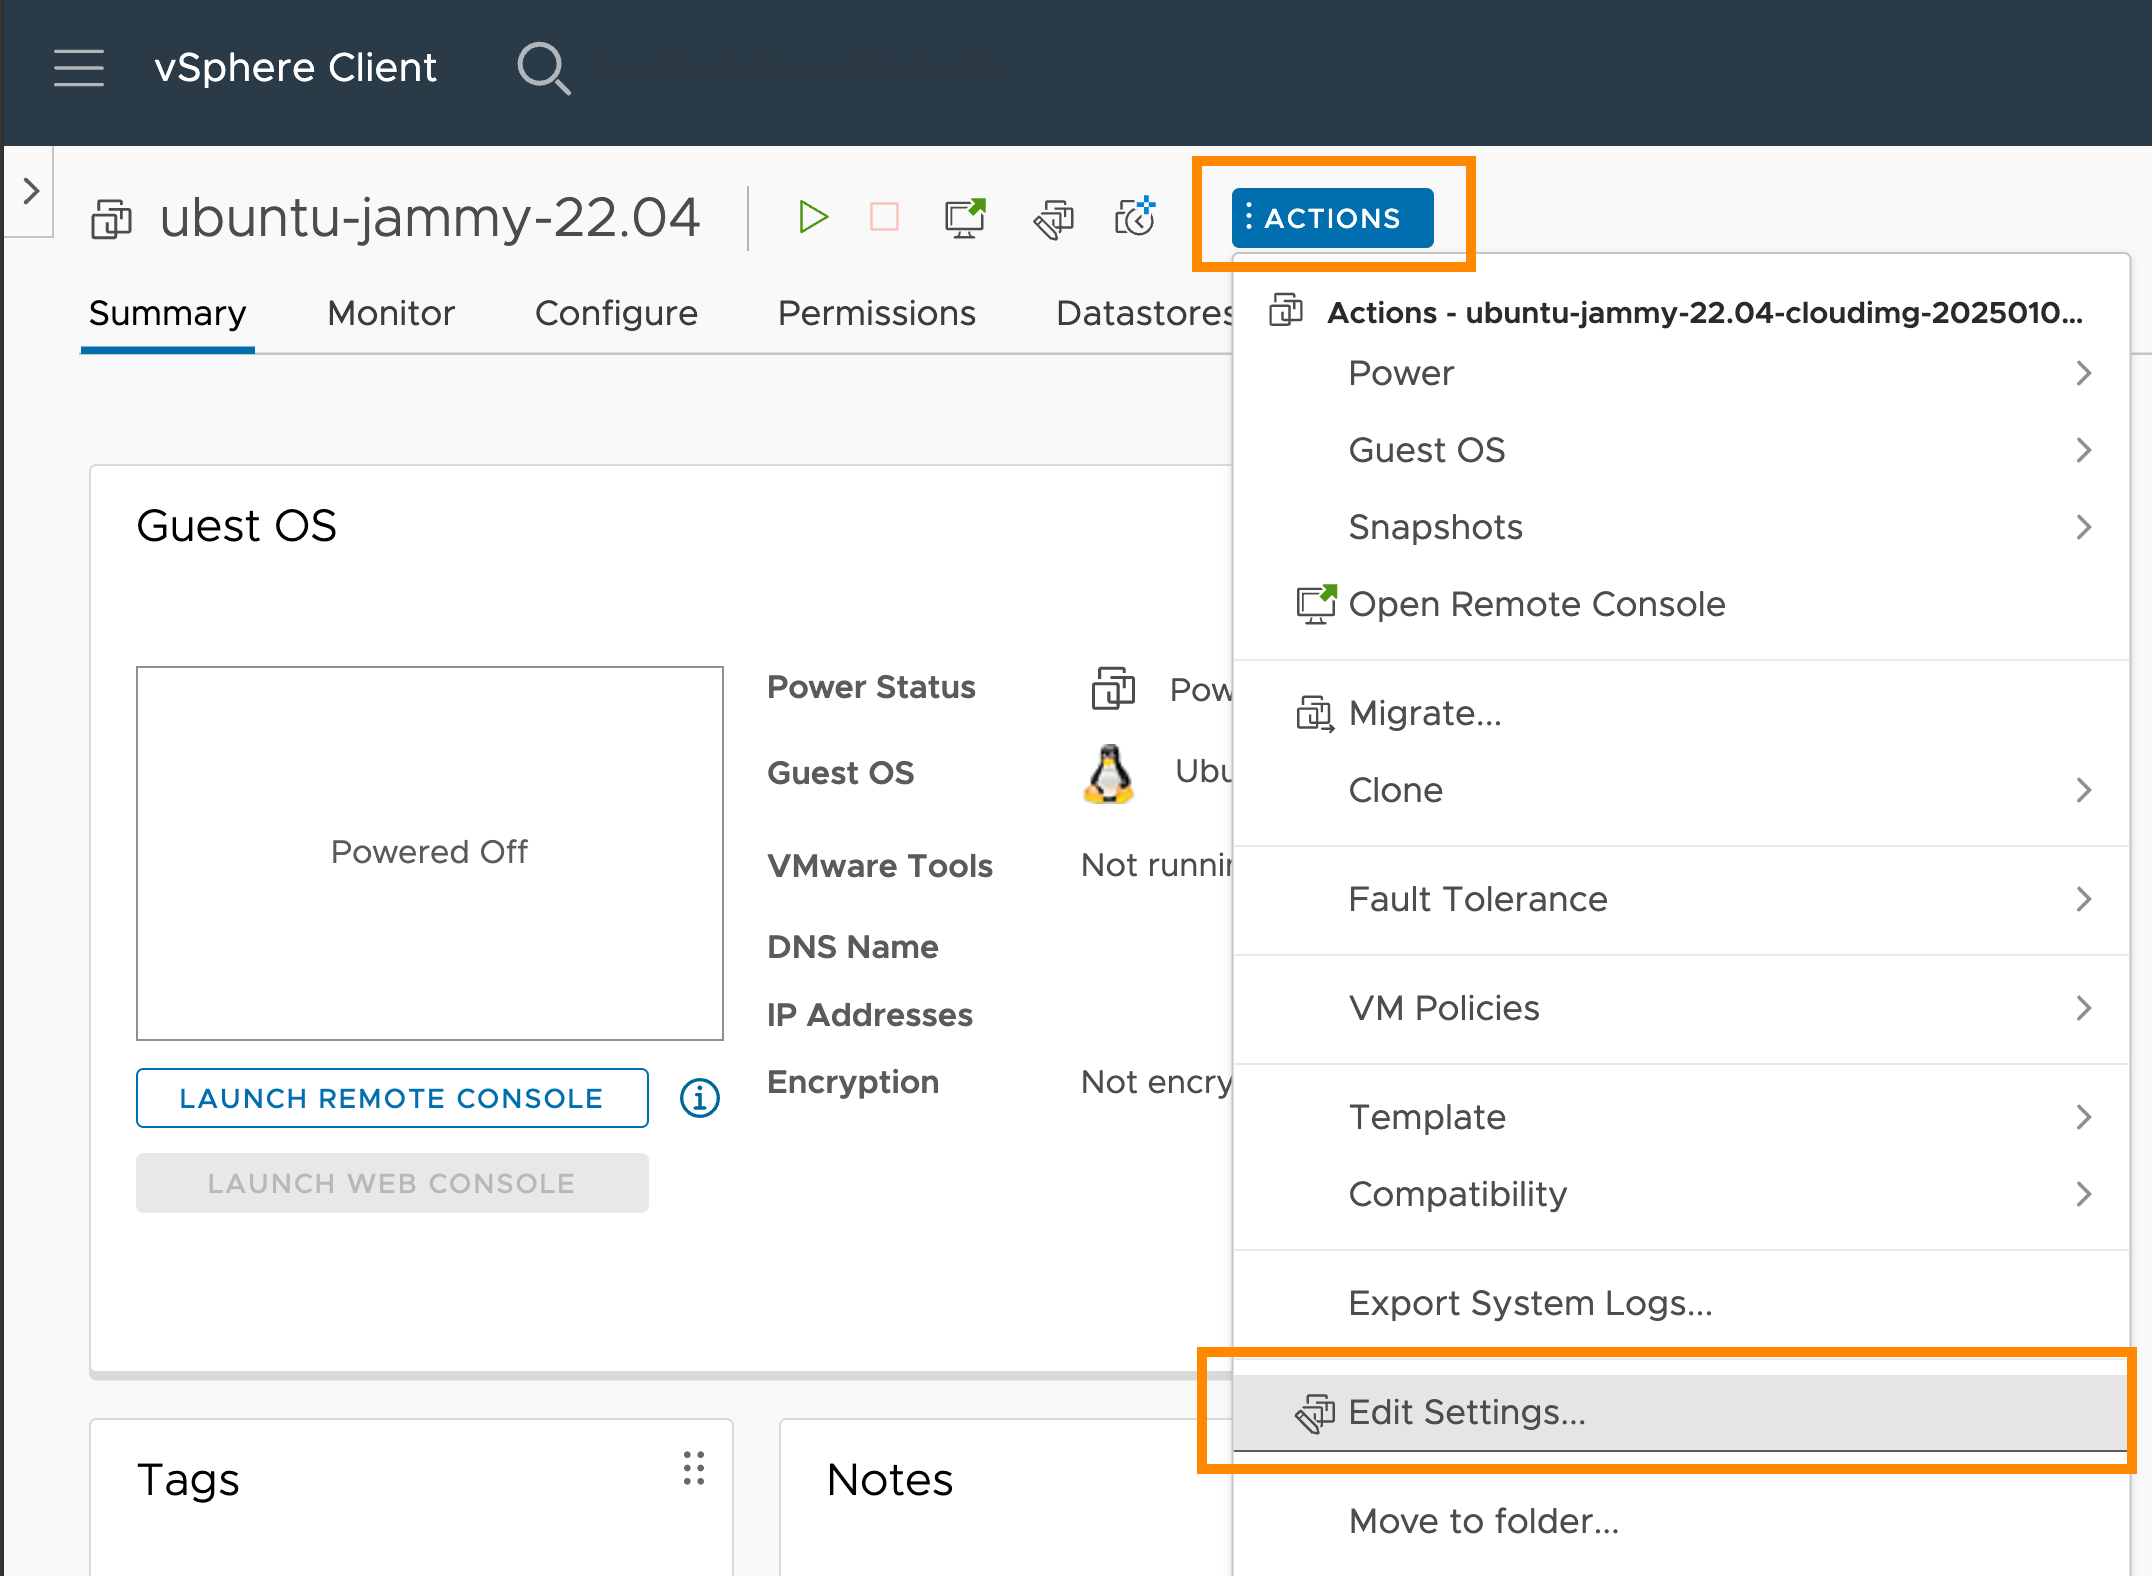
Storage usage
- VCD supports CSI. Disks are created as VCD Independent Disks.
- The guest property
disk.EnableUUIDmust be enabled for the VM templates in use. - Deckhouse Kubernetes Platform supports disk resizing starting from version v1.59.1.